How to Prepare Your Home for Solar Installation
You signed the solar contract, the crew is booked, and suddenly you realize you have no idea what you are supposed to do before install day. Will they need the attic? Is the roof ready? What about the dog, the electrical panel, the HOA? This guide walks you through every preparation step so your installation goes smoothly instead of stalling at the last minute.
Why Preparation Matters More Than Most Homeowners Expect
Most people imagine solar installation as a single dramatic day: a truck pulls up, panels go on the roof, and the meter starts spinning backward. In reality, the day the crew shows up is just one stop on a longer road that includes a site survey, engineering, permitting, utility paperwork, inspection and final approval. Every one of those stops depends on your house being ready for it, and a surprising number of delays trace back to small things homeowners could have handled weeks earlier.
The Hidden Cost of an Unprepared Home
Picture this scenario. A family in suburban Columbus books an installation for a Tuesday in April. The crew arrives at 7:30 a.m., climbs into the attic to check rafters, and discovers that the attic hatch is blocked by a wall of holiday storage bins. Forty minutes later the bins are moved, but the crew lead now finds that the main electrical panel is behind a finished drywall cabinet that was added after the home was built. Nobody can safely access the bus bar without demolition. The job gets rescheduled, the crew moves to another customer, and the family’s slot goes to the back of the line.
All of it was preventable. Installers work on tight schedules, often stacking multiple jobs per week per crew. When a home is not ready, the company rarely has the flexibility to wait around. You lose days or weeks, and in some cases you may face a trip charge written into your contract. Reading the fine print on rescheduling is worth doing early; our guide on What Should I Look for in a Solar Contract? covers the clauses that tend to cause the most frustration.
How Preparation Fits Into the Full Solar Timeline
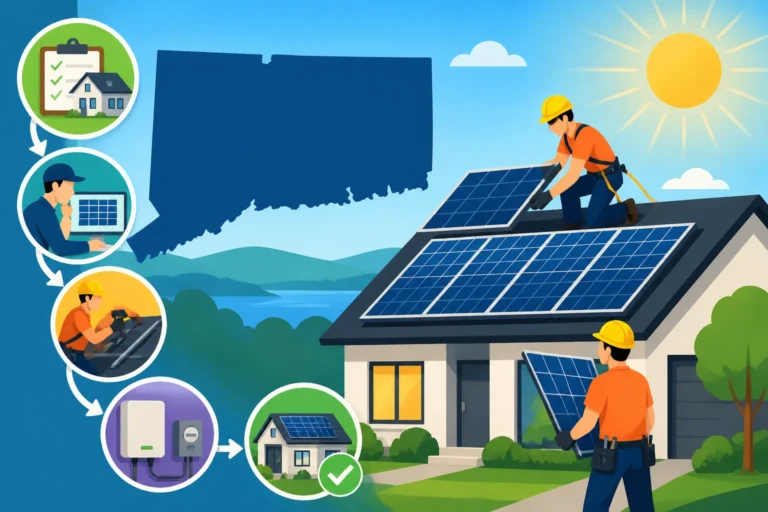
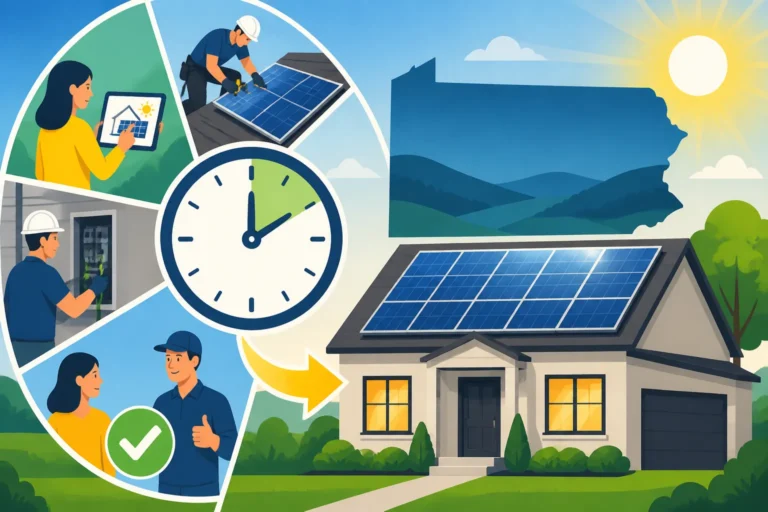
It helps to understand where preparation tasks land. Some happen before the site survey, some between permit approval and install day, and some after the panels are on the roof but before the system is switched on. Thinking about it in phases keeps the to-do list from feeling overwhelming. If you want a broader view of how the weeks typically unfold, our overview of Solar Installation Timeline: What to Expect lays out the full sequence.
| Phase | What Is Happening | Your Main Preparation Tasks |
|---|---|---|
| Before the site survey | Installer gathers data on your home and usage | Collect utility bills, clear attic and panel access, note roof history |
| Design and engineering | System layout and structural review | Answer design questions, approve panel placement, flag shading concerns |
| Permitting and HOA | Local building department and association review | Submit HOA applications, provide property documents, sign permit forms |
| Pre-installation | Crew scheduling and material delivery | Clear driveway, trim trees, plan for pets and kids, secure valuables |
| Installation day | Racking, panels, wiring and inverter work | Be reachable, keep access open, avoid parking under work zones |
| Inspection and PTO | City inspection and utility approval | Keep panel and attic accessible again, watch for utility emails |
Getting Your Roof Ready for Solar Panels
Your roof is the foundation of a rooftop solar system, and most systems are expected to stay up there for 25 years or longer. That makes the roof the single most important thing to evaluate before installation. It is also the area where homeowners most often wish they had asked more questions sooner.
Evaluating Roof Age and Condition
Start with a simple question: how old is your roof, and how long does it have left? Asphalt shingle roofs commonly last somewhere in the range of 20 to 30 years depending on climate, ventilation and shingle quality. If your roof is already 15 or more years old, it may need replacement during the lifetime of the panels. Removing and reinstalling a solar array to replace a roof later is a real expense, and it usually costs far more than simply timing the roof work before solar goes up. Our article Do I Need a New Roof Before Solar? digs into how to make that call.
Walk your property and look for warning signs: curling or cracked shingles, granules collecting in gutters, soft spots, missing flashing around chimneys and vents, and water stains on ceilings or in the attic. Take photos. Even if you are not a roofer, documenting what you see gives you something concrete to discuss with your installer during the site survey. Many installers will also have a roofing partner take a look, and some offer combined roofing and solar packages.
If you do need a replacement, budget for it realistically. Roof costs vary widely by material, pitch, square footage and region, and you can get a sense of the numbers in Roof Replacement Cost Before Solar. Some homeowners use Modernize to gather roofing quotes while comparing solar options, which makes it easier to line up both projects.
Structural Capacity and Roof Space
The second roof question is whether the structure can carry the load. Solar panels and racking add weight, though it is spread out across many attachment points. Most modern homes built to code handle that load without trouble, but older homes, homes with undersized rafters, or homes that have had past water damage may need reinforcement. The installer’s engineer typically checks this during design, and you can read more about what they look for in Can My Roof Support the Weight of Solar Panels?
Space is the other half of the equation. Your system size is limited by usable roof area after accounting for fire code setbacks from ridges and edges, vents, skylights and chimneys. A roof that looks huge from the street can turn out to have surprisingly few usable sections once those clearances are subtracted.
Shading, Trees and Nearby Obstructions
Shade is one of the most underrated enemies of solar production. A single tall tree that shades part of your array in the afternoon can reduce output more than you might expect, especially on older string inverter systems. Microinverters and optimizers limit the damage, but less shade is still better. Our breakdown of How Does Roof Shading Affect Solar? goes deeper into how much production you might lose.
Before the site survey, take note of when shadows fall across your roof during the day and across seasons. Winter sun sits lower in the sky, so a tree that seems harmless in July can cast a long shadow in December. If trimming or removal is on the table, check local rules first. Some cities, including many in the San Francisco Bay Area and parts of the Pacific Northwest, protect certain heritage or significant trees, and removal may require a permit.
Preparing the Interior and Electrical System
While the roof gets most of the attention, a lot of solar installation happens inside and around your home. The crew needs access to your attic, your main electrical panel and often the area around your utility meter. This is the part of preparation that homeowners most often overlook.
Attic Access and Interior Clearance
Installers usually need to enter the attic for two reasons: to confirm rafter location and condition, and sometimes to route wiring. If your attic hatch is in a closet full of clothes or blocked by furniture, clear it in advance. Make sure the path from the hatch to the roof planes where panels will go is reasonably open, and that there is safe footing on joists or decking.
Main Panel Capacity and Possible Upgrades
The electrical panel is where many solar projects either stay on schedule or run into trouble. Solar connects to your home’s electrical system, and many older panels, particularly 100-amp panels or panels from manufacturers with known safety concerns, may not be able to accept a solar connection without an upgrade. Your installer should identify this during the survey, but it helps to know what you have.
Open your panel door and take a photo of the label and the main breaker. Note the amperage, the brand and roughly how many open breaker slots remain. If you see brands that electricians commonly flag for replacement, mention it right away. A panel upgrade usually requires its own permit, a utility disconnect and sometimes a utility visit to change the service drop, all of which take time to coordinate. If you want a second opinion on the electrical work, a home improvement marketplace such as Modernize can connect you with local contractors to compare.
| Panel Situation | What It Usually Means | Preparation Step |
|---|---|---|
| Modern 200-amp panel with open slots | Most systems can connect without major changes | Keep access clear and labeled |
| 200-amp panel, nearly full | May need tandem breakers, a subpanel or a line-side tap | Ask installer which method they plan and why |
| 100-amp or 125-amp panel | Often limits solar size or requires an upgrade | Get the upgrade scoped and permitted early |
| Panel with known safety concerns | Replacement often recommended regardless of solar | Plan replacement before installation day |
| Panel inside finished cabinetry | Access may be difficult for crew and inspector | Remove panels or doors so the box is fully reachable |
If you are also thinking about adding storage, now is the time to mention it. A battery changes how the electrical work is designed, and adding one later can mean revisiting the panel.
Meter Area, Exterior Walls and Equipment Placement
Outside, the crew will typically mount an inverter or combiner, a disconnect switch and sometimes a production meter near your utility meter. Look at the wall around your meter. Is there space? Are there shrubs, a fence gate, a hose reel or an air conditioning unit crowding the area? Clear what you can, and ask the installer to show you the proposed equipment layout so there are no surprises about where boxes will appear on your siding.
Handling Paperwork, Permits and HOA Approval
Solar paperwork can feel like the least exciting part of the process, but it is often what determines when your system actually turns on. The physical installation may take a day or two; the permitting, inspection and utility approval steps can take weeks. You cannot control government or utility timelines, but you can make sure nothing on your end slows them down.
Gathering Documents Before the Site Survey
Your installer will usually ask for at least a year of electricity bills to size the system. If you have recently changed your energy use, for example by buying an electric vehicle, adding a heat pump or welcoming new household members, tell them. Bills alone will not capture that, and an undersized system is a common source of disappointment.
Here is a simple process for getting your documents in order:
- Download 12 months of utility bills or usage data from your utility’s online account, including the account number and meter number.
- Locate your property deed or tax record to confirm ownership and the legal property description.
- Find any existing roof warranty, roof installation records or recent inspection reports.
- Gather your homeowners insurance policy details so you can notify your insurer about the new system.
- Pull your HOA covenants and architectural guidelines if you live in an association.
- Note any planned changes, such as an EV, pool, home addition or electric appliance upgrades, and list them for your installer.
With these in hand, the site survey goes faster and the design is more accurate. If you want to know what the surveyor will actually look at when they visit, see What Is a Site Survey for Solar? for a detailed walkthrough.
Permits, Interconnection and Inspections
In most of the United States, rooftop solar requires a building permit, an electrical permit or both, plus an interconnection agreement with your utility. Your installer usually handles the filing, but you may need to sign authorizations and occasionally respond to plan review comments. Respond quickly. A permit sitting in your inbox waiting for a signature is one of the most avoidable delays in the entire process.
Interconnection is the utility’s approval to connect your system to the grid. Utilities review your system size, equipment and sometimes the capacity of local transformers. Some utilities move quickly; others have backlogs. Once the system is installed and passes local inspection, the utility issues final approval, often called permission to operate. Our explainer Solar Permitting & Interconnection (PTO) Explained covers each step and what can hold it up.
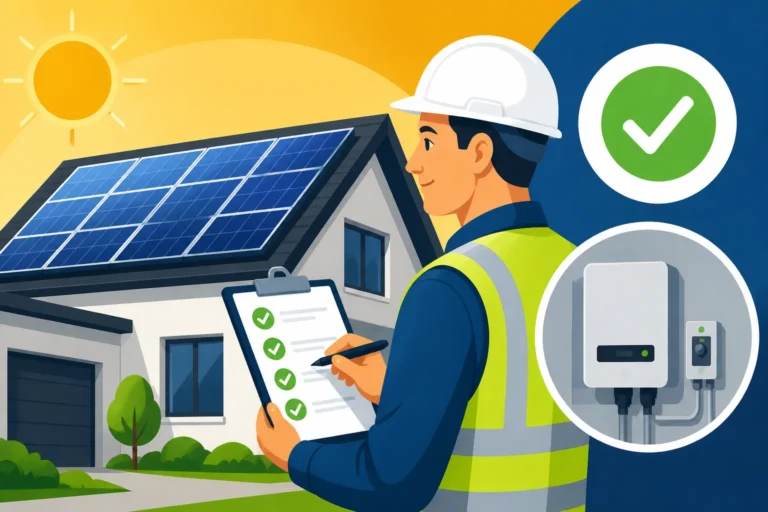
When the inspector visits, they will often need the same access the crew needed: the attic, the main panel, the exterior equipment and sometimes the roof. Keep everything open and clear again on inspection day. Some jurisdictions require the homeowner or an adult to be present, so confirm that ahead of time.
HOA Rules and Neighbor Considerations
If you live in a homeowners association, get approval before installation, not after. Many states have solar access laws that limit how far an HOA can restrict solar, including states such as California, Florida, Texas, Colorado and Arizona, but associations can often still require an application and may be allowed to impose reasonable placement or appearance rules. Submitting early keeps your installer from waiting on a committee that meets once a month.
The Week Before and the Day of Installation
Once permits are approved and the date is locked in, preparation becomes practical and physical. This is the stage where a simple checklist pays for itself.
Clearing the Driveway, Yard and Work Zones
Crews need space to park trucks and stage materials. Panels typically arrive on pallets, along with racking rails, flashing, conduit and inverters. Clear your driveway the night before, and move cars out of areas below the roof edges where work will happen. Debris, tools and the occasional dropped bracket can fall from the roof.
Move patio furniture, grills, potted plants, kids’ toys and anything breakable away from the walls where ladders will go. Roll up hoses, and if you have a sprinkler system, turn it off for install day so the crew is not working on wet surfaces. If you have a fragile garden bed directly below a work zone, mark it clearly or cover it with a tarp.
Here is a practical pre-installation checklist that many homeowners find useful:
- Confirm the installation date, arrival window and crew lead’s phone number two or three days ahead.
- Clear the driveway and street frontage so trucks and materials can be staged.
- Move vehicles, outdoor furniture and decorations away from roof edges and ladder zones.
- Open and clear the attic access path and the route to the main electrical panel.
- Unlock gates and make sure the meter and side yards are reachable.
- Arrange care for pets so they are secure away from open doors, ladders and crew paths.
- Turn off sprinkler systems and security alarms that might be triggered by crew movement.
- Charge phones, laptops and medical devices in case the power is shut off for part of the day.
- Set aside a place for the crew to dispose of packaging, or confirm they will haul it away.
- Walk the property one last time the evening before to catch anything you missed.
Power Outages, Pets and Family Logistics
During the electrical tie-in, the crew may need to shut off power to part or all of your home. The outage is usually limited to a few hours, but it can affect anyone working from home, refrigerators and freezers, aquariums, and medical equipment. Ask your installer when the shutoff is likely to happen so you can plan around it. If someone in your home relies on powered medical equipment, tell the installer well in advance.
Pets deserve special attention. Dogs that bark at strangers, cats that slip through open doors and animals that panic at drilling noise all add stress for the pet and the crew. Many families arrange a day at a friend’s house or a boarding facility. If your dog normally lives in the side yard where the meter is, plan a temporary space elsewhere.
What to Expect During the Work Itself
For a typical residential system, the physical install often takes one to three days, depending on system size, roof complexity and whether there is a battery or panel upgrade. The crew starts with attachments and flashing, adds rails, then mounts panels and runs wiring. An electrician finishes the inverter and panel connections, often on the same day or soon after.
You do not need to stand over the crew, but stay reachable. Questions come up: Can we move this conduit to the other side of the downspout? Do you want the disconnect labeled here or there? Being available for a quick decision keeps the job moving. Before the crew leaves, walk the property with the lead and check for debris, damaged landscaping and any gaps around roof penetrations.
The system usually will not be switched on immediately. It needs inspection and utility approval first. That waiting period can feel frustrating when you can see the panels but cannot use them. Understanding this ahead of time helps, and you can read about what comes next in What Happens After Solar Is Installed?
Financial and Practical Preparation Beyond the House
Preparing your home is not just about physical access. It also means making sure your finances, insurance and expectations are ready for the change. A well-prepared homeowner understands what they are paying for, what incentives realistically apply and what to watch for in the months after installation.
Reviewing Your Quote, Contract and Incentives
Before installation, reread your contract and final design. Confirm the number of panels, equipment brands, inverter type, warranty terms, payment schedule and who is responsible for permits and interconnection. If anything changed between the original quote and the final design, make sure it was documented. Our guide on Hidden Costs & Adders in Solar Quotes explains the line items that sometimes appear late in the process, such as trenching, main panel upgrades or steep roof surcharges.
Be realistic about incentives. The residential federal solar tax credit, often called the 25D credit, ended for systems placed in service after 2025, so homeowners installing now should not count on it when calculating savings. If a salesperson still describes that federal credit as available for a new residential system, treat that as a red flag. For the full story, see Solar Tax Credit 2026: What Happened to the Federal Credit. State programs, utility rebates, property tax exemptions and net metering policies still vary by location and may make a meaningful difference, so ask your installer which ones they have actually verified for your address.
If you are still comparing companies or want to double-check that your price is in a reasonable range, it is not too late to compare. Collecting a few competing bids, either directly or through a matching service like Modernize, gives you a benchmark. Our walkthrough on How to Compare Solar Installer Quotes shows how to line up proposals fairly, looking at equipment, warranties and total cost instead of only the monthly payment.
Insurance, Warranties and Documentation
Call your homeowners insurance company before installation. Many policies cover rooftop solar as part of the dwelling, but some require you to report it, and adding the system can change your coverage needs. Ask whether there are any requirements around installer licensing or inspection documents.
Create a folder, physical or digital, for everything related to your system: contract, permit approvals, equipment spec sheets, warranty documents, inspection results and utility approval letters. Years from now, when you sell the home, file a warranty claim or replace the roof, you will be very glad you kept it organized. Buyers and appraisers increasingly ask for these records.
Setting Realistic Expectations for the First Months
Once your system is approved and running, expect a learning curve. Your first utility bill after activation may look odd because of billing cycle timing and how your utility applies credits. Production will vary by season, weather and shading. Download your monitoring app, learn what normal production looks like on a sunny day, and check it periodically so you can catch problems early.
Common Questions About Preparing for Solar Installation
Do I need to be home during installation?
Most installers ask that an adult be home at least at the start and end of the day, and sometimes during the electrical tie-in. Even if you are not required to stay all day, being reachable by phone is important. Confirm your installer’s specific policy when you schedule the date.
Can I prepare my home for solar if I rent or live in a condo?
Renters and condo owners usually cannot install rooftop solar without landlord or association permission, and condo roofs are often common property. You may still be able to participate in community solar or other shared programs, depending on your state and utility. Talk with your landlord or association board before contacting installers.
How far ahead should I start preparing?
Start as soon as you begin getting quotes. Roof and panel evaluations, HOA approvals and tree trimming can take weeks, and catching an issue early often prevents a much longer delay after you sign. The final physical preparation, like clearing the driveway, can happen in the last few days.
What happens if the installer finds a problem on install day?
Sometimes crews discover hidden issues like rotted decking or an unexpected rafter layout. A good installer will stop, explain the problem, and propose a fix with a clear cost before continuing. Ask for any change orders in writing, and do not feel pressured to approve something on the spot without understanding it.
Disclaimer
This article is for general informational purposes only and does not constitute professional advice. Laws, prices and regulations vary by location and change over time. Consult a qualified professional for guidance on your specific situation.