What Is Net Meter Installation?
It's incredibly frustrating when you're trying to figure out how to go solar, and terms like "net metering" and "net meter installation" get thrown around without a clear explanation. Many homeowners feel overwhelmed by the technical jargon and the seemingly complex process of connecting their solar panels to the grid. This comprehensive guide is here to demystify what net meter installation truly entails, walking you through every step from understanding the concept to getting your system up and running, ensuring you feel confident and informed.
Demystifying Net Metering: What It Is and Why It Matters for Installation
Before we dive into the nuts and bolts of installing a net meter, let's take a moment to really understand what net metering is. It's not just a fancy term; it's a crucial billing mechanism that makes residential solar economically viable for millions of homeowners across the country. Without it, the financial benefits of going solar would be significantly reduced, making the decision to invest in panels much harder.
The Basic Concept of Net Metering
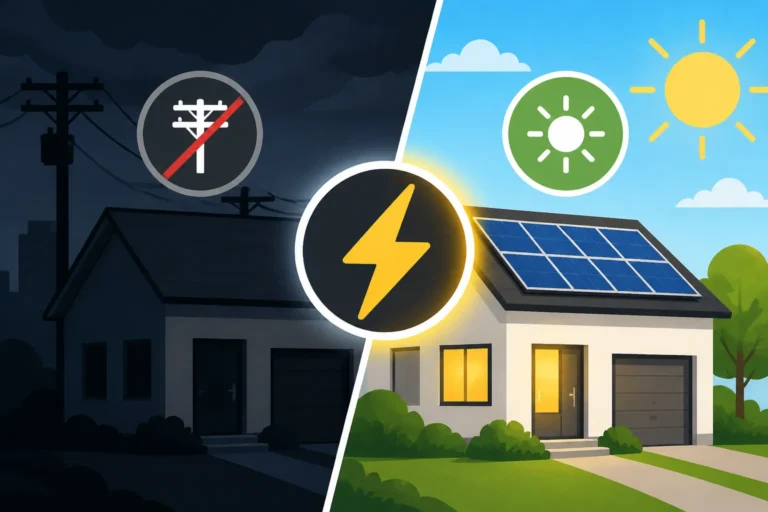
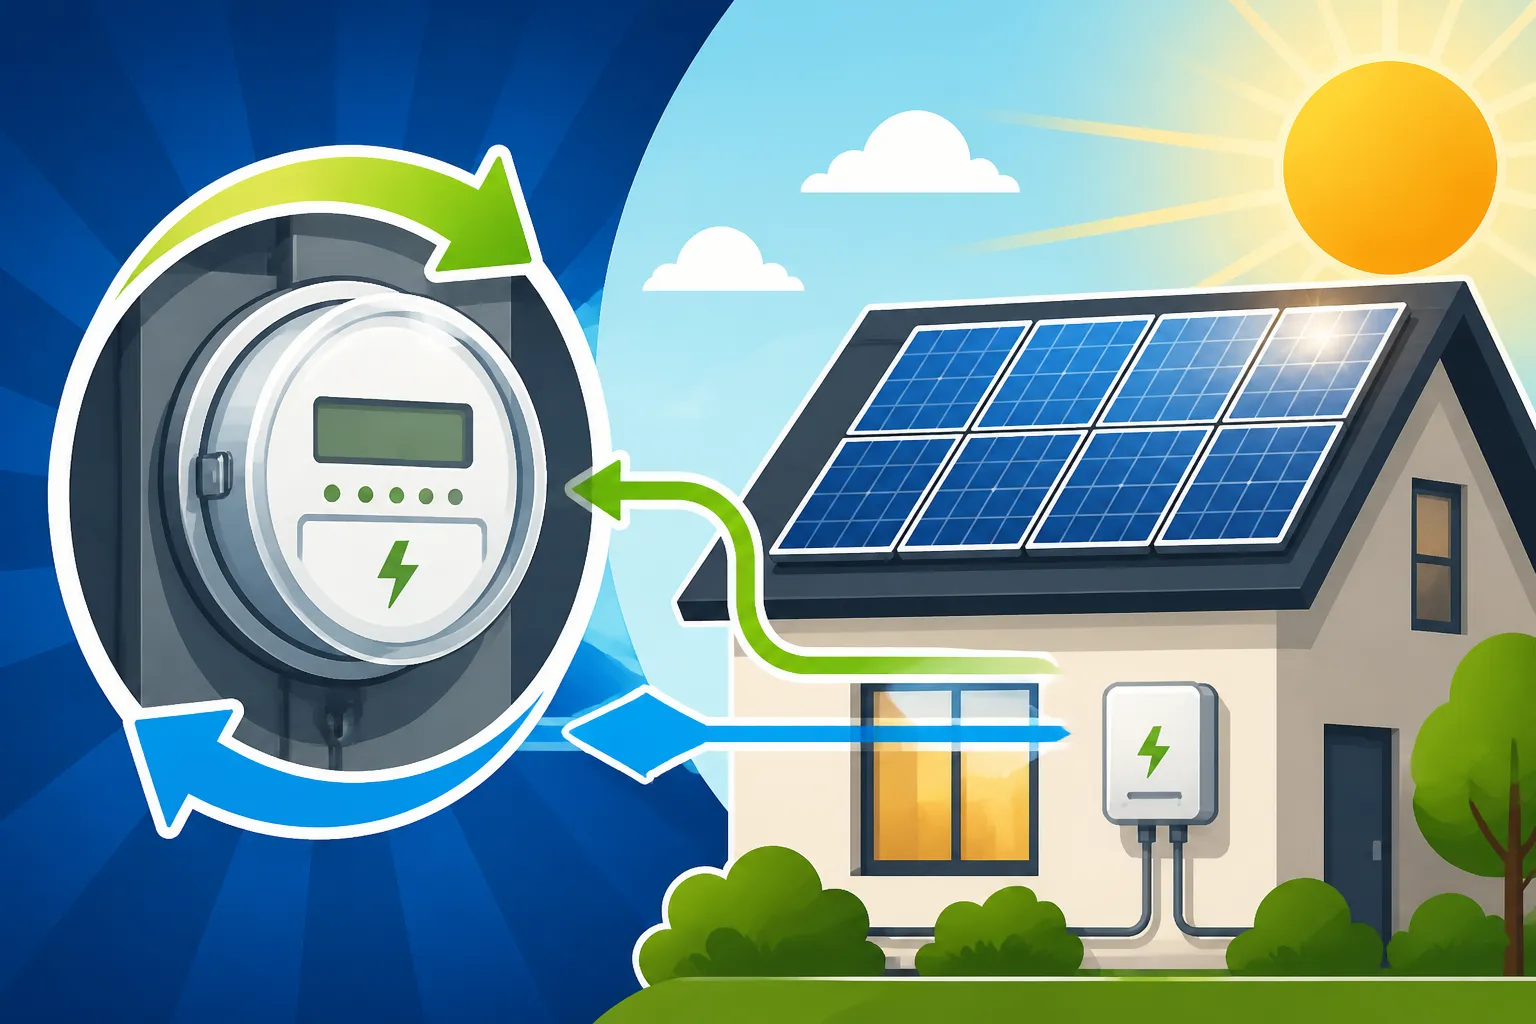
Imagine your home as a small power plant when you have solar panels. During the day, especially when the sun is shining brightly, your panels might produce more electricity than your home actually needs. Instead of letting that excess energy go to waste, net metering allows your solar system to send it back to the local utility grid. When this happens, your utility company essentially buys that excess power from you, crediting your account. Then, at night or on cloudy days when your panels aren't producing enough, you draw electricity from the grid as usual, but you use those credits to offset the cost.
It’s a beautiful give-and-take system. You produce power, use what you need, and send the rest out. When you need power, you pull it back in. This balancing act ensures that you're only paying for your net electricity consumption – the difference between what you pull from the grid and what you send back. This mechanism is key to why so many homeowners find solar financially attractive, as it often leads to significantly lower or even zero electricity bills, depending on your consumption and solar production.
The Role of the Meter in Billing
So, where does the "net meter" come into play? Your traditional electricity meter only measures the electricity you consume from the grid. It's a one-way street, always ticking up, regardless of whether you're generating power with your solar panels. This is where the net meter, also known as a bi-directional meter, changes the game entirely.
A net meter is specifically designed to measure electricity flow in both directions: the power you draw from the grid and the excess power your solar system sends back to it. This allows your utility company to accurately calculate your net usage or generation over a billing cycle. Without this specialized meter, the utility would have no way of knowing how much excess power your panels are exporting, and therefore couldn't credit your account. The "net meter installation" is essentially the process of getting this crucial piece of equipment in place, integrating your home's solar production into the broader electrical infrastructure. Understanding how this system works by state is also critical, and you can learn more by checking out our guide on Net Metering Explained: How It Works by State It's the physical manifestation of the net metering policy, and without it, your solar system isn't truly integrated into the billing system that offers you those valuable credits.
Essential Components of a Net Metering System
When you decide to go solar and integrate with the grid via net metering, it's not just about slapping some panels on your roof. It's about creating a cohesive, safe, and efficient system that interacts seamlessly with your home's electrical needs and the broader utility grid. This involves several critical components working together in harmony.
Your Solar PV System: Panels, Inverters, and Mounts
At the heart of any grid-tied solar setup is, of course, the solar photovoltaic (PV) system itself. This includes:
- Solar Panels: These are the stars of the show, converting sunlight into direct current (DC) electricity. The type, efficiency, and wattage of your panels will determine how much power your system can generate. Modern panels are incredibly durable and efficient, designed to withstand various weather conditions and produce power for decades. You might be interested in knowing more about specific panels like Maxeon (formerly SunPower) or REC, which are known for their high quality.
- Inverters: Solar panels produce DC electricity, but your home and the grid use alternating current (AC) electricity. Inverters are the crucial bridge, converting that DC power into usable AC power. There are different types: string inverters, which connect multiple panels in a "string"; microinverters, which are installed under each individual panel; and power optimizers, which combine aspects of both. Each has its pros and cons regarding efficiency, monitoring, and cost. Understanding the difference between Enphase vs SolarEdge: Which Inverter Is Better? is a good starting point for learning more.
- Mounting System: This is the framework that secures your solar panels to your roof or on the ground. It's designed to hold the panels securely against wind and weather, while also angling them optimally for maximum sun exposure throughout the day. The choice of mounting system depends on your roof type, its angle, and your local climate. A professional solar installer will assess your roof's suitability, ensuring it can safely support the weight and wind load of the panels.
These components collectively form the power-generating core of your system, creating the electricity that will either power your home directly or be sent back to the grid for credits.
The Bi-Directional Net Meter Itself
This is the component that gives "net meter installation" its name. As discussed earlier, the bi-directional meter is the intelligent device that replaces your old, one-way utility meter. It's not just a simple upgrade; it's a smart meter specifically programmed and designed to track electricity flow in two directions:
- Inflow: The electricity your home draws from the utility grid when your solar panels aren't producing enough (e.g., at night, on very cloudy days, or during peak demand).
- Outflow: The excess electricity your solar panels generate and send back to the utility grid.
This dual-tracking capability is absolutely essential for net metering to work. The meter continuously records these flows, allowing your utility to accurately calculate your net consumption and apply the appropriate credits to your bill. Without this specific type of meter, your utility company wouldn't be able to distinguish between electricity consumed from the grid and electricity exported to it, effectively negating the benefits of net metering.
Utility Grid Connection and Safety Disconnects
Connecting your solar system to the grid isn't as simple as plugging it into an outlet. It involves a sophisticated and safety-focused interconnection:
- Main Service Panel Upgrade: Your home's main electrical panel might need an upgrade to handle the additional circuits from your solar system and ensure it complies with modern electrical codes. This is a common step, especially for older homes, to safely integrate the new power source.
- Utility Grid Connection: This is the physical wiring that connects your solar system's main breaker to the utility grid, typically through your existing service entrance. It's a critical point where your home's electrical system interfaces directly with the wider power network.
- AC Disconnect Switch: This is a prominently located external switch that allows utility workers, or even first responders in an emergency, to quickly and safely disconnect your solar system from the grid. It's a vital safety feature, ensuring that line workers aren't exposed to live electricity from your panels if the grid goes down for maintenance or repairs. Think of it as an emergency shut-off valve for your solar electricity.
All these components, from the individual panels to the safety disconnects, are meticulously installed and wired by certified professionals, ensuring your system is not only generating power efficiently but also operating safely and in compliance with all local codes and utility requirements.
The Step-by-Step Net Meter Installation Process
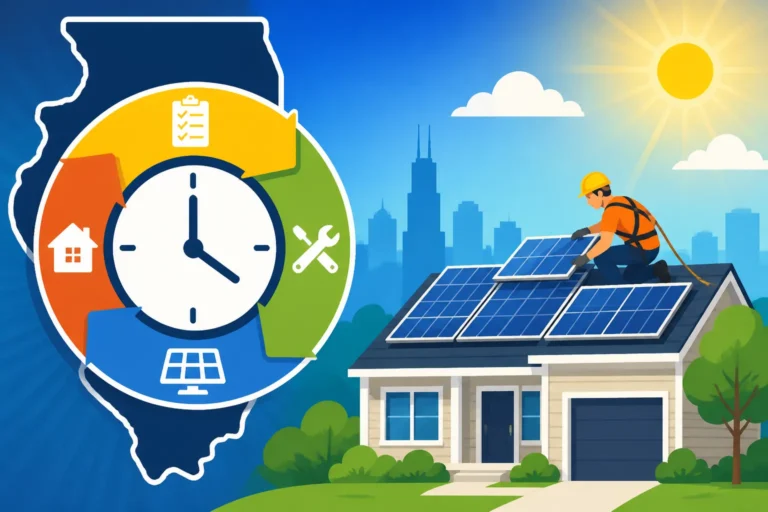
Going solar, especially when tying into the grid with net metering, is a multi-step journey. It involves everything from initial paperwork to final inspections. It's rarely a quick flip of a switch, and understanding the progression can help manage your expectations and ensure a smoother experience.
Initial Site Assessment and Design
Before any actual physical work begins, your chosen solar installer will conduct a thorough site assessment. This isn't just a quick glance at your roof; it's a detailed evaluation that lays the groundwork for your entire system. They'll look at several key factors:
- Roof Condition and Suitability: Is your roof structurally sound? What's its age? If it's nearing the end of its life, it might be more cost-effective to replace it before installing solar. They'll also assess its material (e.g., asphalt shingles, tile, metal) and pitch to determine the best mounting strategy. This is a critical step, as you definitely don't want to install solar only to need a new roof a few years down the line. You can learn more about this process in our guide on Do I Need a New Roof Before Solar?.
- Sunlight Exposure: Using specialized tools, they'll analyze your roof's sun path throughout the year, identifying potential shading issues from trees, chimneys, or neighboring buildings. This helps optimize panel placement for maximum energy production. Even a small amount of consistent shade can significantly reduce a panel's output.
- Energy Consumption Analysis: Your installer will review your past electricity bills (typically 12 months' worth) to understand your average energy usage. This data is crucial for designing a system that meets your needs, whether you want to offset 100% of your bill or just a portion.
- Electrical Infrastructure: They'll inspect your main service panel to ensure it can handle the new solar circuits and determine if any upgrades are necessary.
Based on this assessment, the installer will create a customized system design, including the number and type of panels, inverter selection, and panel layout, all while optimizing for your home's specific characteristics and energy goals. This phase is also where you'll discuss options, costs, and potential Solar Panel Cost Per Watt Explained to ensure the system fits your budget and expectations. For instance, companies like Modernize can help you connect with local installers who perform these initial assessments.
Physical Solar Panel and Wiring Installation
Once the design is finalized, permits are secured, and equipment is ordered, the actual physical installation begins. This is typically the most visible part of the process and involves a team of skilled technicians:
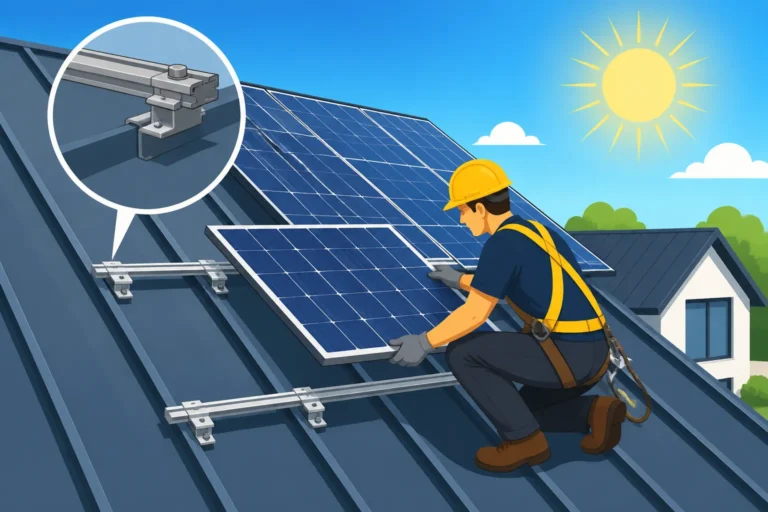
- Mounting System Installation: The first step is to securely attach the racking system to your roof. This often involves drilling into the rafters and sealing any penetrations to prevent leaks. The integrity of this mounting is paramount for the long-term stability of your system.
- Panel Installation: The solar panels are then carefully hoisted onto the roof and bolted to the racking system. Each panel is positioned according to the design plan to maximize sun exposure and minimize shading.
- Electrical Wiring: Technicians then connect the panels to the inverters (or microinverters/optimizers) and run conduit and wiring from the roof down to your electrical service panel. This includes connecting safety disconnect switches as required. All wiring must adhere to strict electrical codes and safety standards.
- Grounding and Safety Checks: Throughout the wiring process, grounding systems are put in place to protect against electrical surges and ensure safety. Multiple checks are performed to verify all connections are secure and functional.
This stage is all about precision and safety, bringing the solar system to life on your property. You can find more details about the overall process in our guide on How Are Solar Panels Installed? Step by Step.
The Meter Swap or Upgrade
This is the pivotal moment that truly brings the "net meter installation" aspect to the forefront. After your solar PV system has been fully installed and all internal wiring is complete and inspected, the utility company steps in.
- Scheduled Appointment: Your installer will coordinate with your utility provider to schedule a time for them to visit your property.
- Old Meter Removal: A utility technician will carefully remove your existing, traditional electricity meter.
- New Bi-Directional Meter Installation: In its place, they will install the new bi-directional net meter. This new meter will look similar to your old one but has the internal technology to measure power flow in both directions.
- Configuration and Testing: The utility technician will configure the new meter to communicate properly with their billing system and perform tests to ensure it's accurately recording both consumption and export.
It's important to note that you should never attempt to remove or install this meter yourself, as it is utility property and directly connects to the live electrical grid. This is a job strictly for authorized utility personnel. Once the new meter is in place and verified, your home is ready to participate in net metering, though you usually need final "Permission to Operate" (PTO) before you can actually flip the switch and start generating.
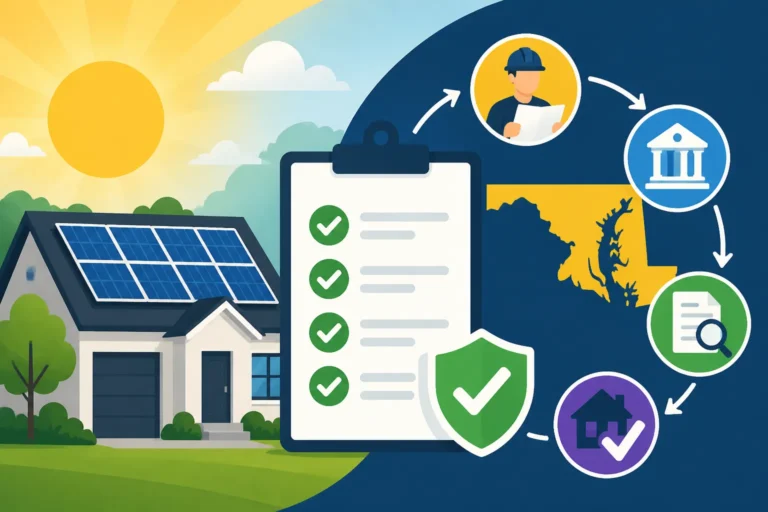
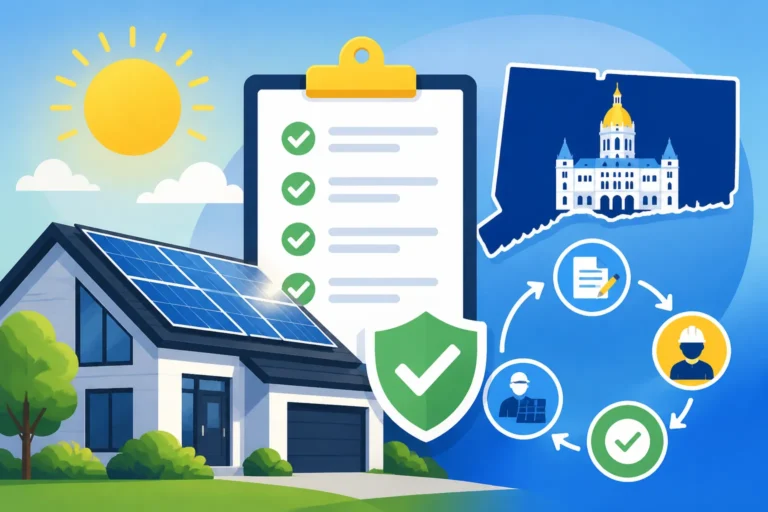
Navigating the Permitting and Interconnection Maze
One of the most underestimated parts of going solar is the administrative hurdles. It’s not just about the physical installation; it’s about getting all the necessary approvals from local authorities and your utility company. This can often be the longest and most complex part of the entire solar journey.
Local Permits and Inspections
Before a single panel can be installed, your solar project needs to comply with local building codes and safety regulations. This means obtaining the right permits from your city or county.
- Building Permits: These ensure that the structural integrity of your roof can handle the solar panels and that the installation methods meet safety standards. They review aspects like weight load, attachment methods, and overall structural design.
- Electrical Permits: These cover all the wiring, inverter installations, and connections to your home's electrical panel. An electrical inspector will verify that all wiring is up to code, safe, and correctly installed to prevent hazards.
- The Application Process: Your solar installer typically handles the submission of these permit applications, along with detailed engineering plans and schematics of your proposed system. This requires a deep understanding of local ordinances and patience, as review times can vary significantly from one municipality to another. For example, getting a Solar Permit Process in California can be different from that in Texas.
- Inspections: After the physical installation is complete but before the utility connects the system, local building and electrical inspectors will come to your home. They'll meticulously check the workmanship, ensuring everything complies with the approved plans and local codes. Only once these inspections pass will the project be cleared for the next step.
Navigating these permits can be a headache, which is why working with a reputable solar installer is so valuable. They have the experience and relationships to streamline this often-bureaucratic phase. Companies found through services like Modernize often specialize in managing these complex administrative tasks for homeowners.
Utility Application and Approval
Beyond local permits, you also need the explicit approval of your utility company to connect your solar system to their grid and participate in their net metering program. This is known as the interconnection process.
- Interconnection Application: Your installer will submit a detailed application to your utility provider. This document outlines your system's specifications, including its size, inverter type, and expected output. It's how the utility assesses the impact your system will have on their grid infrastructure.
- Technical Review: The utility's engineers will review your application to ensure your system meets their technical standards and won't cause any issues with grid stability or safety. They might assess the local grid capacity in your area to ensure it can handle your proposed energy export.
- Interconnection Agreement: Once the technical review is complete and your system is deemed acceptable, you (or your installer on your behalf) will sign an interconnection agreement with the utility. This legal document formalizes the terms under which your solar system will connect and operate with their grid, including aspects of net metering and safety protocols.
- Meter Exchange Coordination: As part of this approval, the utility will also schedule the installation of your bi-directional net meter, as discussed in the previous section. This meter is crucial for their billing and monitoring.
This utility application process can be lengthy, with utilities having their own timelines for review and approval. It's another reason why patience is a virtue when going solar, as you're waiting on external parties to give the green light.
Permission to Operate (PTO)
The ultimate goal of all this paperwork and inspection is the Permission to Operate (PTO). This is the final, official authorization from your utility company that allows you to actually turn on your solar system and begin generating electricity and receiving net metering credits.
- Final Hurdle: You cannot energize your system before receiving PTO. Doing so could result in fines, disconnection, and even safety hazards. The utility needs to ensure everything is perfectly aligned before your system starts exporting power onto their network.
- The Green Light: Once the local electrical inspections are passed, the utility interconnection agreement is signed, and the bi-directional meter is installed, the utility will issue your PTO letter or email. This is the moment you've been waiting for!
- Flipping the Switch: With PTO in hand, your installer will typically return for a final visit to "commission" the system, which essentially means flipping the main breaker to "on" and officially activating your solar panels. From this point forward, your system will be generating power, offsetting your electricity bill, and sending excess electricity back to the grid for credits under your net metering agreement.
The entire process from signing a contract to receiving PTO can take anywhere from 2 to 6 months, depending on local permitting office efficiency and utility response times. Our detailed guide on Solar Permitting & Interconnection (PTO) Explained offers even more insight into this critical phase.
Post-Installation Life: Monitoring and Maximizing Savings
Once your net meter is installed and you've received that coveted Permission to Operate (PTO), the real fun begins! Your home is now a mini power plant, generating clean energy. But the journey doesn't end there. Understanding how to read your new meter, monitor your system's performance, and tweak your habits can significantly maximize your solar savings.
Reading Your New Bi-Directional Meter
Your new bi-directional meter is more sophisticated than your old one, but don't let that intimidate you. It's designed to provide you with clear data about your energy flows.
- Digital Display Cycles: Most modern net meters have a digital display that cycles through various readings. It won't just show one number like your old meter. You'll typically see different "register" codes or numbers, each representing a specific type of measurement.
- Key Readings to Look For:
- Kilowatt-hours (kWh) Consumed from Grid: This reading shows the total electricity your home has pulled from the utility grid. It's essentially what you would have paid for without solar.
- Kilowatt-hours (kWh) Exported to Grid: This reading indicates the total excess electricity your solar system has sent back to the utility grid. These are your net metering credits.
- Net Usage: Sometimes the meter might display a "net" reading, which is the difference between what you consumed and what you exported. However, utilities typically calculate this on your bill based on the two separate readings.
- Understanding Your Bill: Your monthly utility bill will now reflect these two-way energy flows. You'll see charges for electricity consumed from the grid and credits for electricity exported. The goal, for many homeowners, is for the exported credits to largely offset or even exceed the consumed charges, resulting in a low or even negative bill amount (meaning you might have a credit balance for future months).
It's a good idea to take photos of your meter readings periodically, especially when your bill arrives, to compare and ensure accuracy. If you have any questions about how to read your specific model of meter, your solar installer or utility company can provide guidance.
Ongoing System Performance Monitoring
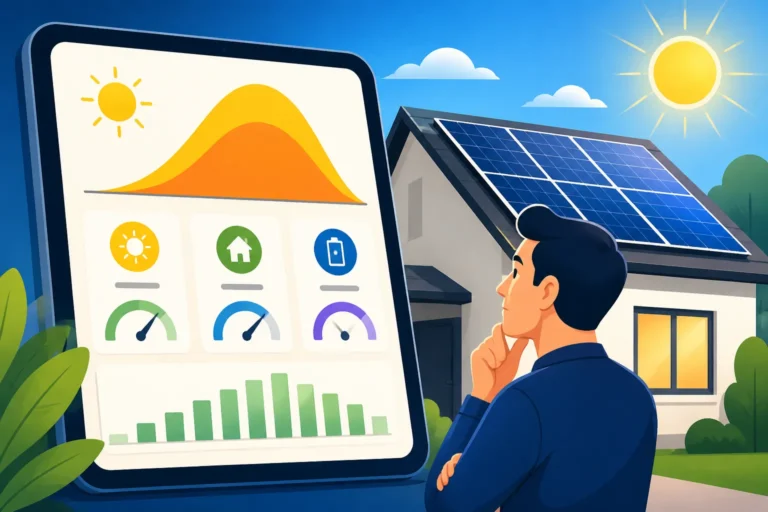
One of the great advantages of modern solar systems is the ability to monitor their performance in real-time. This isn't just a cool gadget; it's a vital tool for ensuring your investment is paying off as expected.
- Inverter Monitoring Apps: Most solar systems come with monitoring capabilities, usually accessible through a mobile app or a web portal provided by your inverter manufacturer (e.g., Enphase Enlighten, SolarEdge Monitoring). These platforms allow you to:
- See Daily Production: Track how much electricity your panels are generating hour by hour, day by day, and month by month.
- Identify Issues: If a panel is underperforming due to shade, dirt, or a technical issue, the monitoring system can often flag it, allowing you to address it quickly.
- Track Savings: Many apps also estimate your environmental impact and financial savings over time.
- Understanding the Data: Regularly checking your monitoring system helps you understand your patterns of energy production and consumption. For instance, if you see a dip in production, you might realize a tree branch has grown to cast new shade or that your panels might be due for a Solar Panel Maintenance & Cleaning.
- Setting Alerts: Many systems allow you to set up alerts that notify you via email or text if your system's performance drops unexpectedly, providing peace of mind and proactive problem-solving.
This monitoring capability empowers you to stay on top of your system's health and ensure it's always working at its best. If you find your system isn't producing as much as you'd like, a solar battery might be a good option to store excess energy, rather than sending it to the grid, especially if your utility's net metering policies aren't as favorable. You can explore this further in our article, Do I Need a Battery With Solar?.
Maximizing Net Metering Benefits
Having a net metered solar system is a fantastic start, but there are always ways to optimize its benefits and truly maximize your savings.
- Shift Energy Usage: Since you get credits for exporting excess energy, try to shift high-energy consumption tasks to the middle of the day when your solar panels are producing the most. Running your washing machine, dishwasher, or charging an electric vehicle during peak sunlight hours means you're using your own free solar power directly, rather than drawing from the grid.
- Energy Efficiency Upgrades: Solar panels are great, but reducing your overall energy demand through efficiency upgrades makes your solar system even more effective. Simple changes like upgrading to LED lighting, improving insulation, or using smart thermostats can reduce the amount of electricity you need, allowing your solar panels to cover a larger percentage of your remaining usage or even generate more excess for credits.
- Understand Your Utility's Rate Structure: Some utilities have Time-of-Use (TOU) rates, where electricity costs more during peak demand hours (e.g., late afternoon/early evening) and less during off-peak hours. Understanding these rates can help you optimize when you use and export power. If your utility has TOU rates, exporting power during high-value peak times can be particularly lucrative.
- Consider a Solar Battery: In areas where net metering policies are less favorable (like California's NEM 3.0, which you can learn about in What Is NEM 3.0 California Net Billing?), a solar battery system becomes incredibly valuable. Instead of sending excess power to the grid for reduced credit, you can store it in your battery and use it during evening peak hours, avoiding expensive grid electricity. This approach is sometimes called "self-consumption" and can significantly boost your savings even without robust net metering.
By being proactive in monitoring and adjusting your energy habits, you can truly harness the full potential of your net-metered solar system and enjoy significant, long-term savings on your electricity bills.
Understanding the Net Meter Itself: Technical Deep Dive
The net meter is often a black box for most homeowners, but a little insight into its technology can provide clarity and demystify how your electricity usage and production are truly measured. It's more than just a spinner; it's a sophisticated piece of equipment.
How Bi-Directional Meters Work
At its core, a bi-directional meter is an electronic smart meter, distinct from the old analog spinning disk meters or even basic digital meters.
- Electronic Measurement: Instead of mechanical components, these meters use advanced electronics to measure voltage and current flowing through your service lines. They precisely calculate the power (in kilowatts) and energy (in kilowatt-hours) moving in both directions.
- Directional Sensors: Inside, the meter contains sensors that can detect the direction of the current flow. When electricity flows from the grid into your home, it records that consumption. When your solar panels produce more electricity than your home is using, and that excess flows out to the grid, the meter records that export.
- Registering Data: These measurements are stored in different internal "registers" within the meter. Each register corresponds to a specific type of flow (e.g., received from grid, sent to grid). When a utility technician reads the meter (either physically or remotely), they can access these distinct values.
- Remote Communication: Many modern bi-directional meters are also "smart meters," meaning they can communicate remotely with the utility company. This allows for automated meter reading, real-time data collection, and even remote disconnections or reconfigurations, though the latter usually requires your explicit consent or specific conditions. This remote communication feature helps the utility manage the grid more efficiently and reduces the need for manual meter readers.
This two-way measurement is absolutely fundamental to net metering policies, allowing for accurate billing and ensuring you get credit for every watt you send back to the grid.
Types of Net Meters and Their Features
While the basic function is the same, there are variations in net meters you might encounter:
- Single-Register Bi-Directional Meters: Some simpler bi-directional meters might display a single "net" reading. This means they track the cumulative difference between imported and exported energy. If you import 100 kWh and export 120 kWh, the meter might simply show a -20 kWh net. However, these are becoming less common as utilities prefer more granular data.
- Multi-Register Bi-Directional Meters (Most Common): These meters have separate registers for energy imported from the grid and energy exported to the grid, as described above. This provides a clearer breakdown of your consumption and production. They often cycle through multiple displays showing current demand, peak demand, and these distinct import/export totals. This is the most prevalent type because it gives both you and the utility a transparent view of energy flow, which is critical for complex billing structures or Solar Renewable Energy Credit Prices by State.
- Advanced Metering Infrastructure (AMI) Meters: These are smart meters that combine bi-directional measurement with advanced communication capabilities. They can transmit data wirelessly to the utility at regular intervals, sometimes as frequently as every 15 minutes. This allows utilities to implement Time-of-Use (TOU) rates, where electricity prices vary depending on the time of day, and offers more sophisticated grid management. AMI meters are increasingly common across the U.S. and are often the standard for new solar installations.
Comparison of Meter Types
| Feature | Traditional (One-Way) Meter | Bi-Directional (Net) Meter |
|---|---|---|
| Measures | Electricity consumed from grid only | Electricity consumed & exported |
| Directional Flow | One-way (in) | Two-way (in & out) |
| Billing Impact | Bill based purely on consumption | Bill based on net consumption/export |
| Technology | Mechanical or basic digital | Electronic, often smart/AMI |
| Solar Compatibility | Not compatible with net metering | Essential for net metering |
Understanding the type of meter you have or will receive can help you better interpret your energy bills and fully appreciate how your solar system is interacting with the grid. If you're ever in doubt about what your meter is showing, don't hesitate to reach out to your utility company for clarification.
Common Challenges and What to Watch Out For During Net Meter Installation
The journey to solar, while rewarding, isn't always perfectly smooth. There can be bumps in the road, particularly during the administrative and utility coordination phases of net meter installation. Being aware of these potential challenges can help you prepare and work effectively with your installer and utility.
Dealing with Utility Delays
One of the most frequent frustrations homeowners experience during the solar installation process is waiting for the utility company. These delays can stem from several sources:
- Application Backlogs: Utilities, especially in states with high solar adoption, often have a large volume of interconnection applications to process. This can create significant backlogs and extend review times. It's not uncommon for the technical review phase to take several weeks or even months in some busy regions.
- Staffing and Resources: Utility departments responsible for solar interconnections might be understaffed or have limited resources, further contributing to slower processing times.
- Specific Grid Requirements: Sometimes, a utility might identify a specific issue with your local grid infrastructure that requires additional assessment or even minor upgrades on their part before your system can be safely interconnected. This could involve transformer upgrades or other localized grid improvements, which can add substantial time to the process.
- Meter Availability: While less common, there can occasionally be delays if the specific bi-directional meters required by your utility are temporarily out of stock or experience supply chain issues.
What you can do:
- Patience is Key: Understand that these delays are often outside your installer's control. Factor in potential delays when setting your expectations for when your system will go live.
- Regular Follow-Up (through your installer): Your solar installer should be actively following up with the utility on your behalf. Ensure they are providing you with regular updates, even if it's just to say "we're still waiting."
- Ask for Timelines: When you sign your contract, ask your installer for realistic timelines that include buffer time for utility approvals. A good installer will be transparent about the potential for delays.
These delays can be frustrating, especially when you're eager to start saving money, but they are a common part of the overall process.
Understanding Your Specific Net Metering Rules
While the general concept of net metering is straightforward, the specific rules and policies can vary dramatically from state to state and even from utility to utility within a state. This nuance is crucial to understand, as it directly impacts your financial savings.
- Credit Rates: Not all net metering policies offer full retail rate credits for the excess electricity you send back to the grid.
- Full Retail Net Metering: This is the most favorable, where you receive a credit for your exported electricity at the same rate you pay for imported electricity. This truly makes your meter spin "backward" in terms of value.
- Reduced Rate Net Metering/Net Billing: In some regions, like California under California NEM 2.0 vs NEM 3.0 Explained, you might receive a lower credit rate for exported electricity than the rate you pay for imported electricity. This can significantly reduce the financial benefits of simply sending power back to the grid, making self-consumption or Solar Battery Incentives in 2026 more attractive.
- Avoided-Cost Rates: Some utilities offer only an "avoided-cost" rate, which is the wholesale price they would have paid to generate that electricity themselves, significantly lower than retail rates.
- Monthly vs. Annual Rollover: How do excess credits carry over?
- Monthly Rollover: Some policies allow excess credits to roll over from month to month, accumulating until a designated "tru-up" or reconciliation period (often annually).
- Annual Tru-Up: At the end of the year, any accumulated excess credits might be paid out to you at a reduced rate (often wholesale) or simply expire. It's rare for utilities to pay out at full retail rate for annual excess.
- System Size Limits: Many utilities and states impose limits on the size of the solar system that can qualify for net metering. This might be a percentage of your historical energy use or a specific kilowatt capacity.
- Future Policy Changes: Net metering policies are not static. They can change, often to the detriment of new solar customers, as utilities lobby to revise compensation structures. This is why it's important to understand the current rules but also to consider the long-term trends, such as "Is Net Metering Going Away?".
What you can do:
- Ask Your Installer: Your solar installer is your primary resource for understanding the specific net metering rules in your area. They should be able to clearly explain how you will be credited for your solar production and how it will impact your bill.
- Check Utility Websites: Most utilities have detailed information about their net metering programs on their websites. Review these carefully.
- Stay Informed: Keep an eye on local and state energy policy news, as net metering rules are frequently debated and updated.
A clear understanding of your local net metering policy is crucial for accurately projecting your savings and ensuring your solar investment meets your financial expectations.
| Aspect of Net Metering | Favorable Policy | Less Favorable Policy | Impact on Homeowner |
|---|---|---|---|
| Export Credit Rate | Full Retail Rate | Reduced Rate / Avoided-Cost Rate | Maximizes bill savings for exported energy |
| Credit Rollover | Monthly rollover with annual payout at a good rate | Monthly rollover with annual payout at wholesale rate or expiration | Stable savings; possibility of earning money at year-end |
| System Size Limits | High or no limits (e.g., up to 120% of historical use) | Low limits (e.g., 10 kW or 100% of historical use) | More flexibility for system design; higher energy offset |
| Future Policy Stability | Long-term grandfathering clauses or stable regulations | Frequent policy reviews, potential for future reductions | Greater investment confidence |
| Eligibility | Broad residential eligibility | Strict income, property, or HOA restrictions | More homeowners can participate |
Disclaimer
Please remember that the information provided in this article is intended for general guidance and informational purposes only, and does not constitute professional financial, legal, or energy advice. Solar incentives, regulations, and costs are subject to change and vary significantly by location, utility provider, and individual circumstances. We strongly recommend consulting with a qualified solar professional and reviewing your local utility's specific terms and conditions before making any decisions regarding solar energy installation.