Solar Permit Process in California
Thinking about going solar in California? That's fantastic! But let's be real, the thought of wading through endless paperwork and local government bureaucracy to get your solar panels approved can feel like a headache before you even start. It's frustrating when you're just trying to do something good for your home and the planet, only to be met with a maze of rules. This guide is here to untangle the specific solar permit process in California, helping you understand each step so you can navigate it with confidence.
Why Solar Permits in California Feel So Complicated But Are Necessary
It's easy to feel overwhelmed by the sheer number of forms, reviews, and inspections when you're trying to get solar panels installed. You might wonder, "Is all this really necessary?" The truth is, while it can definitely be a cumbersome process, these permits are in place for some very important reasons – primarily safety and ensuring your system integrates properly with the broader electrical grid.
Understanding the Layers of Bureaucracy
California, known for being at the forefront of renewable energy, also has a robust regulatory framework. This means that getting solar installed isn't just about sticking panels on your roof; it involves multiple layers of approval, from the state level right down to your local city or county building department. State laws, like the former AB 2188 (now streamlined through the Solar Rights Act), aim to standardize and simplify the process, but local jurisdictions still have their own specific requirements, forms, and fees. One city might have an online portal that makes things relatively quick, while a neighboring county might require in-person visits and paper applications. This variability is often where the real frustration sets in for homeowners.
The different levels of review ensure your system is safe for your home, your family, and even the utility workers who might interact with the grid. They check for things like structural integrity of your roof, proper electrical wiring, and compliance with local zoning laws (you wouldn't want your panels blocking a neighbor's view or violating setback rules). Without these checks, imagine the chaos and potential hazards from improperly installed systems!
The Importance of a Complete Application
I can't stress this enough: an incomplete application is the number one cause of delays in the solar permitting process. It's like trying to build a house without all the blueprints – you're going to hit roadblocks at every turn. Many homeowners, especially those going the DIY route, underestimate the level of detail required. You're often dealing with specific engineering drawings, precise electrical diagrams, and a comprehensive list of all components, from the panels themselves to the inverters and racking systems.
When your application is submitted, it goes through various departmental reviews. If something is missing, or if the plans aren't clear, it gets kicked back for revisions. This back-and-forth can add weeks, if not months, to your installation timeline. Imagine having your solar panels ready to go, but you're still waiting because one diagram wasn't up to snuff! This is where an experienced solar installer truly shines, as they're familiar with these requirements and can prepare a meticulous application package. If you're looking for a reliable installer who understands the ins and outs of local permitting, services like Modernize can help connect you with vetted professionals in your area.
Key Steps in the California Solar Permitting Journey
So, what does the actual journey look like? It's more than just a single form. It's a sequence of submissions, reviews, and approvals that collectively ensure your solar system is legal, safe, and ready to generate clean energy.
Initial Application Submission
This is where the rubber meets the road. Once your solar design is finalized, your installer (or you, if you're tackling it yourself) will compile a comprehensive permit application package. This package typically includes:
- Site plans: Detailed drawings showing your property, the location of the solar panels on your roof, and relevant distances from property lines or other structures.
- Electrical diagrams: Schematics illustrating how your solar panels connect to your inverter, electrical panel, and ultimately, the utility grid. This is highly technical and needs to comply with the National Electrical Code (NEC) and local amendments.
- Structural reports: An assessment by a licensed engineer confirming your roof can safely support the weight of the solar panels and racking, especially important for older homes or certain roof types. You might find more details on considerations for your roof type in our article on Roof Considerations for Solar Panels.
- Equipment specification sheets: Cut sheets for every major component in your system, including the solar panels, inverters, batteries (if applicable), and mounting hardware.
- Application forms: The specific forms provided by your local building and planning departments.
These documents are then submitted to your local Authority Having Jurisdiction (AHJ), which is usually your city's building department or the county's equivalent. Many larger cities in California, like San Diego and Los Angeles, have online portals for submission, which can speed up the initial intake. However, smaller towns might still require physical submissions. Be prepared for application fees, which vary widely depending on the size of your system and the specific jurisdiction. These fees cover the cost of plan review and inspections.
Plan Review and Revisions
After submission, your application enters the plan review phase. This is where different municipal departments, often including building, electrical, and sometimes planning or fire departments, scrutinize your plans. They're checking for compliance with local building codes, electrical codes, fire codes, and zoning ordinances.
This phase is notoriously where delays can occur. It's not uncommon for plans to be returned with comments or requests for revisions. For instance, the fire department might require specific pathways on your roof for emergency access, or the building department might ask for clarification on structural attachments. A well-prepared installer, like those you can find through services like Modernize, will anticipate many of these common requests and include them in the initial design. They'll also manage the communication and resubmission of revised plans, taking a huge burden off your shoulders. This back-and-forth can feel endless, but each revision brings you closer to a fully compliant and approved system. You can get a sense of the overall project timeline, including this review process, by reading our guide on the Solar Installation Timeline What to Expect.
Obtaining the Permit and Scheduling Inspections
Once all departments have signed off, the permit is officially issued! This is a big moment, meaning your installation can finally begin. Your permit will typically be a physical document that needs to be prominently displayed at your property throughout the installation process. It also usually has an expiration date, so it's important to move forward with installation within that timeframe.
With the permit in hand, the next critical step is scheduling inspections. There are typically at least two main inspections:
- Rough-in inspection: Sometimes required for certain wiring elements before they are concealed.
- Final inspection: This is the big one, conducted after your entire solar system is installed. The inspector will verify that the installation matches the approved plans, meets all safety codes, and is structurally sound. This inspection is crucial, and passing it is your gateway to turning on your system.
Your installer will usually coordinate these inspections on your behalf, ensuring everything is ready when the inspector arrives.
Post-Installation: Inspections and Permission to Operate (PTO)
Passing the final inspection is a huge milestone, but it's not quite time to flip the switch and start generating power. There's one more hurdle involving your utility company: getting Permission to Operate (PTO).
The Inspection Checklist
When the inspector arrives for the final walkthrough, they’ll have a specific checklist based on the approved plans and local codes. They are primarily looking for:
- Code Compliance: Everything from wire gauging and conduit type to grounding and overcurrent protection must meet the current National Electrical Code (NEC) as adopted by California, and any local amendments.
- Proper Installation: Are the panels securely mounted? Is the racking system installed correctly? Are there any visible defects or hazards?
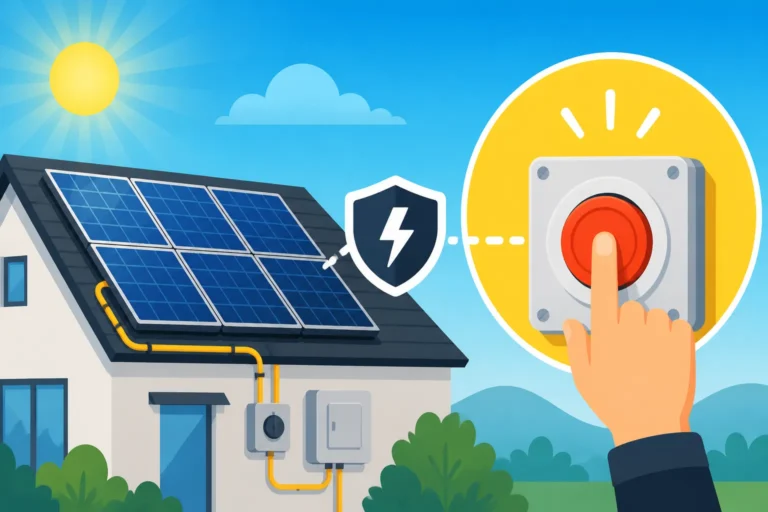
- Safety Measures: This includes verifying rapid shutdown capabilities (a crucial safety feature in California that allows emergency responders to de-energize your system quickly), proper labeling of electrical components, and clear access paths on the roof for firefighters.
- Matching Approved Plans: The inspector will compare the physical installation to the stamped, approved permit drawings. Any deviations could lead to a failed inspection.
Common reasons for inspection failures often stem from minor code violations, such as incorrect labeling, exposed wiring, or issues with grounding. Your installer should be present during the inspection or at least be readily available to address any questions. They'll know exactly what the local inspectors are looking for. Our detailed guide on Solar Inspection & Permission to Operate PTO covers this in more depth.
Connecting to the Grid: The PTO Process
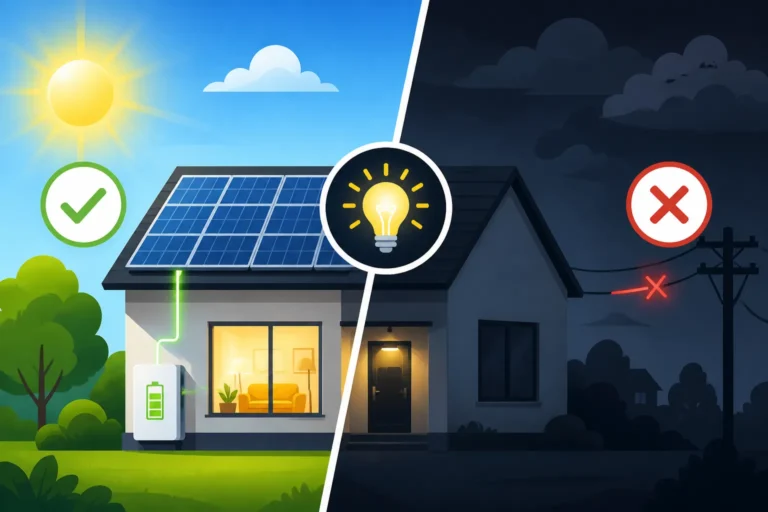
Even after passing the final inspection, you cannot legally turn on your system until your utility company grants you Permission to Operate (PTO). In California, your utility might be Pacific Gas and Electric (PG&E), Southern California Edison (SCE), or San Diego Gas & Electric (SDG&E), among others. This step is vital for ensuring your system can safely and reliably connect to their electrical grid.
Here's how the PTO process generally works:
- Post-Inspection Notification: After your local jurisdiction passes the final inspection, they will notify your utility company.
- Net Meter Installation/Programming: The utility will verify your meter is capable of net metering (or net billing, under NEM 3.0 in California). If you have an older meter, they might need to install a new bidirectional meter or re-program your existing one to accurately track the electricity you send to and draw from the grid. This is a critical component of how you save money with solar, which you can learn more about in our article on Net Metering Explained How It Works by State.
- Utility Review: The utility company reviews your system's interconnection application and the inspection results. They confirm that your system meets their technical requirements and won't negatively impact grid stability.
- PTO Granted: Once everything checks out, the utility sends you an official letter or email granting you PTO. This is the green light! Only then can you energize your system and start generating your own electricity.
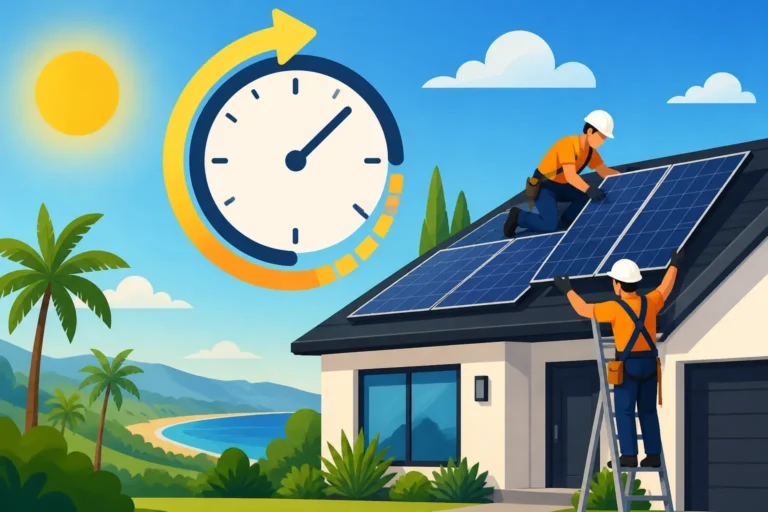
The timeline from final inspection to PTO can vary, typically taking anywhere from a few days to several weeks, depending on the utility's backlog and the specifics of your system. It's an exciting moment when you finally get that PTO approval and can switch your system on, knowing all the hard work and patience have paid off. For a deeper dive into how this affects your savings in the current California landscape, check out How Much Does Solar Cost in California After NEM 3.0?.
Navigating Common Hurdles and Saving Time
While the general steps are clear, the path isn't always smooth. California's diverse landscape and local governance can throw a few curveballs your way.
Local Ordinances and HOAs
California is a patchwork of municipalities, each with its own quirks. What flies in one city might be a no-go in another. For example, some cities have very strict aesthetic requirements, especially in historic districts or areas with strong homeowner association (HOA) covenants. Your solar panels might need to be recessed or blend in with the roofline, adding complexity to the design.
Here's a quick look at common local variations and challenges:
| Aspect | Potential Local Variation / Challenge | Impact on Permitting |
|---|---|---|
| Aesthetic Requirements | Specific color matching, low-profile mounting, no visible conduits | Can require more detailed architectural drawings; potential for additional design costs. |
| Historic Districts | Stricter aesthetic guidelines, review by preservation committees | Longer review times, possible limitations on panel visibility. |
| Zoning Setbacks | Minimum distance panels must be from property lines or roof edges | Can limit system size or placement options. |
| Fire Access Paths | Required clear pathways on roofs for firefighters | May affect panel layout and density. |
| Specific Local Forms/Fees | Unique application forms, varying fee structures | Adds administrative complexity if not using an experienced local installer. |
| HOA Approval | Separate approval process, often requiring additional documentation | Can add significant time; HOAs sometimes deny requests despite state laws supporting solar. |
Even with California's strong Solar Rights Act (which generally prevents HOAs from outright prohibiting solar), they can still impose "reasonable" restrictions that might affect system size or placement. It's crucial to understand your HOA's specific rules early on and involve them in the process.
The Role of Your Solar Installer
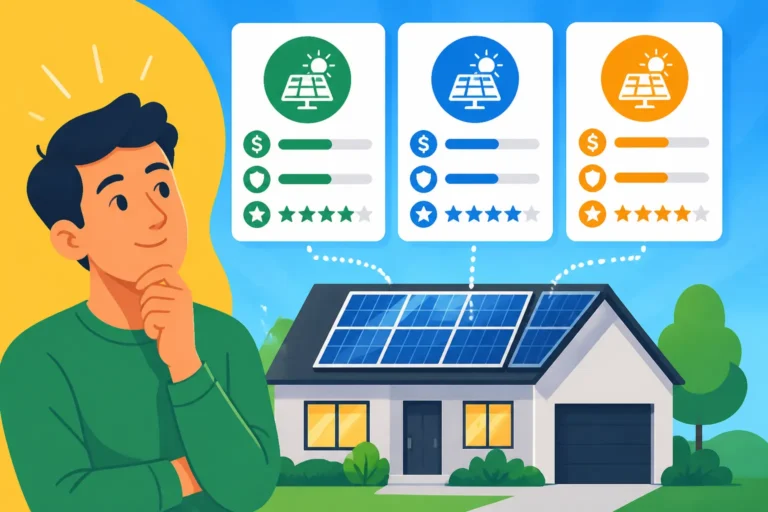
Let's be honest, for most homeowners, tackling this entire permitting process solo would be a nightmare. This is precisely why choosing a reputable and experienced solar installer is one of the most critical decisions you'll make. They are the experts who live and breathe this stuff every day.
A good installer will:
- Handle the Paperwork: They'll prepare all the intricate plans, diagrams, and forms required by your local jurisdiction and utility company.
- Navigate Local Regulations: They know the specific requirements for different cities and counties within California, including the quirks of places like San Jose, Sacramento, or Irvine. They often have established relationships with local permitting offices, which can help streamline the process.
- Manage Revisions: If your plans get kicked back for revisions, your installer will know exactly what adjustments are needed and resubmit them efficiently.
- Coordinate Inspections: They'll schedule inspections and ensure your system is ready for the inspector, often attending the inspection themselves.
- Facilitate PTO: They'll work directly with your utility company to ensure your interconnection agreement is processed and you receive PTO as quickly as possible.
This expertise is invaluable and can save you immense amounts of time, stress, and potential headaches. When you're asking What Questions to Ask a Solar Installer, don't forget to inquire about their experience with permitting in your specific area and their typical timeline for securing permits. Brands like Modernize can be a great resource for connecting you with local installers who have a proven track record of successful permitting.
Preparing for Success
While your installer will handle the heavy lifting, there are things you can do as a homeowner to contribute to a smooth permitting process:
- Stay Informed: Ask your installer for updates and don't be afraid to ask questions. Understanding the next steps can alleviate anxiety.
- Keep Records: Keep copies of all signed documents, applications, and communications related to your solar project. This includes the permit itself, once issued.
- Be Patient: Bureaucracy moves at its own pace. While good installers work to expedite the process, there will inevitably be waiting periods during plan review and utility approval. On average, the entire Solar Installation Timeline What to Expect from contract signing to PTO can be a few months.
- Understand Your Local Rules: Even with an installer, a basic understanding of your city or county's specific solar permit process, which you can often find on their official website, can be incredibly empowering.
By partnering with a knowledgeable installer and understanding the process, you can navigate the solar permit process in California more effectively, leading to a quicker, smoother installation and faster access to those sweet solar savings.
Disclaimer
Please remember that local regulations and utility policies for solar permits and interconnection can change. The information provided here is for general guidance only and should not be considered legal or professional advice. Always consult with a qualified solar installer and your local authorities for the most accurate and up-to-date information pertaining to your specific project and location in California.