Solar Inspection & Permission to Operate (PTO)
The moment you decide to go solar, you envision skyrocketing electricity bills disappearing, replaced by clean, free power from the sun. But between signing the contract and actually flipping the switch, there's a crucial, often frustrating waiting period involving inspections and approvals. This guide will walk you through the entire process of solar inspections and Permission to Operate (PTO), demystifying what happens behind the scenes so you know exactly what to expect and how to navigate this final hurdle.
What is a Solar Inspection, Anyway?
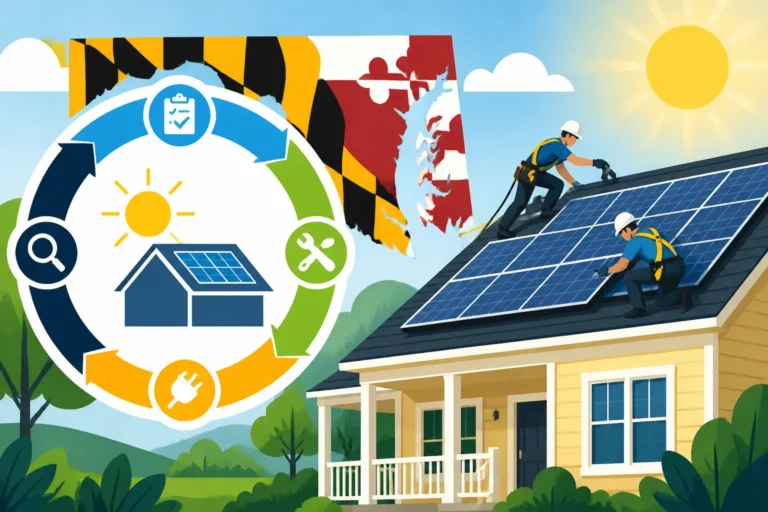
You might think once the panels are on the roof and the wires are run, you're good to go. Not quite! A solar inspection is essentially a quality control and safety check, mandated by local authorities and your utility company, to ensure that your brand-new solar system was installed correctly and meets all the necessary electrical and structural codes. It's a critical step to protect you, your home, and even the folks working on the grid.
Types of Inspections You'll Encounter
The journey to getting your solar system fully approved often involves more than just one quick look-over. Depending on where you live and the complexity of your system, you might encounter a few different types of inspections, each with its own focus. It's not just about aesthetics; it’s about making sure everything is sound, safe, and up to snuff from a technical standpoint.
First up, you might have a "rough-in" inspection. This happens before anything is buttoned up and hidden behind walls or in the attic. Think of it like a pre-flight check. Inspectors want to see the wiring, conduits, and mounting structures before they’re covered up. This allows them to verify that the electrical pathways are properly installed, junctions are secure, and structural supports are correctly anchored. Catching issues at this stage is far easier and less costly than after everything is finished.
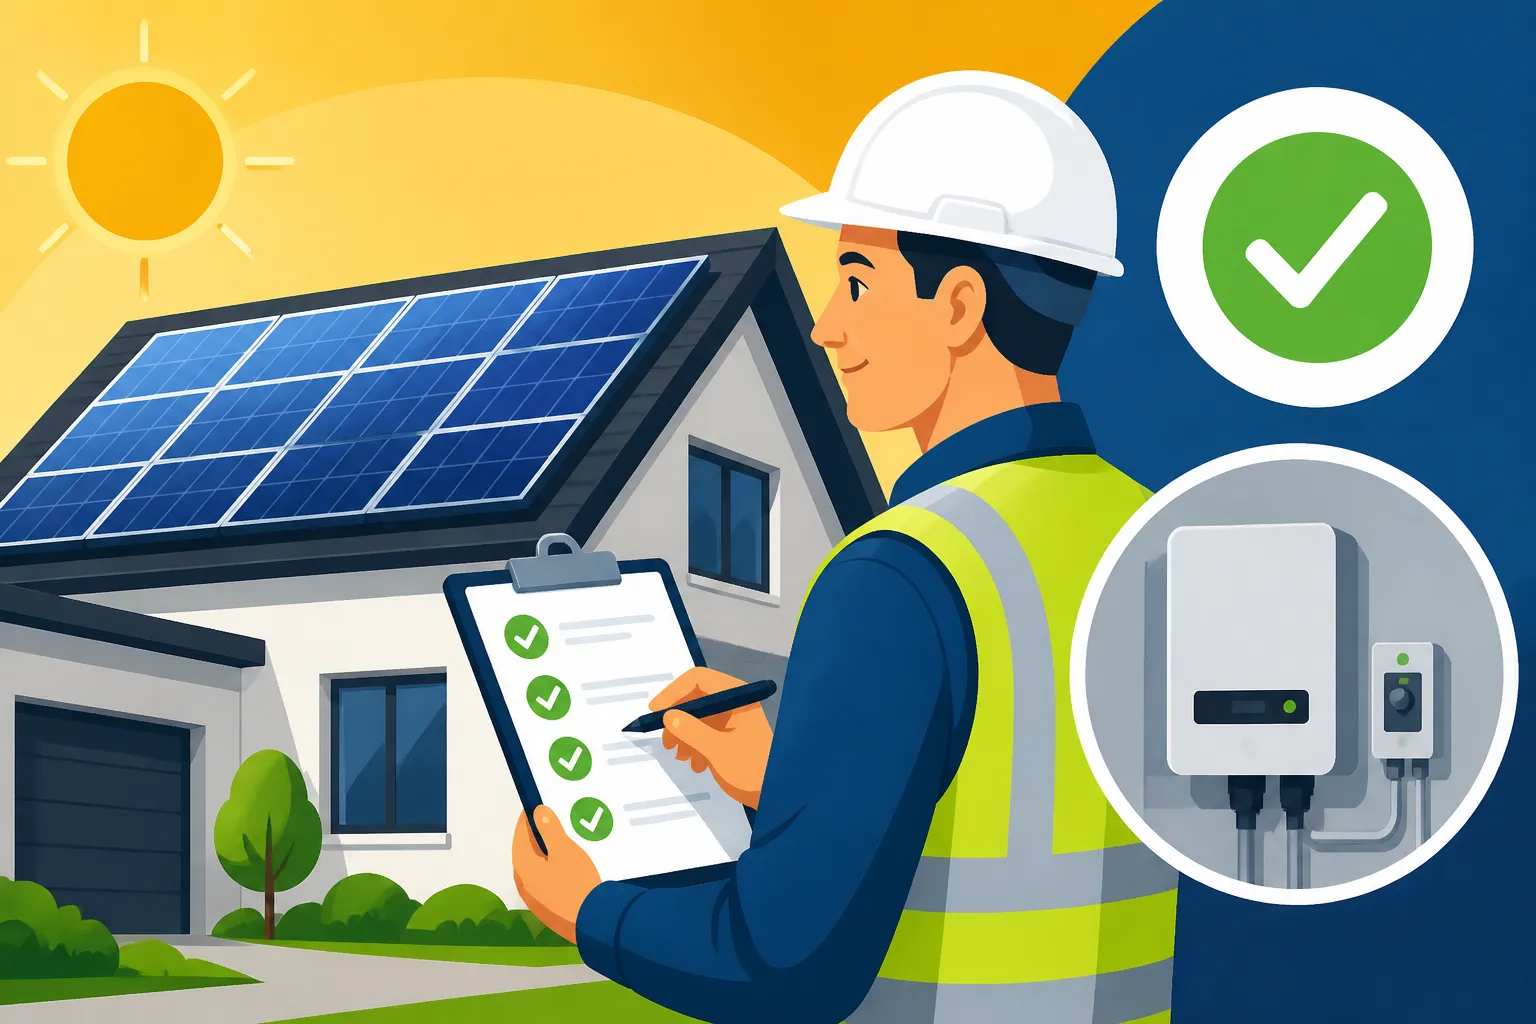
Then comes the final electrical inspection, which is usually the big one. This is when the local Authority Having Jurisdiction (AHJ) — typically your city or county building department — comes out to give the entire electrical system a thorough once-over. They’ll check the inverter, the main service panel, the grounding, surge protection, and all the wiring connections. They’re looking for compliance with the National Electrical Code (NEC) and any local amendments. It’s a very detailed check, and even small deviations can lead to a failed inspection, requiring your installer to come back and fix things.
Finally, there's often a structural inspection, though sometimes this is combined with the final electrical. The goal here is to ensure that your roof can safely support the added weight of the solar panels and racking, especially in areas prone to heavy snow loads or high winds. They'll verify the integrity of the roof structure itself and how the solar mounting system is attached. This is often based on engineering plans submitted during the permitting phase, making sure the actual installation matches the approved design.
Who Conducts the Inspection?
It's common for homeowners to get confused about who exactly is showing up at their door with a clipboard and a critical eye. Generally, there are two main entities involved in the inspection process: your local Authority Having Jurisdiction (AHJ) and, separately, your utility company. Each has its own distinct role and set of criteria.
The AHJ inspection is typically conducted by a licensed building or electrical inspector from your city or county. These are the folks who enforce local building codes, including the National Electrical Code. Their primary concern is public safety and ensuring that the installation adheres to all local ordinances and approved plans. They're looking at the physical installation, the wiring, the safety disconnects, and whether the system aligns with the permits they issued. Passing this inspection is a prerequisite for moving forward, and your solar installer is responsible for scheduling and facilitating it.
After your system passes the AHJ inspection, it's the utility company's turn. They need to give their stamp of approval, known as Permission to Operate (PTO), before you can actually energize and connect your solar system to their grid. The utility's inspection focuses on ensuring the system can safely interconnect with their infrastructure. They’ll verify things like the proper installation of your Net Metering Explained How It Works by State equipment, the required utility-accessible disconnect switches, and often, that the system size matches what was approved in your interconnection agreement. They aren't as concerned with the granular details of your roof mounting as the AHJ might be, but rather with the safety and stability of the grid connection.
The Importance of Inspections for Your Home Solar System
Going through inspections can feel like a bureaucratic hurdle, adding time and sometimes a bit of stress to your solar journey. However, it's absolutely crucial for several compelling reasons that directly benefit you as the homeowner. These checks aren't just red tape; they are vital safeguards for your investment, your family, and your peace of mind. Without proper inspections, you could be facing serious issues down the line that are far more disruptive and costly to fix.
Ensuring Safety and Code Compliance
This is hands down the most critical reason for solar inspections. Electricity and rooftop installations carry inherent risks, and a poorly installed system can pose significant hazards. Imagine faulty wiring leading to an electrical fire, or an improperly secured system failing during a severe storm, causing damage to your roof or even flying debris. These aren't just hypothetical fears; they are real possibilities if installations bypass proper safety checks.
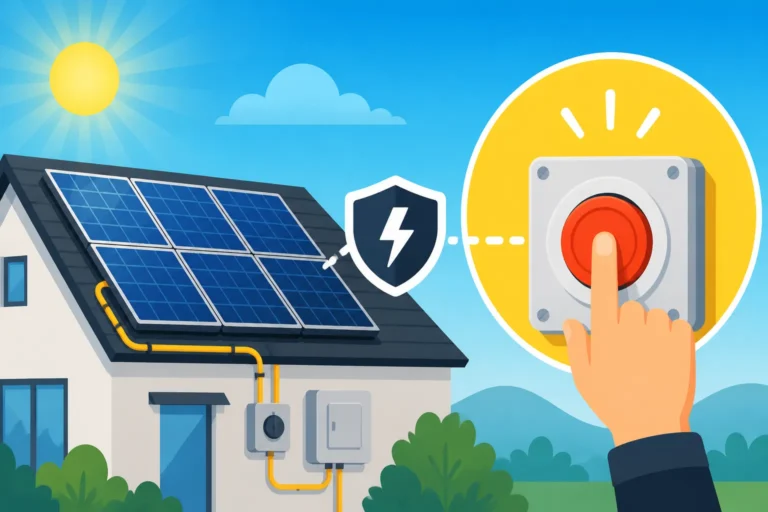
Inspectors are trained to spot these dangers. They ensure that all components, from the panels themselves to the inverters and wiring, are installed according to the National Electrical Code (NEC) and any specific local building codes. This includes verifying proper grounding, correct wire sizing, appropriate conduit use, and the functionality of rapid shutdown devices which are essential for firefighter safety. When an inspector signs off on your system, it’s a professional affirmation that your installation meets rigorous safety standards, giving you confidence that your home and family are protected. This compliance also ensures your system is recognized by insurance providers, which is a detail you definitely don't want to overlook.
Protecting Your Investment
Installing solar panels is a significant financial decision, and like any major home improvement, you want to ensure it’s done right. Inspections act as an independent verification of the quality of your installer's work. It's a layer of accountability that ensures you're getting what you paid for—a professionally installed, safe, and efficient solar power system designed to last for decades.
Without these checks, you'd be solely relying on your installer's word, and while most solar companies are reputable, mistakes can happen. An inspector might catch an issue that could lead to premature system degradation, reduced energy production, or even voided warranties. For example, if a specific type of racking isn't installed correctly, it could put undue stress on the panels or your roof, potentially leading to costly repairs years down the line. A successful inspection confirms that your system is built to perform optimally and safely for its entire lifespan, maximizing your Solar ROI & 25-Year Savings Breakdown. This protection extends to ensuring that your system will be eligible for any State Solar Incentives Complete 2026 Guide or Federal Solar Incentives That Still Exist in 2026 that might be available, as non-compliant systems typically aren't.
Understanding Permission to Operate (PTO)
The moment you pass your final inspection, you’re on the cusp of truly going solar. But there’s one last, absolutely non-negotiable step before you can actually start generating electricity and sending it back to the grid: Permission to Operate, or PTO. It’s a term you’ll hear a lot throughout the process, and understanding what it means and why it’s so important can save you a lot of headache and impatience.
What PTO Means for You
Simply put, PTO is the official green light from your utility company that allows you to turn on your solar power system and connect it to the electrical grid. Without PTO, your system is, for all intents and purposes, a very expensive roof decoration. It’s illegal to operate a grid-tied solar system without this official approval. Think of it like getting the keys to a new car—you can sit in it, but you can’t drive it off the lot until the paperwork is done.
Once you have PTO, you can finally enjoy the benefits you’ve been waiting for. Your panels will start converting sunlight into electricity, powering your home, and, if you're generating more than you consume, sending the excess back to the grid. This is where your savings really begin to accumulate, thanks to programs like Net Metering Explained How It Works by State or Solar Buyback Programs in Texas. The PTO document is a tangible confirmation that all regulatory hurdles have been cleared and your system is officially ready to perform its job.
The Role of the Utility Company
While your local building department (the AHJ) is focused on construction and electrical code compliance, the utility company's role in PTO is entirely about grid safety and stability. They need to ensure that your new power source won't negatively impact their existing infrastructure, cause voltage fluctuations, or pose a risk to their line workers. They're also concerned with accurate metering to ensure you're credited correctly for any excess power you export.
The utility typically conducts its own final review after your system has passed the AHJ inspection. This review might be purely administrative, checking submitted documents against their internal requirements, or it might involve a brief physical inspection by a utility representative to verify the presence and proper installation of essential components like the utility-grade disconnect switch and the bidirectional meter. Many utilities use a two-meter system where one meter tracks energy imported from the grid and another tracks energy exported to the grid, or a single bidirectional meter that tracks both. This process ensures smooth and safe integration of your private energy generation into the larger public grid.
The Journey to PTO: Navigating the Final Steps
The path from a fully installed solar system to receiving that coveted Permission to Operate can feel a bit like a marathon, especially after the physical installation is complete. It's a bureaucratic journey, but understanding each stage will help manage your expectations and keep you informed. Your solar installer typically handles much of this administrative legwork, but knowing what's happening empowers you to follow up if things seem to be dragging.
From Application to Approval
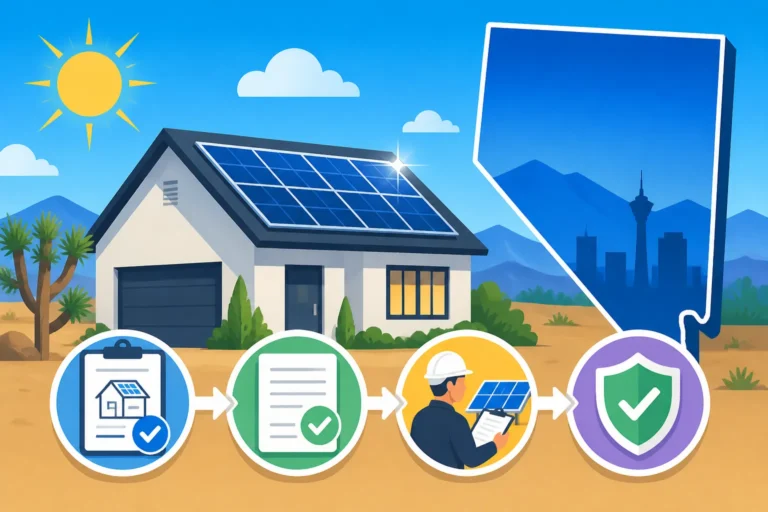
Once your solar panels are mounted, the inverters are in place, and all the wiring is complete, your installer will usually schedule the necessary local building department inspections (AHJ inspections). After these pass, your installer compiles all the documentation—proof of passed inspections, technical specifications, and the interconnection agreement—and submits it to your utility company. This is the formal application for PTO.
The utility then reviews this packet. They’re checking for consistency between what was approved in the initial interconnection application and what was actually installed and inspected by the local authority. Sometimes, they'll dispatch their own personnel for a final site visit to verify critical components like the new meter or the external disconnect switch. This stage can vary greatly in duration; some utilities are very quick, turning around approvals in a week or two, while others, particularly larger ones in high-solar-adoption areas, can take several weeks or even longer. Your solar installer should keep you updated on this progress. Companies like Modernize often work closely with homeowners to ensure all necessary paperwork is processed efficiently to minimize these waiting periods.
Documentation Requirements
You might be surprised by the sheer volume of paperwork involved in getting solar panels approved. It's not just about the installation; it's about meticulously documenting every step to ensure compliance and safety. For homeowners, this primarily involves working closely with their installer to ensure everything is submitted correctly and on time.
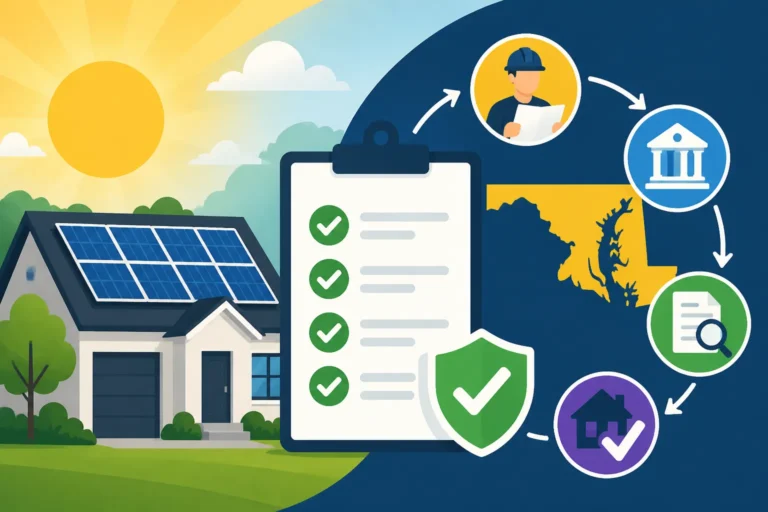
Typically, the documentation required for PTO includes:
- Passed Inspection Certificates: Proof that your local building department (AHJ) has signed off on the electrical and structural integrity of the system.
- Interconnection Agreement: The contract you signed with your utility company outlining the terms of connecting your solar system to their grid and how they will handle excess electricity.
- System Design Plans: Detailed schematics of your solar array, including panel layout, wiring diagrams, inverter specifications, and safety components. These plans would have been submitted when applying for your initial permits.
- Equipment Specifications: Cut sheets or spec sheets for all major components, such as the solar panels, inverters (e.g., Enphase IQ8 Microinverter Review), and any batteries (like a Tesla Powerwall 3 Review).
- Net Metering Application: If applicable, the specific application for Net Metering Explained How It Works by State or a similar billing structure that credits you for exported power.
Your installer is responsible for gathering and submitting most of these documents, but it's always a good idea to keep copies for your own records. Understanding what's required can help you prompt your installer if you feel the process is stalled due to missing paperwork.
Estimated Timelines for PTO
This is where the rubber meets the road, and often where homeowners experience the most frustration. The timeline for receiving PTO can be notoriously unpredictable and varies wildly depending on your location, the utility company, and even the time of year. While the physical installation of your solar panels might take only a few days, the administrative and inspection process can stretch for weeks or even months.
Here’s a rough breakdown of what to expect:
| Stage | Estimated Timeframe | Key Players | Common Hurdles |
|---|---|---|---|
| Permit Application & Approval | 2-8 weeks | Installer, AHJ | Incomplete applications, AHJ backlog, complex local codes. |
| System Installation | 1-5 days | Installer, Crew | Weather delays, unexpected roof issues, material availability. |
| AHJ Inspections (Rough-in/Final) | 1-4 weeks (scheduling & inspection) | AHJ, Installer | Inspector availability, failed inspections requiring re-schedules, specific local requirements. |
| Utility Interconnection Application | 1-2 weeks | Installer, Utility | Utility backlog, missing documentation, specific utility requirements. |
| Utility Review & Meter Swap/PTO | 2-8 weeks | Utility, Installer | Utility scheduling for meter swap, high volume of applications, system verification. |
| Total Time to PTO (Post-Installation) | 4-20+ weeks | Varies | Varies significantly by location and utility. |
As you can see, the post-installation period, encompassing AHJ inspections and utility PTO, can easily take 1-4 months or more in some areas. For example, homeowners in California, especially under new rules like What Is NEM 3.0 California Net Billing often report longer waiting times due to the sheer volume of solar installations and the utility's processing queues. Your solar installer should be able to provide a more specific estimate based on their experience in your local area. Patience is key, but consistent communication with your installer can help nudge things along.
Common Inspection Pitfalls and How to Avoid Them
It’s completely understandable to feel eager to flip the switch on your new solar system, but rushing the process or overlooking details can lead to costly delays. Failed inspections are a common hiccup on the road to PTO, and they can add weeks or even months to your timeline. Knowing what typically goes wrong can help you, and more importantly, your installer, prepare better and avoid these frustrating setbacks.
Typical Reasons for Failed Inspections
While your solar installer is ultimately responsible for ensuring the system passes inspection, understanding common pitfalls can empower you to ask the right questions and ensure due diligence. Many of these issues boil down to either poor workmanship or a misunderstanding of specific local codes.
One of the most frequent reasons for a failed inspection is non-compliance with electrical codes. This can manifest in many ways: improper wire gauging for the current carried, incorrect grounding, conduits not properly secured or sized, electrical labels missing or incorrect, or even something as seemingly minor as a junction box not being fully sealed. Inspectors are very particular about the National Electrical Code (NEC), and even small deviations are grounds for failure.
Another common issue relates to structural integrity and mounting. Inspectors check that the racking system is securely attached to your roof and can withstand local wind and snow loads. Problems arise if the attachments aren't properly flashed (leading to potential leaks) or if the structural supports don't meet engineering specifications. Occasionally, an inspector might find that the initial assessment of your Roof Considerations for Solar Panels wasn't thorough enough, revealing underlying issues.
Finally, missing or incorrect documentation is a simple but frustrating reason for delays. If the plans submitted for the permit don't exactly match the installed system, or if a critical document like an equipment spec sheet is missing from the installer's packet, the inspection will be halted. This highlights the importance of working with a meticulous installer who understands the local requirements. An installer found through a service like Modernize should be well-versed in these specific local regulations.
Preparing for Your Inspection
While your solar installer handles the technical aspects of the installation and communication with inspectors, there are still ways you can contribute to a smooth inspection process. Being prepared, even in small ways, can make a difference.
First and foremost, ensure clear access to all components. This means making sure the area around your electrical panel, inverter, and any exterior disconnects is clear of obstructions. If the inverter is in your garage, move boxes or parked cars away from it. If the electrical panel is in a basement, make sure it’s easily accessible. Inspectors won't move your belongings, and if they can't access what they need to see, it's an automatic reschedule.
Secondly, confirm your installer has submitted all required documentation. While this is their job, a quick check-in to confirm everything is filed correctly can't hurt. You might ask if they have a checklist they follow for your specific jurisdiction. This proactive step can prevent delays stemming from administrative oversights. Your installer should also be present during the inspection to answer any questions the inspector might have and to immediately address minor issues if they arise.
Lastly, be patient but ready to follow up. After the AHJ inspection, the ball moves to the utility company for PTO. If several weeks pass after your final AHJ inspection and you haven't heard anything, don't hesitate to reach out to your installer for an update. They should be tracking the PTO status and can often expedite things by contacting the utility directly. This proactive approach helps ensure you move towards What Happens After Solar Is Installed without unnecessary delays.
Life After PTO: Monitoring and Maintenance
Congratulations! You've navigated the inspections, survived the waiting game, and finally received your Permission to Operate. This is the moment you've been eagerly anticipating. Your solar journey, however, doesn't end here. Now begins the exciting phase of enjoying your system's benefits and ensuring it continues to operate efficiently for years to come.
Activating Your System
Receiving PTO is the official signal that you can now turn on your solar system. In most cases, your installer will either be present or guide you remotely through the simple steps to energize your system. This usually involves flipping a few breakers or switches in your main electrical panel and at the inverter. It's a surprisingly straightforward process, considering the complexity of what went into getting it approved.
Once activated, your solar panels will immediately start converting sunlight into electricity. If it's a sunny day, you'll see your meter spinning backward (or showing negative consumption on a digital display) as you feed excess power back to the grid. This is also when you typically gain access to your system's monitoring portal, which is often a feature built into your inverter or provided by a third-party service. This portal will allow you to track your system's performance, see how much electricity you're generating, and monitor your energy consumption. It’s a rewarding experience to watch your energy production in real-time.
Ongoing Performance Checks and Maintenance
Just like any other major appliance or system in your home, your solar panels benefit from occasional checks and a bit of care to ensure they're always performing at their best. While solar systems are generally low-maintenance, a proactive approach can maximize your energy production and extend the lifespan of your investment.
One of the most valuable tools for ongoing performance checks is your monitoring system. Most modern solar setups come with an app or web portal that shows you daily, weekly, monthly, and annual production data. Regularly checking this data allows you to quickly identify any dips in production that might indicate an issue. For instance, if you notice a sudden, significant drop in output on a perfectly sunny day, it could signal a problem with an inverter, a specific panel, or even just accumulated dirt. Services like Enphase and SolarEdge provide excellent, user-friendly monitoring platforms.
Beyond digital monitoring, physical maintenance is also important, though often less frequent than people assume. Primarily, this involves keeping your panels clean. Dust, pollen, bird droroppings, and leaves can accumulate on the surface of your panels, blocking sunlight and reducing efficiency. In most climates, natural rainfall is often enough to keep them reasonably clean, but in dry, dusty regions or areas with heavy tree coverage, a periodic cleaning (once or twice a year) might be beneficial. You can learn more about this in articles like Solar Panel Maintenance & Cleaning.
You should also keep an eye out for any physical damage to the panels or wiring, especially after severe weather events. While rarely needed, remember your Solar Panel Warranties Explained cover defects and significant performance degradation. If you ever suspect a major issue, always contact your solar installer or a qualified solar technician to investigate. Regular, simple checks and minimal cleaning will ensure your solar system keeps delivering clean energy and savings for decades.
Disclaimer
Please note that this content is intended for informational purposes only and does not constitute professional advice. Solar regulations, incentives, and utility policies can vary significantly by location and are subject to change. Always consult with qualified solar professionals and your local authorities for specific guidance tailored to your situation.