How to Install Solar Panels on a Wood Shake Roof
Installing solar panels on a wood shake roof can feel like navigating a minefield. You adore the rustic charm and natural insulation your wood shake provides, but the thought of drilling into those precious, often brittle shingles for a solar array can bring on a wave of anxiety about leaks, damage, or even compromising the roof's lifespan. This guide will walk you through the unique considerations, specialized techniques, and crucial steps to ensure a successful, leak-free solar installation on your beautiful wood shake roof.
Understanding the Unique Nature of Wood Shake Roofing
Before diving into the specifics of solar installation, it's essential to appreciate what makes wood shake roofs so different from their asphalt shingle or metal counterparts. These differences directly impact how solar panels need to be mounted and integrated to ensure both efficiency and the long-term integrity of your home.
The Character of Wood Shake
Wood shake roofs are crafted from split logs, typically cedar, redwood, or cypress, creating thick, uneven shingles with a distinct texture and appearance. Unlike uniform asphalt shingles, wood shakes vary in thickness, width, and shape, meaning no two pieces are exactly alike. This natural variation is part of their appeal, offering a rustic aesthetic that many homeowners cherish. However, this same irregularity presents unique challenges for solar installers. Standard mounting hardware, designed for flat, consistent surfaces, can struggle to create a truly watertight and stable seal on the undulating surface of a shake roof.
Furthermore, wood is an organic material that expands and contracts with changes in temperature and humidity. It also weathers over time, becoming more brittle and prone to splitting, especially after years of exposure to sun, rain, and snow. This inherent characteristic means that any penetration for solar mounts must account for this movement and potential fragility, making proper sealing and flashing absolutely critical to prevent future leaks or damage. An experienced solar installer will recognize these characteristics immediately during the initial site survey.
Age and Condition Considerations for Your Roof
The age and current condition of your wood shake roof are perhaps the most critical factors determining the feasibility and cost of a solar installation. A brand-new or relatively young (under 10-15 years) and well-maintained wood shake roof is generally a good candidate for solar, provided the right installation methods are used. The shakes are still flexible enough to accommodate mounting hardware without excessive splitting, and the underlying felt or synthetic underlayment is likely in good shape, offering a robust secondary barrier against moisture.
However, if your wood shake roof is nearing the end of its typical lifespan (often 20-30 years, sometimes more with proper maintenance), or if it shows significant signs of wear such as curling, excessive cracking, moss growth, or rot, installing solar panels might not be the best idea without prior repairs or even a full roof replacement. Drilling into old, brittle shakes can cause them to shatter, creating numerous potential leak points. Moreover, you don't want to install an expensive solar array on a roof that will need replacing in a few years, as uninstalling and reinstalling panels adds significant cost and hassle. It's often recommended to address any major roof issues or consider a full replacement before undertaking a solar project. This foresight can save you a lot of headache and money down the line. You can explore more about whether you need to Do I Need a New Roof Before Solar? in our detailed guide.
Specific Challenges for Solar on Wood Shake Roofs
Installing solar panels always requires careful planning, but wood shake roofs introduce a few particular hurdles that demand specialized approaches. These go beyond the standard concerns and require installers with specific expertise.
Maintaining Roof Integrity and Preventing Leaks
The primary challenge with any roof-mounted solar system is maintaining the roof's watertight integrity, and this is exponentially more complex with wood shake. Traditional solar mounting systems often use lag bolts directly into roof rafters, sealed with a metal flashing that slides under the shingles. While effective on asphalt, this method can be problematic for shakes.
Firstly, the irregular thickness and uneven surface of wood shakes make it difficult for standard flashing to lie flat and create a tight seal. Water can wick underneath the flashing where it doesn't meet the shake perfectly. Secondly, drilling through a shake can easily cause it to split, creating a vulnerability that even the best sealant might not fully protect. The thermal expansion and contraction of wood also means that any rigid seal around a mount can be compromised over time as the wood moves. Installers must use specific techniques and hardware designed to accommodate these movements and irregularities. For instance, some specialized flashings are designed with a wider surface area or unique gasket systems to better conform to the uneven surface.
The goal is to not only prevent immediate leaks but also to ensure the long-term health of the roof system underneath. A poorly executed installation can lead to insidious leaks that might go unnoticed for months or even years, causing significant damage to the roof decking, attic, and interior of your home. This is why choosing the right solar installer, one with specific experience in wood shake roofs, is paramount.
Fire Safety and Code Compliance
Wood shake roofs, by their very nature, introduce unique fire safety considerations. While modern building codes have significantly improved the fire resistance of new wood shake products and installation practices, older roofs may still pose a higher risk. When adding solar panels, which generate electricity and heat, it's crucial to ensure that the installation meets all local and national fire codes, particularly those related to rooftop photovoltaic (PV) systems.
The National Electrical Code (NEC) outlines specific requirements for rapid shutdown systems and clear pathways for firefighters on roofs with solar panels. For wood shake, additional concerns might arise regarding the materials used for mounting, the spacing between panels and the roof surface for ventilation, and the overall assessment of the roof's fire rating. Some jurisdictions may have stricter requirements or necessitate specific materials for mounting solar on wood shakes to mitigate fire risk. For example, some specialized flashing systems might also be designed with fire-resistant materials. Any reputable solar installer will be well-versed in these codes and will ensure your system is compliant. They'll obtain the necessary permits and inspections, which is a critical step in the solar installation timeline, especially for unique roof types like wood shake.
Specialized Mounting Techniques for Wood Shake
Successfully installing solar on a wood shake roof hinges on employing specialized mounting techniques and hardware that address the material's unique properties. This isn't a job for a general contractor; it requires solar professionals who understand these nuances.
Advanced Flashing and Sealing Innovations
The most critical aspect of a leak-proof solar installation on wood shake is the flashing and sealing around each roof penetration. Standard "L-foot" mounts with simple metal flashing are often insufficient. Instead, installers will typically turn to advanced flashing solutions designed specifically for irregular or delicate roofing materials.
One common and highly effective approach involves using integrated flashing and mounting systems. Brands like IronRidge and S-5! offer specialized products that are engineered to work with various roof types, including wood shake. These systems might feature larger, more pliable flashing plates that can be manipulated to fit the contours of the shakes, or they may incorporate advanced gasket designs that compress to create a watertight seal around the lag bolt. Some systems might even use a "top-down" attachment method that minimizes the need to lift or disturb existing shakes excessively. The goal is always to create a multi-layered barrier against water ingress, often involving a combination of specialized flashing, high-grade sealants (like urethane-based sealants), and careful shingle manipulation. Installers will often lift the shake above the penetration, install the flashing directly to the roof decking or battens, and then carefully reseal and re-lay the shake. This meticulous process ensures that water runoff is directed over the flashing, just as it would be with the natural shingle overlap.
Minimizing Roof Penetrations
Every hole drilled into your roof is a potential weak point. Therefore, a key strategy for installing solar on wood shake is to minimize the number of penetrations as much as possible. This involves thoughtful system design and the selection of appropriate rail and racking systems.
Instead of mounting each panel individually, installers will typically use a rail-based system where multiple panels attach to a single set of rails, which are in turn secured to the roof at fewer, strategically chosen points. The layout of these rails will be optimized to align with the underlying roof rafters, ensuring secure attachment points. Some innovative racking systems, like those from Enphase or SolarEdge, are designed to reduce the overall hardware footprint. For example, systems with integrated microinverters often have a more streamlined mounting process.
Furthermore, a skilled installer will plan the array layout to avoid cutting or disturbing shakes unnecessarily. They will aim to align mounting points with existing shingle lines or gaps where possible, or carefully remove and replace individual shakes if necessary, rather than haphazardly drilling through them. This careful planning, combined with robust racking and flashing systems, ensures maximum structural integrity and minimizes the risk of water intrusion over the decades your solar system will be in place.
The Installation Process for Wood Shake Solar
The journey to going solar on a wood shake roof involves a series of critical steps, each requiring meticulous attention to detail and a high level of expertise. It's not just about slapping panels on; it's about careful integration.
Pre-Installation Assessment and Planning
The first and arguably most important step is a thorough pre-installation assessment. This isn't just a quick glance at your roof. A reputable solar installer will conduct a comprehensive site survey that includes:
- Roof Condition Analysis: A detailed inspection of your wood shake roof's age, condition, and structural integrity. They'll look for signs of rot, decay, splitting, or excessive moss growth. If the roof is too old or damaged, they might recommend repair or replacement before solar installation.
- Structural Review: Assessing the underlying roof framing to ensure it can safely support the additional weight of the solar panels and racking, especially important for older homes. This often involves an engineer's review.
- Shading Analysis: Identifying any trees, chimneys, or other obstructions that might shade your roof at different times of the day and year, which could impact solar production.
- Energy Needs Assessment: Analyzing your historical electricity bills to determine your average energy consumption and design a solar system that meets your specific needs.
- Permitting and Code Compliance: Researching local building codes, fire codes, and utility interconnection requirements specific to wood shake roofs in your area (e.g., in places like California or New York). They'll handle all the paperwork for permits and ensure the design adheres to all regulations.
During this phase, your installer will discuss different panel options, inverter types (like microinverters from Enphase or string inverters from SolarEdge), and mounting hardware specifically suited for wood shake. They should be able to clearly articulate how they plan to install and seal the mounts on your unique roof. This is also where you might get insights into What Affects the Cost of Solar Panels?.
Expert Installation and Post-Installation Care
Once the design is finalized, permits secured, and materials ordered, the physical installation can begin. For wood shake roofs, this phase demands exceptional craftsmanship.
- Preparation: The crew will carefully prepare the roof surface, clearing any debris. They will work methodically, often starting by mapping out the precise locations for each mount.
- Mounting Hardware Installation: This is where the specialized techniques come into play. Individual shakes might be gently lifted or temporarily removed to expose the roof decking. The mounting brackets are then securely attached to the rafters, followed by the specialized flashing designed for wood shake. High-grade sealants are applied meticulously to ensure a watertight seal around every penetration. The removed shakes are then carefully re-laid and sealed as needed.
- Racking System Assembly: The rails are then attached to the mounting brackets, forming the framework for the solar panels.
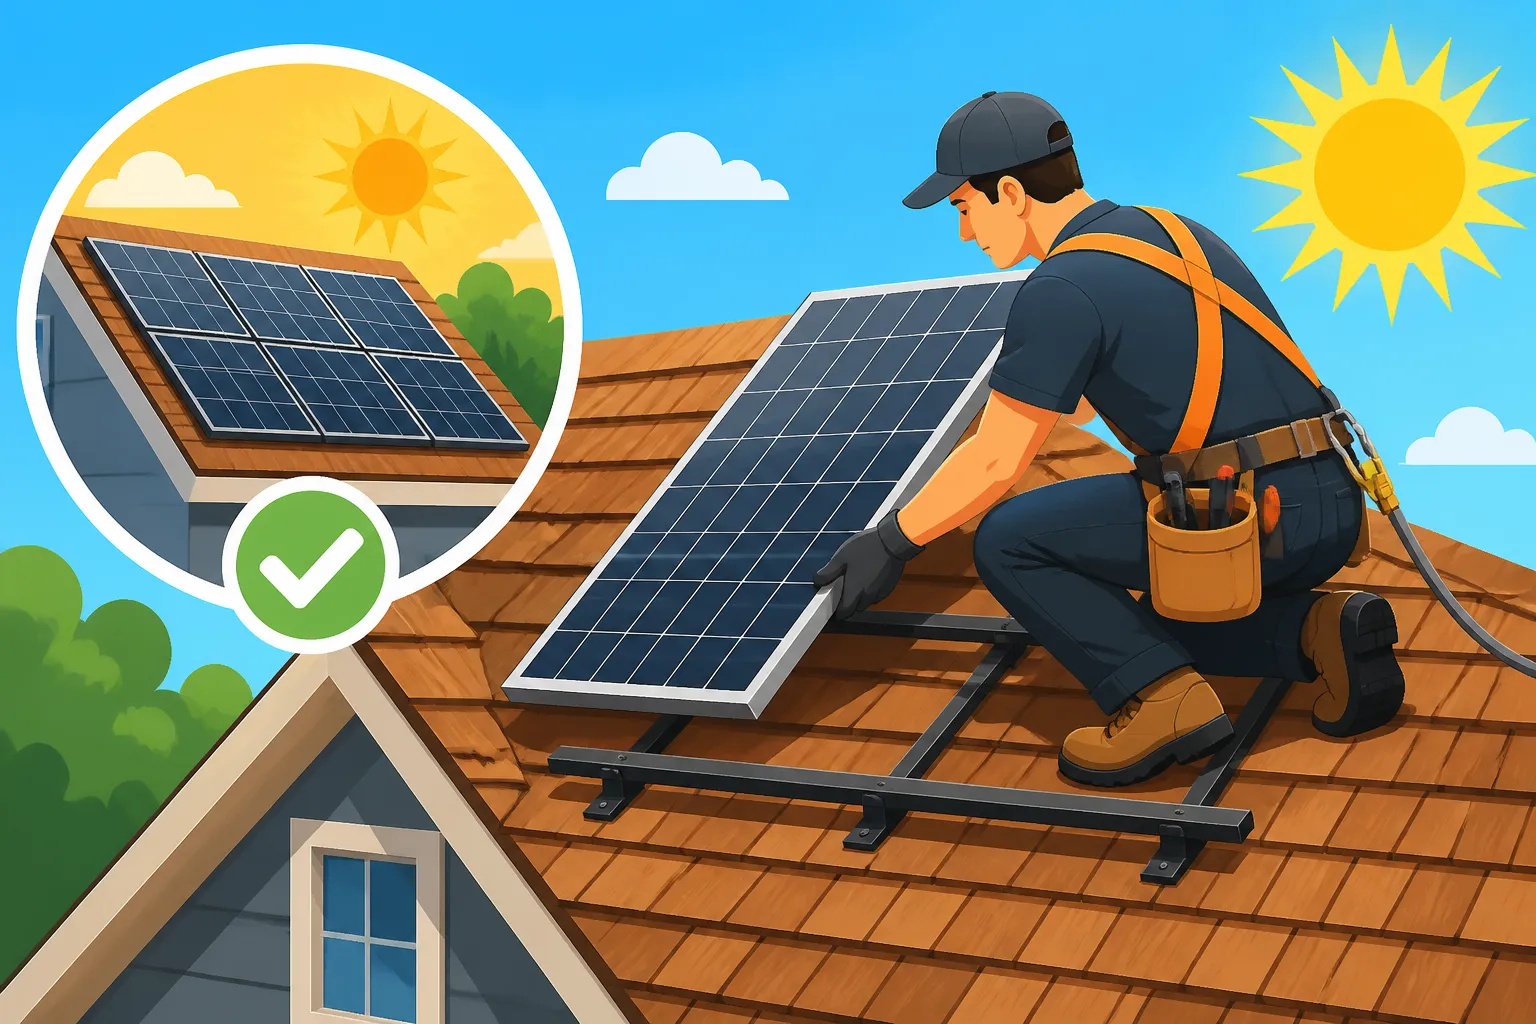
- Panel Installation: The solar panels are carefully lifted onto the roof and secured to the racking system. Electrical wiring is then routed and connected, often incorporating microinverters mounted directly under each panel or optimizers that connect to a central string inverter.
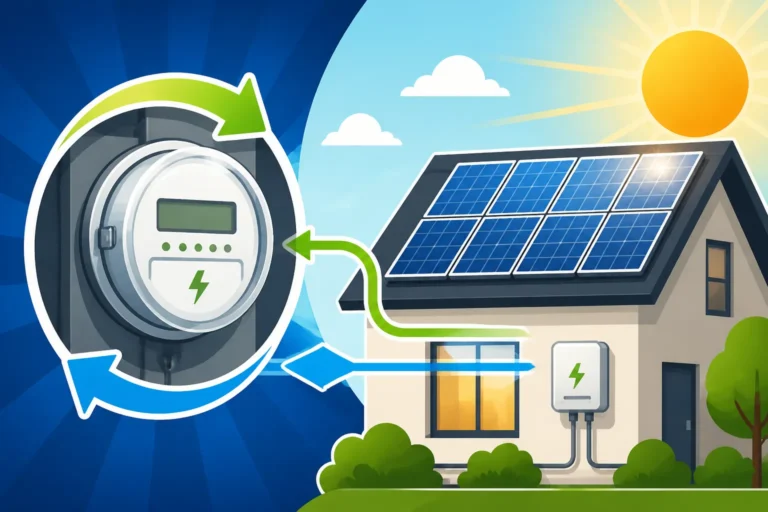
- Electrical Hookup: The system is connected to your home's electrical panel and then to the utility grid, often requiring a new net meter.
- Inspections and PTO: After installation, local building inspectors and the utility company will conduct final checks to ensure everything meets code and safety standards. Once approved, you'll receive "Permission to Operate" (PTO) from your utility, allowing you to activate your system and start generating your own clean energy. This crucial step is often detailed in guides like Solar Permitting & Interconnection (PTO) Explained.
Post-Installation Care:
Even after installation, ongoing care and monitoring are important. While solar panels require minimal maintenance, it's a good idea to periodically check your roof for any signs of wear or shifting shakes around the solar array. Reputable installers will provide warranties on their workmanship and often offer monitoring services to track your system's performance. For further insights on how to maintain your system, consider reading our guide on Solar Panel Maintenance & Cleaning.
Finding the Right Installer for Your Wood Shake Roof
Choosing the right solar installer is absolutely non-negotiable when you have a wood shake roof. This isn't the time to go with the cheapest bid unless they can prove their expertise. Here's what to look for:
- Demonstrated Experience with Wood Shake: Ask for specific examples of past projects on wood shake roofs. They should be able to describe the challenges and the specialized hardware and techniques they used. Photos of previous installations on similar roofs are a great sign.
- Certifications and Licensing: Ensure they are fully licensed, bonded, and insured in your state and local municipality. North American Board of Certified Energy Practitioners (NABCEP) certification for their lead installers is a strong indicator of expertise.
- Reputation and Reviews: Check online reviews on platforms like Google, Yelp, and the Better Business Bureau. Look for consistent positive feedback, especially concerning customer service and quality of work.
- Transparent Communication: A good installer will clearly explain the entire process, including any potential challenges specific to your wood shake roof, and answer all your questions patiently. They won't shy away from discussing specialized flashing or mounting methods.
- Comprehensive Warranties: Look for strong warranties on both equipment (panel and inverter product warranties, performance warranties) and, critically, on their workmanship and roof penetrations. A reputable company should stand behind their work with a solid guarantee against leaks.
- Multiple Quotes: It's always wise to get several quotes. Platforms like Modernize can help connect you with pre-screened installers in your area, allowing you to compare bids and expertise. When comparing, don't just look at the price; consider the proposed equipment, warranties, and the installer's specific experience with wood shake. You can learn more about how to vet potential companies in our guide on How to Choose a Solar Installer.
| Feature | Standard Asphalt Shingle Installation | Wood Shake Roof Installation (Specialized) |
|---|---|---|
| Roof Surface | Uniform, flat, consistent | Irregular, uneven, varying thickness |
| Primary Challenge | Preventing water intrusion at penetrations | Preventing splitting, ensuring watertight seal on uneven surface, accommodating wood movement |
| Typical Flashing | Standard metal L-foot flashing | Integrated flashing with gaskets, larger surface area, specific designs for shake/tile |
| Sealant Used | High-grade roof sealant (e.g., silicone, butyl) | High-grade, flexible sealants (e.g., urethane-based), applied meticulously in layers |
| Penetration Process | Drill through shingle, install flashing, seal | Gently lift/remove shakes, drill into decking/rafter, install specialized flashing, re-lay/seal shakes |
| Fire Safety | Standard code compliance | May require additional spacing, fire-rated components, careful assessment of roof's existing fire rating |
| Installer Skill | General solar installation experience | Specialized experience with delicate, irregular roofing materials; meticulous craftsmanship |
Disclaimer
Please remember that while this guide provides comprehensive information, it is not a substitute for professional advice. Always consult with a qualified and licensed solar installer and roofing professional before making any decisions regarding solar panel installation on your wood shake roof. Local codes, roof condition, and specific product specifications can vary greatly.