How Long Does Solar Installation Take in California?
Thinking about going solar in California is exciting, isn't it? You're picturing those panels gleaming on your roof, watching your electricity meter spin backward, and finally getting a handle on those ever-increasing utility bills. But then reality sets in: how long does this whole process actually take? It's easy to get overwhelmed by the timelines you hear, and the thought of waiting months for something you're so ready for can be frustrating. This guide is here to cut through the confusion, offering a realistic, step-by-step look at the typical solar installation timeline in the Golden State, from that first curious click to flipping the switch on your new, clean energy.
The Overall Solar Installation Journey in California: More Than Just a Few Days
Let's be upfront: while the actual physical installation of solar panels on your roof might only take a day or two, the entire process from your initial inquiry to generating your own power is a much longer journey. In California, a state known for both its progressive energy policies and its often-complex bureaucracy, you can generally expect the full solar installation timeline to range anywhere from two to four months, and sometimes even longer depending on a few key factors. This timeframe includes everything from initial consultations to the moment your utility gives you the "Permission to Operate" (PTO). It's a marathon, not a sprint, but knowing what to expect can make all the difference in managing your expectations and staying patient.
Initial Consultations and System Design Phase
This is where your solar dream starts to take shape! You'll begin by reaching out to solar companies, getting quotes, and discussing your energy needs. Many homeowners start this process by comparing options from reputable installers through platforms like Modernize, which can help streamline finding local experts. During these initial consultations, a solar professional will assess your home's energy usage, analyze your roof's suitability, and discuss different system options. This typically involves a site visit, where they'll measure your roof, check its condition, and look at your electrical panel.
Once you decide on an installer and a system, the design phase kicks off in earnest. Engineers will create detailed plans for your specific solar array, including panel placement, wiring diagrams, and inverter choices. This phase might also include structural evaluations to ensure your roof can handle the weight of the panels. This part of the journey is crucial for a successful installation and usually takes about one to three weeks. It's important to ask lots of questions here, ensuring you understand the proposed system and its expected performance. Choosing the right partner can significantly influence your overall experience, so make sure you understand How to Choose a Solar Installer.
The Permitting Process: Often the Longest Stretch
Ah, the permitting process – this is where the timeline can truly stretch out and test your patience. Before any physical work can begin on your home, your solar project needs to receive approval from two main entities: your local city or county building department and your utility company. Navigating this can feel like a labyrinth, with different requirements varying wildly even between neighboring jurisdictions in California.
First, your solar installer will submit detailed plans to your local building department for a building permit. This review ensures that the proposed system meets local zoning laws, structural requirements, and electrical codes. Depending on the efficiency of your local permitting office (e.g., a streamlined process in San Jose compared to a smaller, rural county), this step alone can take anywhere from four to twelve weeks, or even more. Some cities have moved to online permitting portals, which can speed things up, but others still rely on older, paper-based systems. It's truly a mixed bag across the state. This phase is often the biggest variable in the entire Solar Installation Timeline: What to Expect.
Simultaneously, or shortly after, your installer will also apply for interconnection with your utility provider (e.g., PG&E, Southern California Edison, or San Diego Gas & Electric). This application is crucial because it allows your system to connect safely to the electrical grid and enables you to benefit from programs like net metering. Each utility has its own specific procedures and timelines, which can add another two to six weeks to the overall wait. We'll dive deeper into the specifics of California's permitting and interconnection process later, but suffice it to say, this is often where the clock really ticks. Understanding the intricacies of the Solar Permitting & Interconnection (PTO) Explained process is key to managing expectations.
Breaking Down Each Step of Your California Solar Journey
To truly understand the "how long" question, it's helpful to dissect the entire process into its core stages. While the physical installation is often the quickest, the preceding and subsequent steps are essential and consume the majority of the overall timeline.
Engineering and Design Approvals
Once you've given the green light to your solar proposal, your chosen installer will move into the detailed engineering and design phase. This isn't just about drawing panels on a roof; it involves precise calculations to ensure structural integrity, electrical load balancing, and compliance with all applicable codes. For instance, the roof structure needs to be analyzed to confirm it can support the additional weight of the panels and racking system, especially in areas prone to high winds or seismic activity. Electrical schematics must detail how the panels will connect to the inverter, the main service panel, and eventually the utility grid.
If you live in a community with a Homeowner's Association (HOA), this phase also includes getting their approval. HOAs often have specific guidelines regarding the aesthetic appearance and placement of solar panels, adding another layer of review that can take a few extra weeks. Your installer will usually handle these submissions, but it’s a good idea to stay informed and provide any necessary documents promptly. This whole process typically adds 2-4 weeks to the pre-installation timeline.
The Physical Installation Day(s)
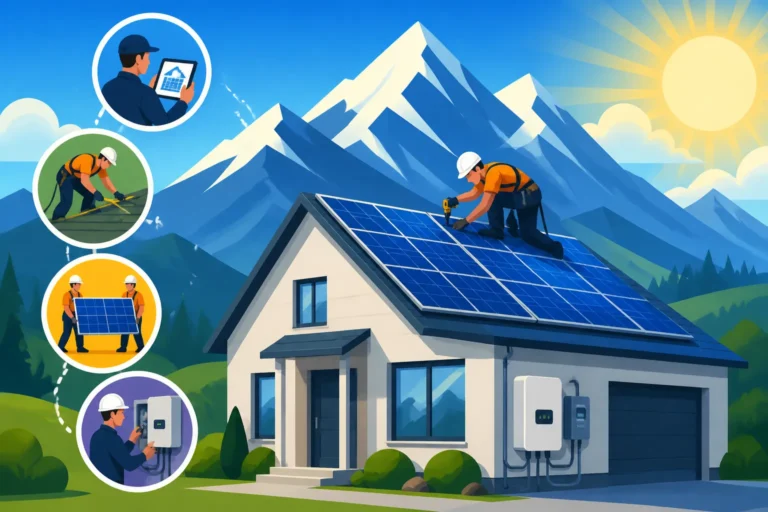
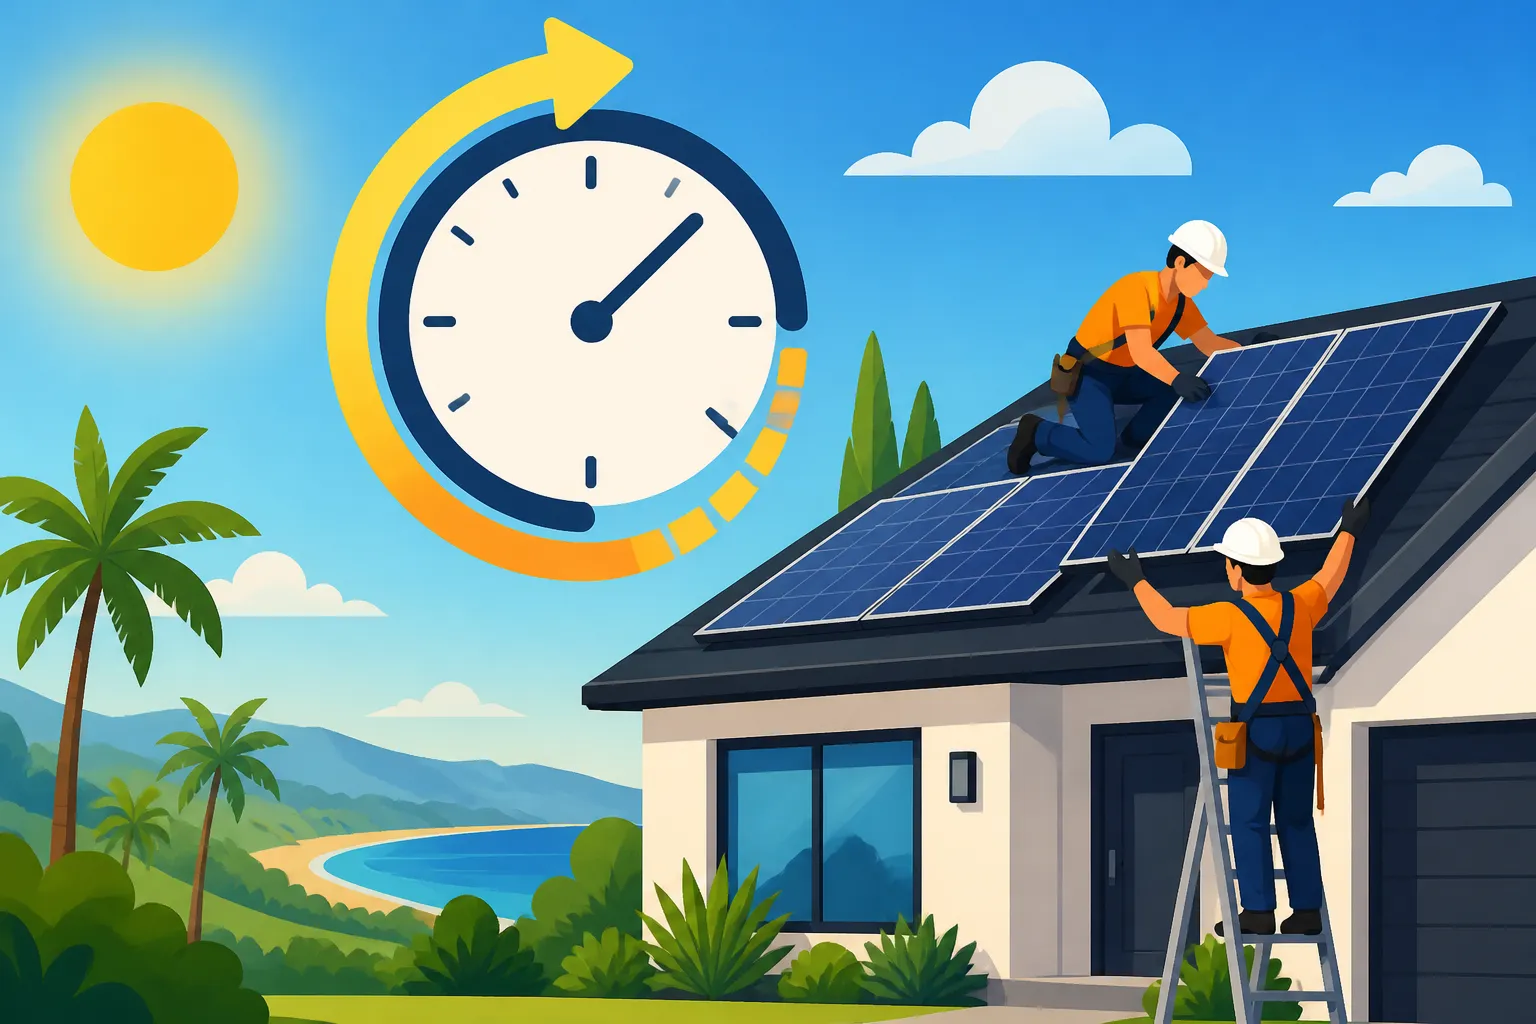
This is the most visually dramatic part of your solar journey, and surprisingly, often the quickest! Once all permits are approved and equipment is delivered, the installation crew will arrive. For a typical residential solar system in California, the actual physical installation usually takes one to three days. That's right, sometimes in less than a week, your roof can go from bare to boasting a brand-new solar array.
During this time, the crew will:
- Prepare the Roof: This involves marking the layout, installing flashing to ensure weatherproofing, and securing the racking system that the panels will sit on.
- Mount the Panels: The solar panels are carefully lifted onto the roof and secured to the racking.
- Install Electrical Components: This includes mounting the inverters (which convert the direct current (DC) from the panels into alternating current (AC) for your home), running conduit and wiring, and connecting the system to your main electrical panel.
- System Startup (Initial Test): The installer will perform initial tests to ensure everything is working correctly and safely.
While the installation itself is fast, coordinating schedules, equipment delivery, and crew availability means there might be a few days or even a week between receiving final permits and the actual work beginning. For a detailed look into what happens on your roof, check out How Are Solar Panels Installed? Step by Step.
Inspections and Permission to Operate (PTO)
You'd think once the panels are on the roof, you're ready to go. Not quite! After physical installation, your system needs to pass a series of crucial inspections before it can officially be turned on. This is another area where the California solar installation timeline can vary significantly.
First up is the local jurisdiction inspection. An inspector from your city or county will visit your home to verify that the installation was done according to the approved plans and meets all local building and electrical codes. They'll check wiring, panel mounting, safety components, and overall system integrity. If any issues are found, your installer will need to fix them, and a re-inspection might be required, adding further delays. This inspection usually happens within one to two weeks after installation, assuming the inspector's schedule aligns.
Once your local jurisdiction gives its stamp of approval, the final hurdle is getting Permission to Operate (PTO) from your utility company. Your installer will submit the necessary documentation to your utility, informing them that your system has passed local inspections and is ready to connect to the grid. The utility then performs its own review, which sometimes includes a final site visit to verify the net meter installation and system safety. Once satisfied, they will officially grant PTO, allowing your system to start generating electricity and send any excess back to the grid. This final utility step can take anywhere from two to six weeks, sometimes longer during peak solar installation seasons. This stage can be particularly frustrating, as your system is fully installed but not yet generating power. Understanding What Is Permission to Operate (PTO)? is crucial for the final leg of your solar journey.
Here's a quick summary table of the typical timeline for each stage:
| Stage | Typical Duration (California) | Notes |
|---|---|---|
| Initial Consultations & Design | 1-3 Weeks | Getting quotes, site survey, system design. Can be faster if you use a service like Modernize. |
| Permitting (Local Jurisdiction) | 4-12 Weeks | Varies significantly by city/county; includes structural, electrical, and zoning reviews. Can be longer with re-inspections. |
| Utility Interconnection Application | 2-6 Weeks | Runs concurrently or sequentially with local permitting. Utility review of system plans and grid connection. |
| Equipment Procurement & Scheduling | 1-3 Weeks | Waiting for all components to arrive and for the installation crew's availability. |
| Physical Installation | 1-3 Days | The actual work on your roof, including mounting panels, inverters, and wiring. |
| Local Jurisdiction Inspection | 1-2 Weeks | Post-installation check to ensure compliance with building and electrical codes. Re-inspections add time. |
| Utility Permission to Operate (PTO) | 2-6 Weeks | Final approval from your utility to turn on the system and connect to the grid. |
| Total Estimated Time | 2-4 Months (8-16 Weeks) | This is a typical range. Factors like local permitting efficiency, utility backlogs, and HOA approvals can extend this. Some projects might finish faster, others can take 5+ months. |
Factors That Can Speed Up or Slow Down Your Solar Project
While the table above provides a general guide, the reality is that every solar project in California is unique, and several factors can significantly influence how long your installation ultimately takes. Being aware of these can help you better prepare and even mitigate potential delays.
Local Permitting Office Efficiency
This is, hands down, one of the biggest variables. California is a vast state with hundreds of different cities and counties, each with its own permitting department and procedures.
- Streamlined Processes: Some cities, particularly those with a strong commitment to renewable energy like San Francisco or San Diego, have invested in online permitting portals (often called "SolarAPP+"). These can dramatically reduce permit review times to just days or even minutes for standard residential systems.
- Traditional Bureaucracy: In contrast, smaller or less digitally advanced jurisdictions might still rely on manual, paper-based submissions and review processes, where plans sit in queues for weeks. Inspectors might also have limited availability, causing delays in scheduling the necessary site visits.
- Specific Requirements: Some areas might have unique requirements for fire setbacks, historical district approvals, or specific seismic considerations that add extra review time. Your installer's experience with the specific permitting department in your area can also play a huge role. An installer familiar with the quirks of, say, the Los Angeles Department of Building and Safety, will likely navigate the process more smoothly than one who isn't.
Utility Company Responsiveness
The three major investor-owned utilities in California—Pacific Gas & Electric (PG&E), Southern California Edison (SCE), and San Diego Gas & Electric (SDG&E)—each have their own interconnection processes and response times. While they all operate under state regulations, the sheer volume of applications they receive, especially in a solar-heavy state like California, can lead to varying backlogs.
- Application Review: Utilities need to review your system design to ensure it's safe for their grid and complies with state-mandated programs like the current California Net Metering Rules in 2026 (NEM 3.0). This review period ensures that your solar system doesn't negatively impact grid stability or other customers.
- Meter Installation/Upgrade: Sometimes, your existing electricity meter needs to be replaced with a net meter that can accurately track both the electricity you draw from and send back to the grid. While installers can often submit the request, the actual meter swap is performed by the utility. This appointment can sometimes add a few weeks to the end of the process.
- Communication: Effective communication between your installer and the utility is key. Delays often arise from incomplete paperwork or miscommunications, which a seasoned installer will be adept at avoiding or quickly resolving.
Homeowner Preparedness and Contractor Expertise
Believe it or not, you, the homeowner, and your choice of installer also play a role in the timeline!
- Homeowner Responsiveness: Being readily available to answer questions, provide necessary documents (like your electricity bills), or sign paperwork promptly can prevent unnecessary pauses. If your installer needs access to your property for a site survey or the installation, ensuring timely access helps keep things on track.
- Roof Condition: The condition of your roof is a significant factor. If your roof is old or damaged, your installer might recommend a roof replacement before installing solar panels. This adds substantial time and cost to the project. Addressing Roof Considerations for Solar Panels early in the process is crucial.
- Installer Experience and Efficiency: A highly experienced and well-organized solar installer will have established relationships with local permitting offices and utility companies, a streamlined internal process for design and approvals, and efficient crews. They'll also be transparent about potential delays and keep you informed. Installers found through services like Modernize are generally vetted, which helps minimize risk, but it's always wise to interview a few candidates and check references to avoid any Solar Installer Red Flags to Watch For. A less experienced or disorganized installer might face more rejections on permits, struggle with utility paperwork, or have longer waits for crew availability, all of which extend the timeline.
Maximizing Your Chances for a Smooth and Speedy Installation
While some aspects of the solar installation timeline, especially those involving government and utility bureaucracies, are out of your direct control, there are definitely steps you can take to help ensure your project moves along as quickly and smoothly as possible.
Choosing the Right Solar Partner
This cannot be stressed enough. The solar company you choose is your guide through this entire process. A reputable, experienced, and local installer will not only design and install a high-quality system but also navigate the complex permitting and interconnection landscape efficiently.
- Look for Local Expertise: Choose an installer with a proven track record in your specific California region. They'll be familiar with local permitting offices, specific utility requirements (PG&E, SCE, SDG&E), and common challenges in your area. They'll know the right people to talk to and the exact paperwork needed.
- Check Credentials and Reviews: Ensure they are licensed, insured, and have a good reputation. Read online reviews, ask for references, and check with organizations like the Better Business Bureau.
- Communication is Key: Select an installer who communicates clearly and regularly. You want a company that proactively updates you on each stage of the process, explains potential delays, and is responsive to your questions. You might even ask about their average timeline for projects in your area.
- Comprehensive Service: Ideally, your installer handles all aspects of the project, including design, permitting, installation, and coordinating inspections. This "turnkey" approach reduces the burden on you and ensures a cohesive process.
Being Prepared and Responsive
As a homeowner, your active participation can also shave off valuable time.
- Gather Documents Early: Have recent electricity bills (12 months' worth is ideal), property deeds, and any HOA documents ready to share with your chosen installer. This allows them to accurately assess your energy needs and system requirements from day one.
- Be Accessible: Be available for site surveys, consultations, and to sign paperwork. Prompt responses to any questions or requests from your installer can prevent administrative delays.
- Clear Your Space: Ensure that your attic (if accessible for wiring), electrical panel area, and roof access points are clear for the installation crew. This allows them to work efficiently and safely.
- Understand Your Role: Ask your installer what information they will need from you and when. Knowing what's expected can help you be proactive.
Understanding the Post-Installation Period
Even after your system is physically installed and passes local inspection, there's still that waiting period for utility PTO. It's important to understand what happens during this time. Your system generally cannot be turned on until the utility grants PTO. Operating without PTO can lead to safety issues and might even result in penalties or being ineligible for certain utility programs. So, while it's tempting to flip the switch, patience is truly a virtue here. Once you get that precious PTO, your system can begin generating power, and you can start enjoying the benefits. Don't forget to understand What Happens After Solar Is Installed? to fully grasp the ongoing benefits and responsibilities. The initial excitement might taper off a bit during this waiting game, but remember the long-term savings and environmental benefits are just around the corner, making the wait entirely worthwhile for many California homeowners.
Ultimately, while the thought of a multi-month process can feel daunting, going solar in California is a fantastic investment in your home and the environment. By understanding each stage, preparing effectively, and choosing a trusted partner, you can navigate the timeline with confidence and soon be enjoying clean, homegrown energy. For many, the peace of mind and long-term savings make every day of the wait completely worth it.
Disclaimer
Please note that the information provided in this guide is for general informational purposes only and does not constitute professional advice. Solar installation timelines can vary significantly based on individual circumstances, local regulations, utility policies, and the specific solar installer chosen. Always consult with qualified solar professionals and your local authorities for the most accurate and up-to-date information pertaining to your specific project in California.