Solar Installation Process in Florida
Deciding to go solar in Florida is a fantastic step toward energy independence and potentially significant savings, but let's be honest, the whole process can feel like a labyrinth. From figuring out what permits you need to understanding the technical jargon, it’s easy to feel overwhelmed before you even begin. This guide is here to walk you through every stage of the solar installation process in Florida, making sure you know exactly what to expect from your initial curiosity to the moment your system powers on.
Navigating the Initial Steps: From Interest to Site Assessment in Florida
The journey to solar power on your Florida home starts long before any panels ever touch your roof. It begins with understanding your needs and finding the right people to help you achieve your goals. This initial phase sets the foundation for a successful, stress-free installation.
Finding the Right Florida Solar Partner
One of the first and most critical steps is finding a reputable solar installer right here in the Sunshine State. Florida has a booming solar market, which means there are many companies to choose from, but not all are created equal. You want a company with a proven track record, proper licensing, and a deep understanding of Florida's specific climate challenges, like intense heat, high humidity, and hurricane season preparation. Don't be shy about asking for references or checking their credentials with the Florida Department of Business and Professional Regulation. Platforms like Modernize can be incredibly helpful in connecting you with vetted local professionals who understand the nuances of Florida solar.
Imagine you're a homeowner in Sarasota, excited about solar but unsure where to start. You might begin by searching online, only to be flooded with options. This is where getting multiple quotes and talking to a few different companies becomes invaluable. You'll want to ask about their experience with similar roof types and home styles to yours, their warranties, and their proposed equipment. A good installer will take the time to explain everything in a way that makes sense, not just try to push a sale. They should be transparent about their pricing, installation timeline, and how they handle everything from permits to utility interconnection. Understanding How to Choose a Solar Installer is paramount to a smooth experience.
The Essential Site Survey
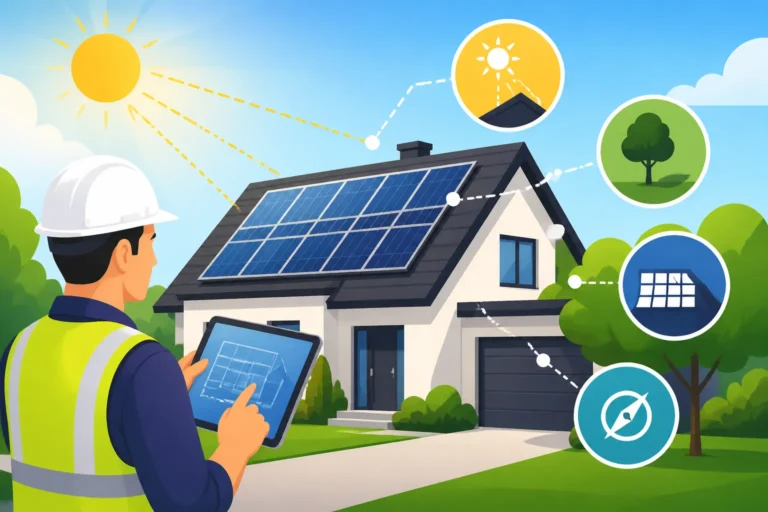
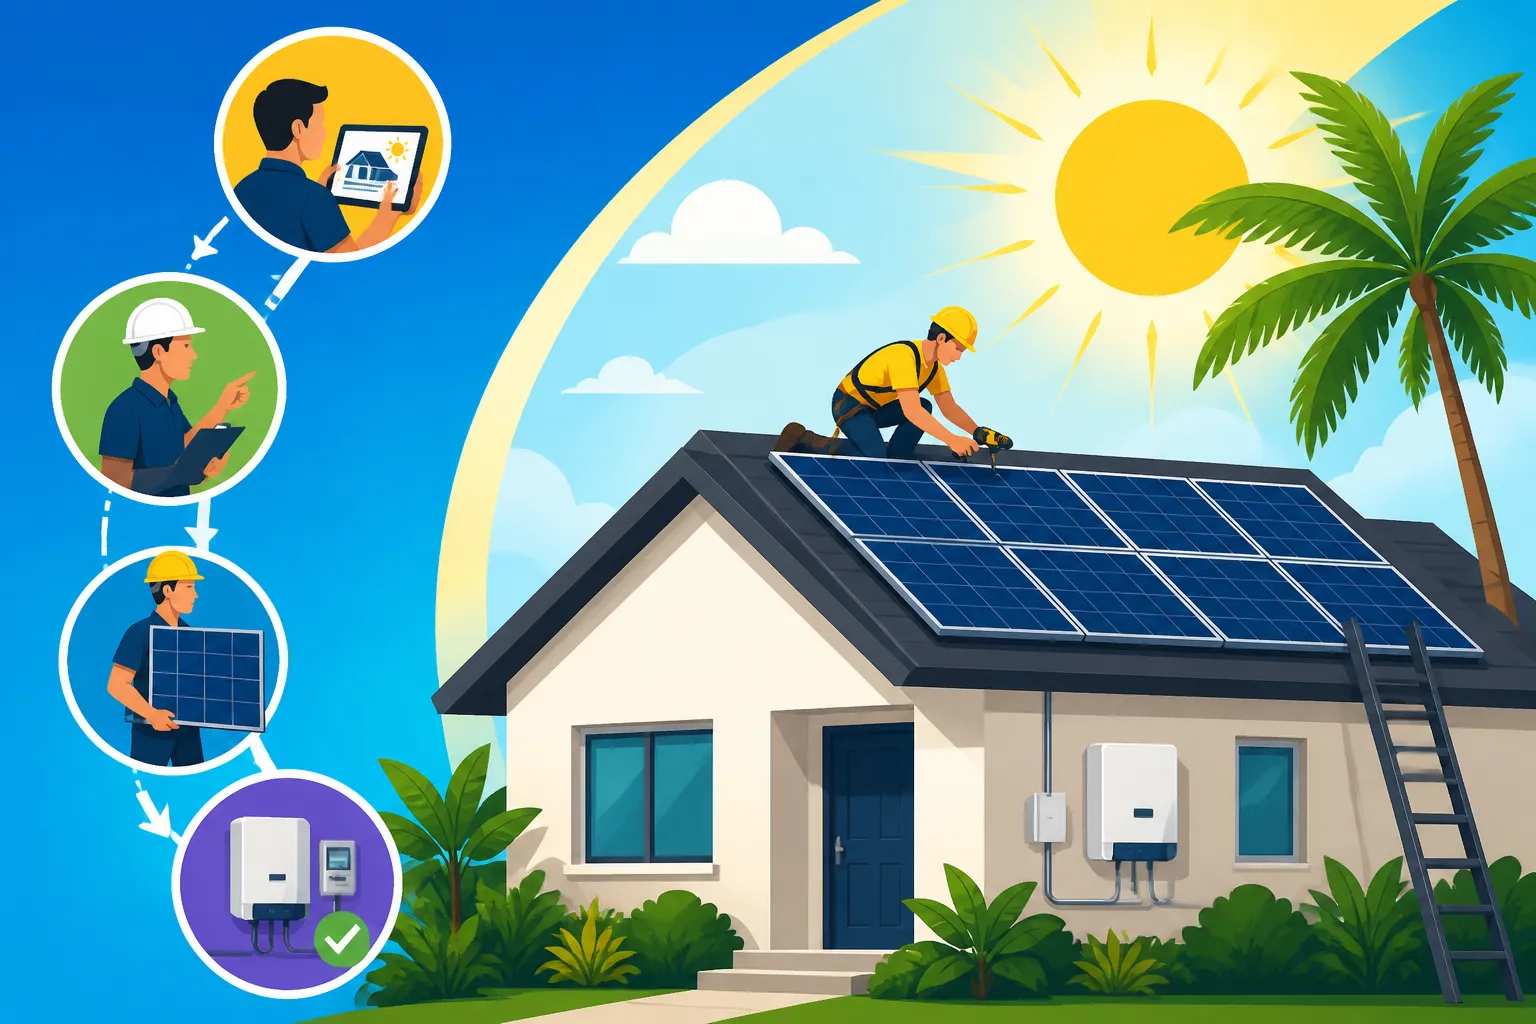
Once you've narrowed down your choices, the next big step is the site survey. This isn't just someone casually glancing at your roof; it's a comprehensive technical assessment. A qualified solar professional will visit your home to evaluate its solar potential and gather crucial data for system design. They'll examine your roof's condition, age, and structural integrity, looking for any issues that might need addressing before installation. They'll also map out your roof dimensions, pitch, and orientation – all critical factors in determining how many panels you can install and how much sun they'll capture throughout the day.
For a Florida home, this survey takes on added significance. The intense Florida sun is a huge advantage for solar production, but it also means that shading from trees or nearby structures can severely impact efficiency. The surveyor will meticulously analyze any potential shading throughout the year, using specialized tools or software. They'll also assess your home's electrical panel to ensure it can handle the new solar system and identify where the inverter and other equipment will be safely installed, typically in a garage or on an exterior wall. In coastal regions, they'll also consider specific wind load requirements and hurricane preparedness measures that might impact the mounting system, ensuring your panels can withstand the sometimes severe weather we experience.
Permitting, Design, and Interconnection: The Paperwork and Planning Phase
After the initial assessment, your solar project moves into the critical planning and administrative stages. This is often where homeowners feel the most frustration, as it involves navigating local bureaucracy and technical requirements, but a good installer will handle the heavy lifting.
Securing Local Permits in Florida
Before any physical installation can begin, your solar project needs approval from your local municipality. This means obtaining building permits, which can vary significantly from one Florida county or city to another. For instance, the permitting process in Miami-Dade County, known for its stringent wind-load requirements due to hurricane exposure, might be different and potentially more prolonged than in a less densely populated inland area like Polk County. Your installer will prepare and submit detailed plans, including structural designs, electrical diagrams, and panel layouts, to the relevant building department.
This phase often feels like a waiting game, and honestly, it can be. Permit offices are busy, and reviews take time. It's not uncommon for minor revisions to be requested, which can add weeks to the timeline. A knowledgeable installer understands these local requirements inside and out, knowing which forms to file and which specific codes apply to your area. For example, Florida's statewide building code includes specific provisions for solar installations, but individual counties or cities can add their own overlays. This is why having an installer familiar with your specific jurisdiction is so crucial. They'll handle the back-and-forth, keeping you informed as your application moves through the system. You can learn more about this specific hurdle in our guide on the Solar Permit Process in Florida.
System Design and Equipment Selection for Florida Homes
Simultaneously with the permitting process, your installer's design team will finalize the specific layout and components of your solar system. This isn't a one-size-fits-all approach; it's tailored to your home's energy needs, roof characteristics, and budget. They'll select the optimal number and type of solar panels, whether they are high-efficiency monocrystalline panels or a more budget-friendly option. Given Florida's hot and humid climate, the choice of equipment often prioritizes durability and performance under high temperatures. Many reputable installers in Florida, like those found through Modernize, often recommend panels known for their excellent temperature coefficient, meaning they perform better even when the mercury climbs.
Beyond the panels themselves, the design will also specify the inverter technology – whether it's a string inverter, microinverters, or power optimizers – each with its own advantages, especially concerning partial shading or monitoring capabilities. For example, microinverters are often favored in Florida because they mitigate the impact of individual panel shading, which can be common with palm trees. Furthermore, the design will incorporate all the necessary components for safety and compliance with Florida's building codes, including robust racking systems capable of withstanding high winds and proper grounding. If you're considering a battery backup system, which is increasingly popular in Florida for hurricane season preparedness, this is also integrated into the system design, ensuring seamless power flow during grid outages. Exploring Best Solar Panels for Hot Climates might give you insights into specific panel choices.
The Interconnection Agreement (PTO)
Once your permits are secured and the design is locked in, the next administrative hurdle is the interconnection agreement with your utility company. This agreement is essentially a contract that allows your solar system to connect to the main electrical grid and outlines how your utility will handle any excess energy your panels produce. In Florida, major utilities like Florida Power & Light (FPL), Duke Energy Florida, and Tampa Electric (TECO) all have established procedures for solar interconnection. This process involves submitting another set of documents to the utility, detailing your system's specifications and how it will safely integrate with their infrastructure.
The utility company reviews these documents to ensure everything complies with their safety standards and grid requirements. Once approved, they will schedule a time to come out, often to replace your existing electricity meter with a "net meter" capable of measuring both the electricity you draw from the grid and the excess electricity your solar panels send back to it. This step is absolutely crucial because without it, your system cannot legally or safely operate. The final approval from the utility is known as Permission to Operate (PTO). It's the green light that means you can finally flip the switch and start generating your own clean power. Understanding What Is Permission to Operate (PTO)? is key to this stage.
The Installation Day(s): Bringing Solar to Life on Your Florida Roof
With all the paperwork approved and equipment ready, it's finally time for the physical installation. This is the most visible part of the process, and while it might seem daunting, professional installers make it a streamlined operation.
Pre-Installation Preparations and Safety
Before the installation crew arrives, your solar installer will typically walk you through any necessary preparations for your home. This might include clearing access paths to your roof and electrical panel, ensuring pets are secured, and making arrangements for parking for their vehicles and equipment. Safety is paramount during installation, especially in Florida's often hot and humid conditions. The crew will arrive with all the necessary safety gear, including harnesses, hard hats, and specialized tools to ensure a secure working environment. They'll also take precautions to protect your property, laying down tarps to catch debris and ensuring proper waste disposal.
For a Florida home, preparations might also include discussing specific hurricane season protocols. While the installation is underway, panels will be securely anchored, but understanding how to prepare your entire system for a major storm, even after installation, is something a good installer should brief you on. The crew leaders will usually conduct a final walk-through of the job site before work begins, confirming the design plans and addressing any last-minute questions you might have. You can expect the installation to be a busy, but organized, event. For a general overview of the timeline, check out Solar Installation Timeline: What to Expect.
The Physical Installation Process
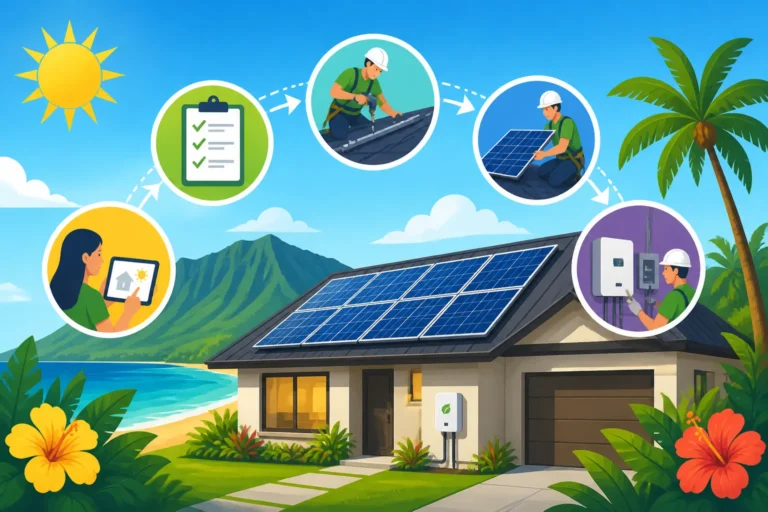
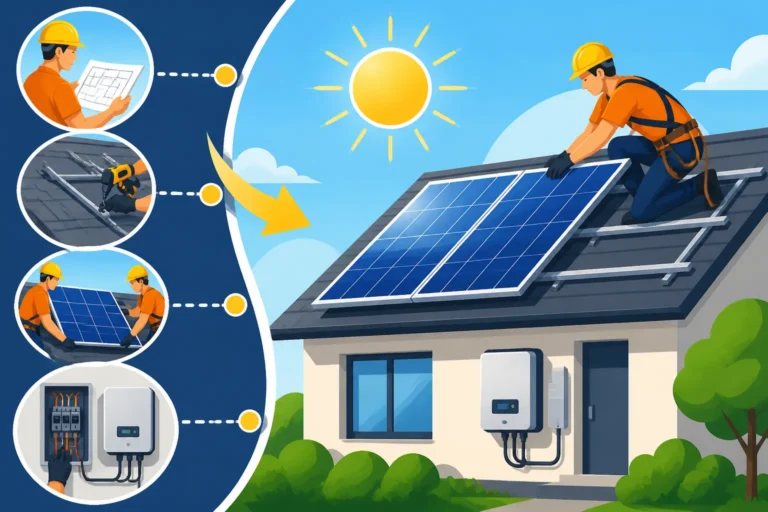
When the crew gets to work, you'll see a well-coordinated process that unfolds over one to several days, depending on the size and complexity of your system. First, the racking system is meticulously installed. This involves attaching mounts to your roof rafters, ensuring they are properly sealed to prevent leaks – a common concern for Florida homeowners with our frequent rain showers. The mounts are designed to hold the solar panels securely and often include specific hurricane strapping or reinforcements to meet Florida's robust building codes. Once the racking is in place, the solar panels are carefully lifted onto the roof and bolted onto the rails.
Following the panel installation, the electrical work begins. This includes wiring the panels together, installing the inverters (whether they are microinverters beneath each panel or a string inverter mounted near your electrical panel), and running conduit to connect the system to your home's main electrical service. All wiring is meticulously protected from the elements, a crucial step in Florida where exposure to sun and moisture can degrade unprotected cables. Finally, the system is properly grounded for safety. Throughout this entire process, the crew will maintain a clean worksite, removing debris as they go. If you're curious about the general steps, read our guide on How Are Solar Panels Installed? Step by Step. For a typical Florida home, a standard residential installation often takes between one to three days. You can find more specific information regarding local timelines at How Long Does Solar Installation Take in Florida?.
Post-Installation: Inspections, Activation, and Enjoying Your Solar Journey
The moment the last panel is bolted down and the wiring is complete isn't quite the end of the journey. There are a few crucial steps remaining to ensure your system is fully operational and compliant.
Final Inspections and Utility Interconnection
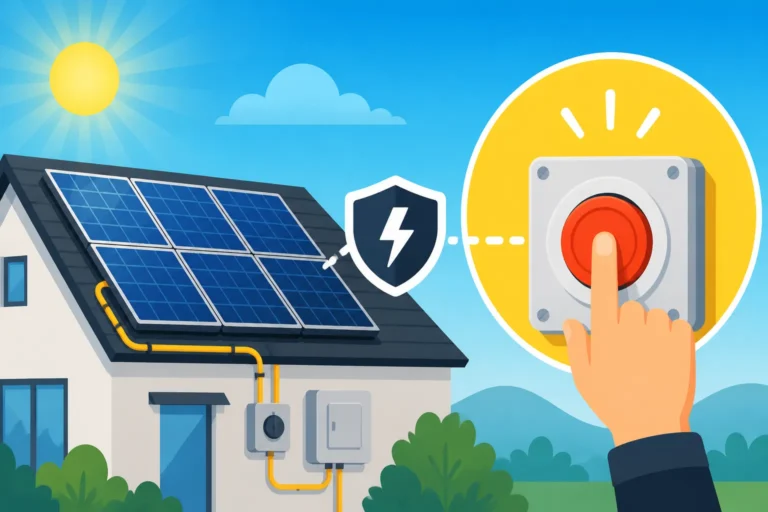
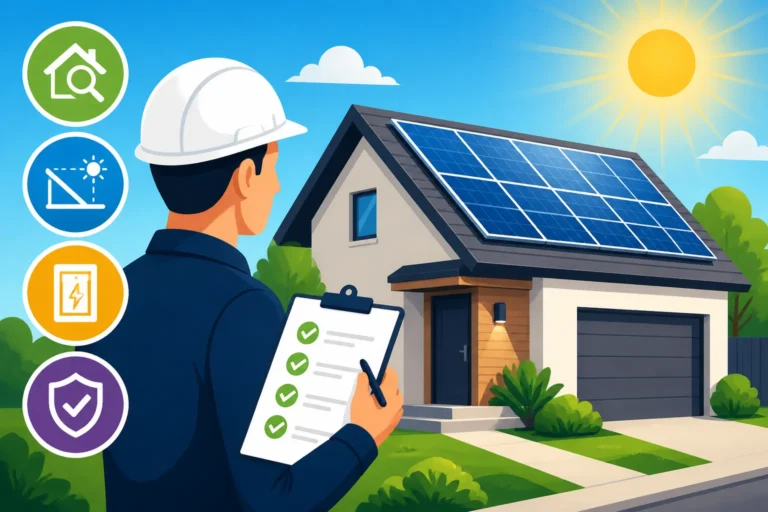
Once the physical installation is complete, the work isn't over yet. The next critical step involves a final inspection by your local building department. This inspection ensures that the solar system has been installed according to the approved plans and meets all local and state building and electrical codes. An inspector will check everything from the structural integrity of the mounts to the electrical connections and safety features, such as rapid shutdown devices. This is a non-negotiable step that ensures your system is safe and compliant. If any issues are found, your installer will need to address them before re-inspection.
After passing the municipal inspection, your utility company will perform their own final check and typically install or activate your new net meter. This is the moment you've been waiting for! Once the utility gives its final approval – the coveted Permission to Operate (PTO) – your system is officially allowed to connect to the grid and begin generating electricity. Only after receiving PTO should you flip the switch and power on your solar panels. Attempting to operate your system before PTO can lead to safety hazards, void warranties, and potentially incur penalties from your utility. It's a testament to the fact that while solar is about energy independence, it's also about safe and regulated integration with our existing infrastructure.
Monitoring Your System and Ongoing Care
Congratulations, your Florida home is now powered by the sun! But the journey doesn't end with activation. Most modern solar systems come with monitoring capabilities, often through an online portal or a mobile app, allowing you to track your system's performance in real-time. You can see how much electricity your panels are generating, how much you're consuming, and how much you're sending back to the grid. This data is invaluable for understanding your energy usage and ensuring your system is operating at peak efficiency. Your installer should walk you through how to access and interpret this information.
While solar panels require relatively little maintenance, a little care goes a long way, especially in Florida. The occasional cleaning to remove pollen, dust, or sea salt buildup can help maintain optimal efficiency. Most systems are designed to be self-cleaning with rain, but a quick hose-down a couple of times a year, or after a particularly dusty period, won't hurt. It's also wise to periodically check for any new shading from tree growth that might impact performance. Should you ever encounter an issue or notice a significant drop in production, your monitoring system will often alert you, and your installer will be your first point of contact for troubleshooting and warranty service. Regular maintenance is a small price to pay for consistent, clean energy. For more detailed tips, refer to our article on Solar Panel Maintenance & Cleaning. Remember, the peace of mind that comes with knowing you're reducing your carbon footprint and saving on electricity bills is truly priceless. And don't forget to keep an eye out for potential Florida Solar Incentives in 2026 that might apply to you.
Florida Solar Installation Timeline Overview
To give you a clearer picture, here's a general timeline for the solar installation process in Florida. Keep in mind these are averages, and your specific project may vary based on local regulations, installer workload, and unforeseen circumstances.
| Stage | Typical Duration (Florida) | Key Activities |
|---|---|---|
| Initial Consultation & Quote | 1-2 Weeks | Energy assessment, preliminary design, quote presentation. |
| Site Survey | 1 Week | On-site evaluation of roof, electrical system, shading analysis. |
| Permitting & System Design | 4-12 Weeks | Detailed system design, engineering, submission of permit applications to local authorities. |
| Utility Interconnection Application | 2-4 Weeks | Submission of documents to utility company (e.g., FPL, Duke Energy Florida, TECO) for grid connection approval. |
| Equipment Procurement | 2-6 Weeks | Ordering and delivery of solar panels, inverters, racking, and other components. |
| Physical Installation | 1-3 Days | Mounting racking, installing panels, electrical wiring, inverter setup. |
| Local Inspections | 1-2 Weeks | Municipal building and electrical inspections. |
| Utility Meter Swap/PTO | 1-3 Weeks | Utility performs final check, replaces meter, grants Permission to Operate. |
| System Activation | Immediate | Once PTO is granted, your system is switched on and begins generating power. |
| Total Estimated Time | 2-6 Months | From initial contact to system activation, depending on local permitting and utility timelines. |
Disclaimer
Please remember that the information provided in this guide is for general informational purposes only and should not be considered professional advice. Solar regulations, incentives, and technologies are subject to change. Always consult with qualified solar professionals, local authorities, and your utility provider for the most accurate and up-to-date information regarding your specific solar project in Florida.