What Happens During a Solar Site Survey?
Deciding to go solar is a big step, full of exciting possibilities for energy independence and savings. But for many homeowners, the actual process can feel a bit shrouded in mystery, especially that first crucial step after getting an initial quote: the solar site survey. It's common to feel a little anxious about what to expect when a team comes to your home, poking around your roof and electrical panel. This comprehensive guide will demystify the solar site survey, detailing exactly what happens, why it's so important, and how you can prepare to make the process smooth and stress-free.
The Crucial First Step: Understanding the Solar Site Survey
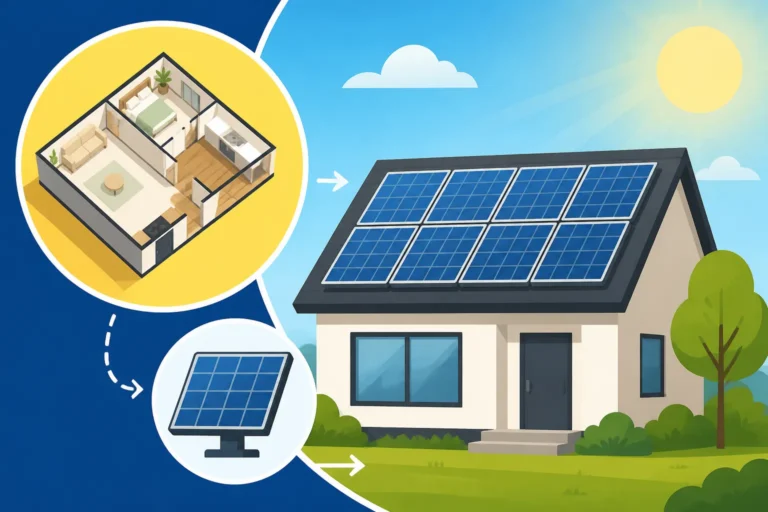
Think of the solar site survey as the architect's blueprint for your future energy system. It’s not just a quick glance at your roof; it's a meticulous, in-depth evaluation of your property to ensure that the proposed solar panel system is perfectly tailored to your home's unique characteristics and your energy needs. Without a thorough site survey, installers would be guessing, which could lead to inefficiencies, unexpected costs, or even safety hazards down the line. It's genuinely the foundation upon which your entire solar project is built, guaranteeing that the system they design will perform optimally for decades to come.
Why a Site Survey Isn't Just a "Check-the-Box" Item
Many homeowners mistakenly believe the initial estimate provides all the necessary information, but the site survey goes far beyond. It’s where theoretical designs meet real-world conditions. For instance, an initial satellite image might suggest ample roof space, but only an on-site inspection can reveal hidden vents, skylights, or even minor structural issues that could impact panel placement. This detailed examination prevents costly surprises during installation and ensures that the final design maximizes your energy production and aligns with local building codes. It also directly influences your Solar Panel Cost Per Watt Explained, as unforeseen complexities can drive up labor or material costs if not identified early.
A proper site survey is essential for accurately projecting your system's performance and ultimately your long-term savings. If an installer skips critical steps or performs a superficial survey, the system might underperform, leaving you with higher utility bills than anticipated. It’s about ensuring that the investment you’re making in your home solar system truly pays off. When you're looking for solar professionals, resources like Modernize can help connect you with reputable installers who understand the importance of a thorough site survey and won't cut corners.
Who Conducts the Survey and What Tools Do They Use?
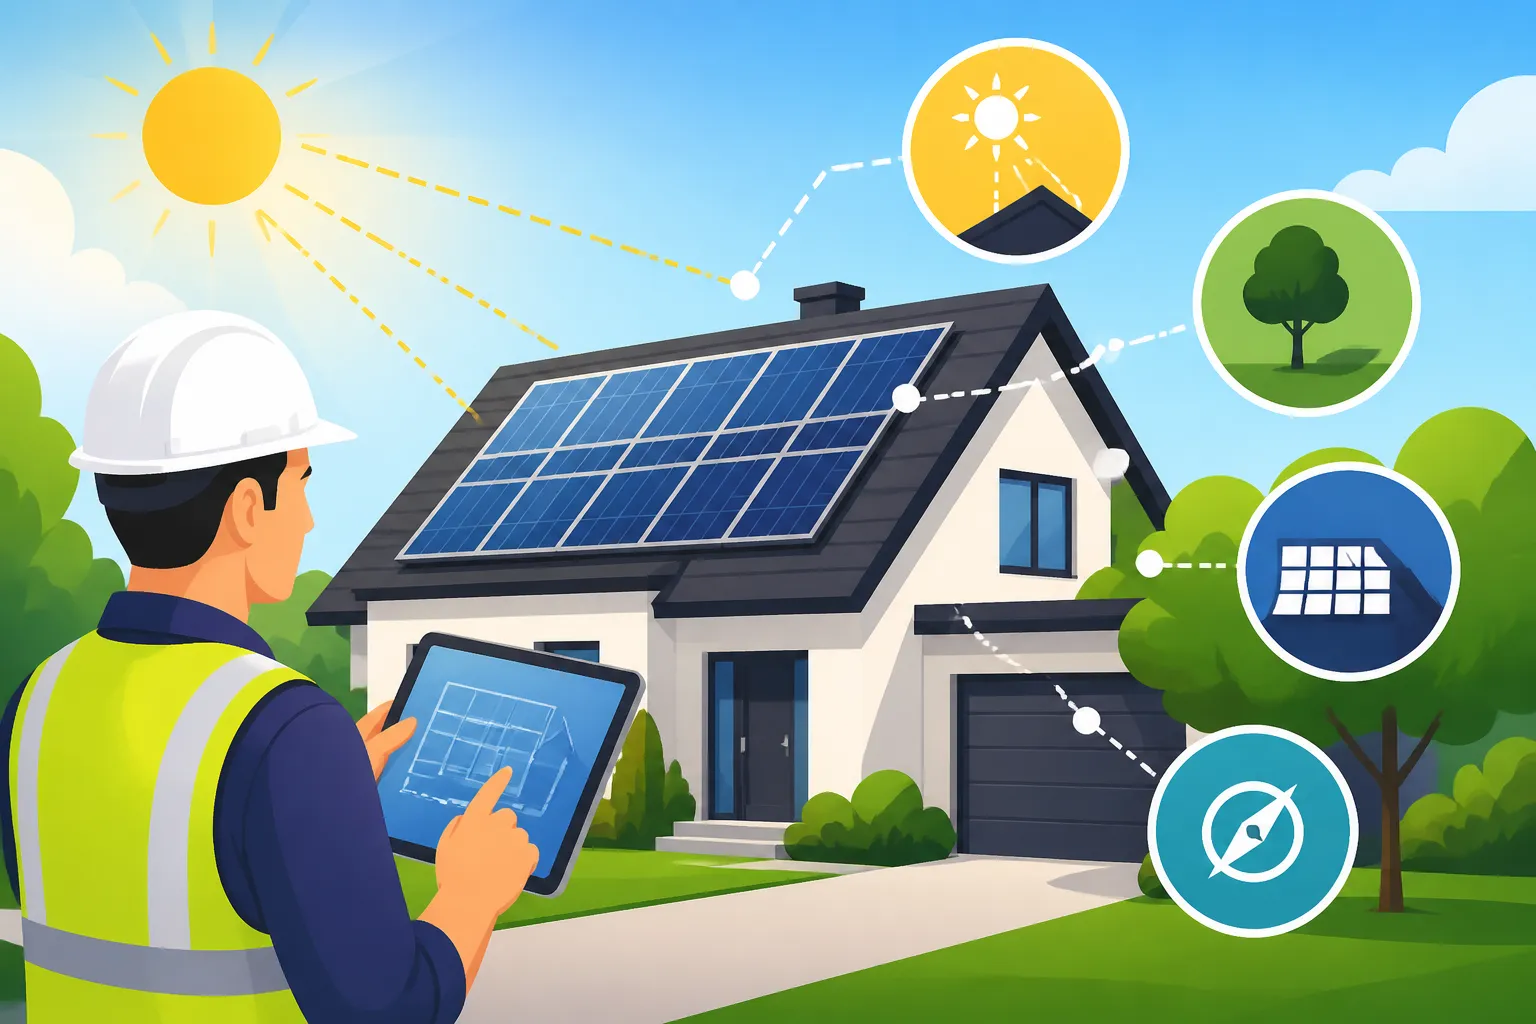
The team conducting your solar site survey is typically made up of highly trained professionals, often including a qualified electrician and a solar specialist with roofing expertise. These aren't just salespeople; they are technical experts. They come equipped with a range of specialized tools to gather precise data. You might see them using laser rangefinders to measure roof dimensions accurately, inclinometers to determine roof pitch, and compasses to check orientation. Drones are also becoming increasingly common for capturing aerial views and detailed roof imagery without requiring personnel to physically climb on your roof, offering a safe and efficient way to assess potential challenges.
Beyond physical tools, they often use sophisticated software, like Aurora Solar or Helioscope, to perform advanced shading analysis and simulate solar production. This software uses the exact data collected from your property to create a 3D model of your home and predict how many kilowatt-hours your system will generate throughout the year. The accuracy of these tools, combined with the expertise of the survey team, is what allows them to design a system that truly meets your energy needs and gives you a realistic expectation of your future energy savings.
What Exactly Do They Look At? A Deep Dive into the Inspection Points
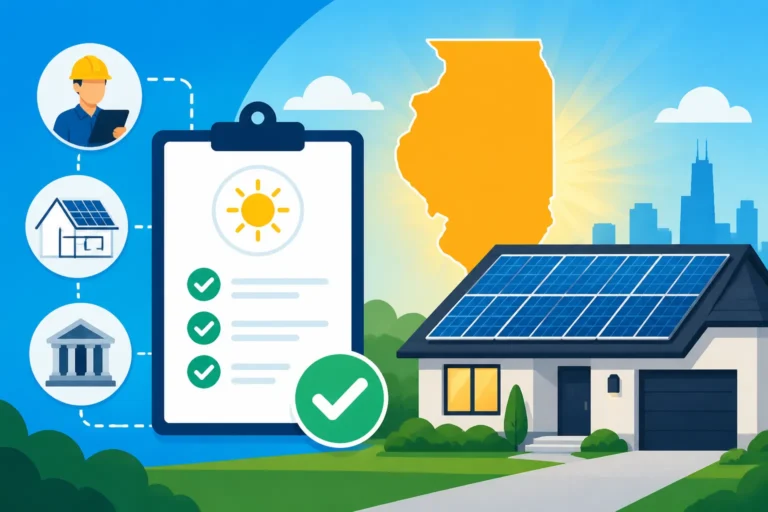
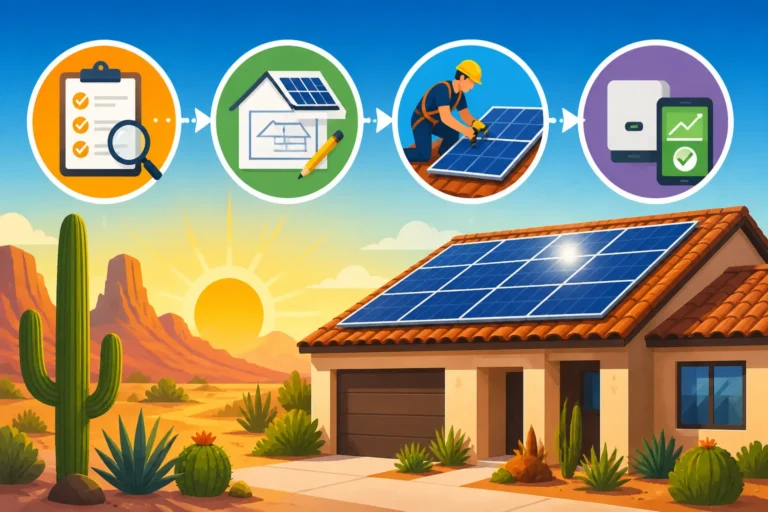
When the survey team arrives, they'll be methodically working through a comprehensive checklist, leaving no stone unturned. Each aspect of your property plays a role in how effectively solar panels can be integrated and how efficiently they will perform. They're looking for both opportunities and potential challenges that need to be addressed in the system design. Understanding these inspection points can help you appreciate the thoroughness of the process.
Roof Assessment: More Than Just Square Footage
Your roof is the primary canvas for your solar system, so its health and suitability are paramount. The team will carefully inspect its age and overall condition. If your roof is nearing the end of its lifespan, say, less than 5-7 years remaining, they might recommend a roof replacement before installing solar panels. It makes financial sense to do this once, rather than having to remove and reinstall panels (and incur extra costs) just a few years later. The material of your roof also matters; asphalt shingles are common, but tile, metal, or flat roofs each have specific installation considerations.
Beyond surface material, they'll evaluate the structural integrity to ensure it can support the additional weight of the panels and racking. They’ll also measure the pitch (angle) and orientation. A south-facing roof is generally ideal in the Northern Hemisphere for maximum sun exposure, but east and west-facing roofs can still be highly effective, especially with advanced inverter technology like microinverters. For more information, you might find our guide on Roof Considerations for Solar Panels helpful.
Electrical System Deep Dive
This is a critical, often underestimated, part of the survey. The team's electrician will examine your main electrical service panel (breaker box) to determine its capacity and if it can safely handle the new solar connection. Many older homes, especially those built before the 1980s, might have outdated panels with insufficient amperage, necessitating an upgrade before solar can be installed. They'll also check the grounding system, wiring, and conduit paths to ensure everything meets current electrical codes and safety standards.
The goal here is to ensure seamless and safe integration of your solar system with your home's existing electrical infrastructure. They'll assess where the inverter and any potential solar battery storage will be located. For example, a homeowner in Phoenix, Arizona, with an older home, might discover during the survey that their 100-amp service panel needs upgrading to 200 amps to accommodate a modern solar system and an electric vehicle charger, which is a common scenario. This assessment is vital for calculating the overall Solar Plus Battery Cost if you're considering energy storage.
Shading Analysis and Sunlight Exposure
Sunlight is the fuel for your solar panels, so any obstruction that causes shade will reduce their energy production. The survey team performs a detailed shading analysis, often using specialized tools or drones equipped with solar pathfinders. They'll identify any trees, chimneys, adjacent buildings, or even utility poles that cast shadows on your roof throughout the day and year. This isn't just about shade at noon; they consider how shadows move from sunrise to sunset, across seasons.
If significant shading is detected, they'll discuss potential solutions. This could involve trimming trees, strategic panel placement to avoid shaded areas, or recommending specific equipment like power optimizers or microinverters (such as those from Enphase) that can mitigate the impact of partial shading on individual panels. Understanding shade patterns is fundamental to accurately determine How Many Solar Panels Do I Need for My Home? to meet your energy goals.
Property Layout and Access
Beyond the roof and electrical, the site survey also considers the broader property layout. This includes looking at potential locations for ground-mounted solar panels if a rooftop installation isn't feasible, or if you simply want to expand your system beyond roof capacity. They’ll assess the accessibility for the installation crew and equipment, noting where trucks can park, paths for carrying panels, and potential staging areas.
Local zoning laws and Homeowners Association (HOA) regulations are also taken into account. Some HOAs have strict rules regarding panel visibility or placement, while local ordinances might dictate setback requirements from property lines. The team will also plan conduit runs from your roof to your electrical panel, aiming for the least intrusive and most aesthetically pleasing path. This ensures a smooth installation process once the designs are finalized, preventing delays and unexpected hurdles.
What Happens After the Survey? From Data to Design
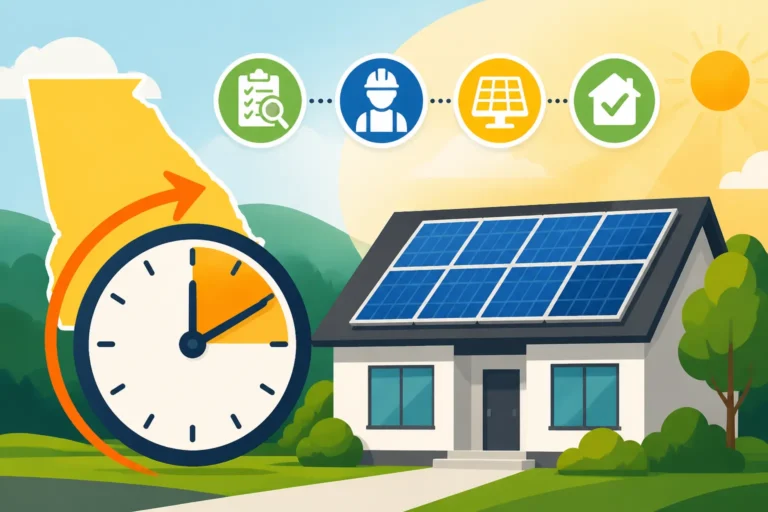
Once the site survey is complete, the hard work of analysis begins. The data collected is meticulously reviewed by solar designers and engineers to create a comprehensive plan for your home. This transition from raw data to a tangible design is where your solar vision truly starts to take shape.
The Design Phase: Crafting Your Custom Solar System
With all the specific measurements, photographs, and electrical readings in hand, the solar design team gets to work. They’ll create a detailed blueprint of your proposed solar system. This includes the exact placement of each solar panel on your roof, optimizing for maximum sun exposure and avoiding any identified shading issues or obstructions. They’ll also specify the type and quantity of inverters – whether it's a string inverter, power optimizers, or individual microinverters from brands like Enphase or SolarEdge – chosen to best suit your roof's unique layout and shading profile. You can learn more about these options in our article Enphase vs SolarEdge: Which Inverter Is Better?.
This design phase also takes into account your average energy consumption, aiming to size the system appropriately to offset as much of your electricity bill as possible. They’ll determine the optimal conduit runs and the necessary electrical upgrades. The goal is a highly efficient, aesthetically pleasing, and code-compliant system that will serve your home for decades, ultimately defining your Solar ROI & 25-Year Savings Breakdown. You’ll typically receive this detailed proposal for your review, allowing you to visualize your future solar setup before any physical work begins.
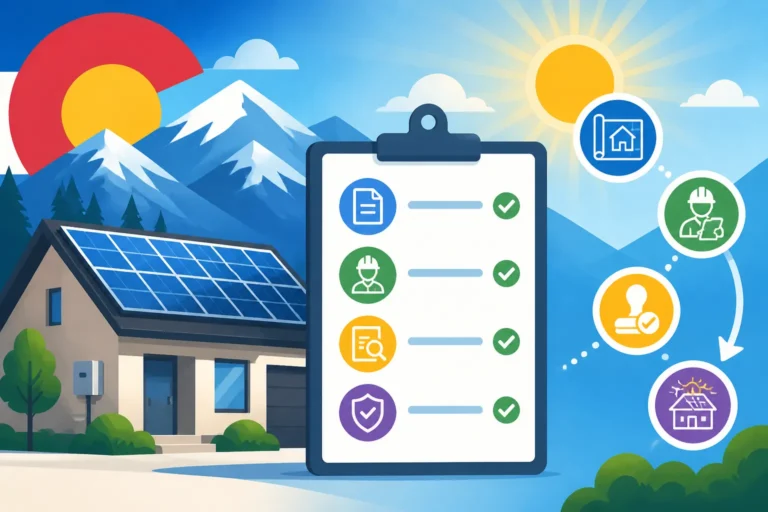
Permitting and Interconnection Paperwork
After you approve the final design, the next significant hurdle is navigating the bureaucratic landscape of permits and utility interconnection. This is often the longest phase of the solar installation timeline, as it involves submitting detailed plans to your local city or county building department for various permits (electrical, structural, roofing, etc.). Each jurisdiction has its own specific requirements and review timelines, which can vary widely. For instance, getting a solar permit in bustling Los Angeles can take a different amount of time than in a smaller town in upstate New York.
Simultaneously, the solar installer will submit an interconnection application to your local utility company. This application is crucial because it allows your solar system to connect to the electrical grid, enabling net metering or other compensation mechanisms. The utility company will review the plans to ensure they meet their safety and operational standards. Once approved, you'll receive "Permission to Operate" (PTO), which means you can finally flip the switch and start generating your own electricity. Understanding this process is vital, and our guide on Solar Permitting & Interconnection PTO Explained can offer further insights.
Installation Scheduling and Preparation
Once all permits and utility approvals are secured, your solar project moves into the exciting installation phase. The solar company will contact you to schedule the installation dates. The actual physical installation of the panels and electrical components typically takes anywhere from one to five days, depending on the system size and complexity. Before the crew arrives, they’ll provide you with specific instructions on how to prepare your home.
This usually involves ensuring clear access to your electrical panel, attic, and the areas around your home where equipment will be staged. You might be asked to move vehicles or outdoor furniture. The team will arrive with all the necessary materials, from the solar panels themselves to the racking, inverters, and wiring. This entire journey, from initial contact to flipping the switch, can vary greatly, but understanding Solar Installation Timeline: What to Expect can help manage your expectations.
How to Prepare for Your Solar Site Survey
While the site survey team is there to do the heavy lifting, a little preparation on your part can make the process even smoother and more efficient. Being ready not only helps the team do their job more effectively but also ensures that you get the most accurate and personalized assessment for your solar project.
Gathering Important Documents
Before your solar site survey, it's incredibly helpful to have a few key documents ready. The most important are your recent electricity bills, ideally for the past 12 months. This allows the solar designer to understand your historical energy consumption patterns, including seasonal peaks, which is crucial for accurately sizing your new solar system. The more data they have, the better they can tailor a system to truly meet your needs and help you save money. If you have a property survey or blueprints of your home, these can also be useful for confirming dimensions and identifying hidden structural elements. Additionally, if you have a warranty for your current roof, it’s a good idea to have that on hand.
Ensuring Clear Access
The survey team will need access to several areas of your home and property. Make sure the path to your main electrical panel (which is usually in your garage, basement, or utility closet) is clear and unobstructed. They might also need access to your attic to inspect the roof's framing and ensure it can support the solar array. For exterior access, clear any overgrown shrubs or move outdoor furniture that might block access to your roofline or potential ground-mount locations. If you have pets, it’s best to keep them secured during the survey to ensure the safety of both your animals and the survey crew.
Asking the Right Questions
This is your opportunity to get informed and comfortable with the process. Don't hesitate to ask questions during the site survey! This shows the installer your engagement and helps you understand every step. You might ask:
- "What is the condition of my roof, and do you anticipate any issues with installing panels?"
- "Where will the inverter and any other equipment be located?"
- "How will shading from that large oak tree affect my system's performance, and what are our options?"
- "Are there any expected electrical upgrades needed for my panel?"
- "What are the next steps after this survey?"
Engaging with the survey team helps you verify their expertise and ensures they address any specific concerns you might have about your property. Remember, choosing the right solar partner is just as important as the technology itself. If you're still early in the process of vetting companies, check out our guide on How to Choose a Solar Installer to arm yourself with the best questions to ask. You can also leverage platforms like Modernize to find multiple quotes and compare installer services, ensuring you find a professional team that clearly communicates and inspires confidence throughout the entire solar journey.
Disclaimer
The information provided in this guide is intended for general informational purposes only and does not constitute professional advice. Solar system requirements, incentives, and regulations can vary significantly by location and change over time. Always consult with qualified solar professionals, electricians, and local authorities to ensure compliance with all applicable codes and to get advice tailored to your specific situation.