How Much Roof Space Do Solar Panels Need?
One of the biggest hurdles many homeowners face when dreaming of going solar is looking at their roof and wondering, "Is it even big enough?" It's a completely valid concern. You hear about these big, impressive solar arrays, and then you look at your own home, maybe with some shade trees, a few vents, or a chimney, and suddenly the whole idea feels overwhelming and out of reach. But don't worry, figuring out how much roof space you truly need for solar panels is a manageable puzzle, and this guide is here to walk you through it.
Understanding the Building Blocks: Solar Panel Size and Output
Before we dive into measuring your roof, it's really helpful to understand what we're actually working with. Solar panels aren't one-size-fits-all, and their physical dimensions directly impact how much roof real estate they'll demand. Getting a handle on these basics will empower you to have more informed conversations with installers and better visualize the possibilities for your home.
Standard Panel Dimensions
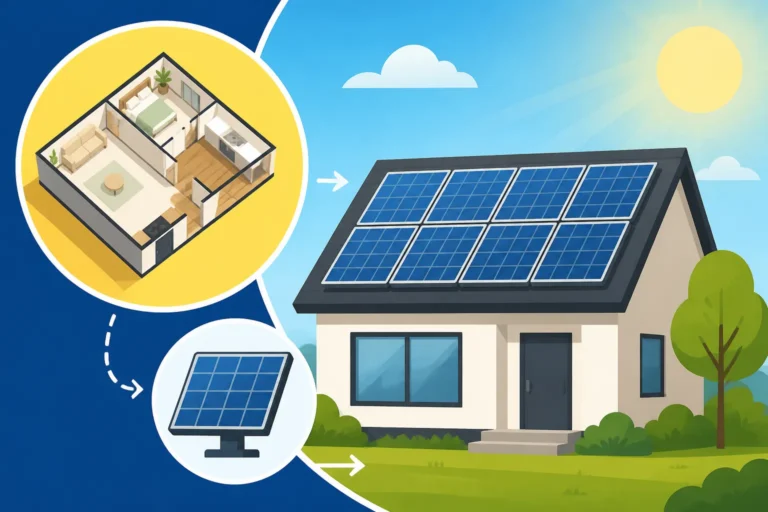
Most residential solar panels you'll encounter fall into a pretty standard size range. Think of them like a large sheet of plywood, but heavier and much more technologically advanced. Typically, a standard solar panel is about 65 to 70 inches long (around 5.4 to 5.8 feet) and 38 to 40 inches wide (about 3.2 to 3.3 feet). This means each panel takes up approximately 17 to 19 square feet of space. Now, this doesn't account for the small gaps needed between panels for installation, wiring, and thermal expansion, but it gives you a good baseline for the physical footprint.
These dimensions have become common because they're efficient for manufacturing, transport, and installation on typical residential roofs. While there are larger and smaller specialty panels, the vast majority of systems will use these standard sizes. Knowing this helps you conceptualize how many might fit on a given section of your roof, or even just how many would be needed for a small 5 kW solar system.
Wattage and Efficiency Explained
Beyond physical size, what truly matters is how much power each panel can produce, measured in watts. This is where "efficiency" comes into play. A panel's wattage rating, often around 350 to 450 watts for residential use, tells you its power output under ideal testing conditions. Higher wattage means more power from each individual panel.
Panel efficiency refers to how effectively a solar panel converts sunlight into electricity. Modern residential panels typically have efficiencies ranging from 17% to 23%. A 400-watt panel that's 20% efficient will physically take up roughly the same space as a 350-watt panel that's 17% efficient, but the higher efficiency panel will produce more electricity in that same footprint. If your roof space is limited, investing in higher-efficiency panels, even if they cost a bit more upfront, can be a game-changer because you'll get more power from fewer panels. This can be particularly impactful in areas with restrictive aesthetic requirements or smaller roof sections.
Calculating Your Home's Energy Needs for Solar
Before you even start looking at your roof, the first real question to ask is: how much electricity do you actually use? This is the fundamental starting point for any solar project, because it dictates how much power your solar system needs to generate, which then translates into how many panels you'll need, and finally, how much roof space. Without understanding your consumption, you're essentially shooting in the dark.
Reviewing Your Electricity Bills
Your past electricity bills are a goldmine of information when it comes to figuring out your energy habits. Don't just glance at the total; look for the kilowatt-hour (kWh) usage breakdown. Most utility companies provide a monthly average, and often a daily average, as well as seasonal trends. Ideally, you'll want to gather at least 12 months of bills to capture your usage across all seasons, as your energy consumption likely fluctuates significantly between, say, a hot summer with air conditioning running constantly and a mild spring.
When you're sifting through those bills, pay close attention to the kWh numbers, not just the dollar amount. The dollar amount can be influenced by varying rates and fees, but the kWh usage is the true measure of your consumption. Add up all the kWh for the year and divide by 12 to get a good average monthly usage. This yearly total is the number your solar installer will use to design a system that aims to offset as much of your electricity as you desire, whether that's 50%, 100%, or even more.
Estimating Future Energy Consumption
It's not enough to just look at the past; it's also smart to consider your future energy needs. Are you planning any major home improvements? Perhaps adding an electric vehicle (EV) charging station, installing a hot tub, finishing a basement with new appliances, or replacing an old gas furnace with an electric heat pump? All of these changes will significantly increase your electricity demand.
Discussing these future plans with your solar installer is crucial. A good installer will help you project your future consumption and design a system that can accommodate it. For instance, if you anticipate buying an EV in the next year or two, you might want to consider a slightly larger system upfront. It's usually more cost-effective to install a bit of extra capacity now than to add panels later, which can involve additional permitting, labor costs, and sometimes even a separate interconnection process with your utility. Being proactive here can save you headaches and money down the line, ensuring your investment truly serves your household for years to come.
Factors Affecting the Required Roof Space
Once you know your energy needs, the next step is assessing how much roof space you actually have available. This isn't just about the flat area; several critical factors can shrink or expand the usable solar footprint on your roof. Overlooking these details can lead to inaccurate estimates and potential disappointment during the installation process.
Roof Pitch and Orientation
The angle (pitch) of your roof and the direction it faces (orientation) are hugely important for solar panel performance and, consequently, how much space you'll need. In the Northern Hemisphere, south-facing roofs are generally ideal because they receive the most direct sunlight throughout the day and year, leading to optimal energy production. A system on a south-facing roof will typically require fewer panels to achieve the same energy offset compared to one on an east or west-facing roof. North-facing roofs are generally avoided for solar due to very low production potential, though high-efficiency panels can sometimes make them viable in specific scenarios.
The ideal pitch for solar panels varies by latitude, but generally, a roof pitch between 30 and 45 degrees is excellent. Panels installed on a shallow pitch (e.g., a low-slope roof) or a very steep pitch might require special racking that slightly increases their profile, which could subtly affect clearances. If your roof faces east or west, you might need more panels to compensate for the less-than-ideal sun exposure. For example, a home in Arizona with a perfectly south-facing roof might need fewer panels than a similar home in Maryland with only a west-facing roof to achieve the same annual output, simply because of how the sun hits the panels.
Shading and Obstructions
This is a big one, and often a major frustration for homeowners. Trees, chimneys, dormers, satellite dishes, vents, and even neighboring buildings can cast shadows on your roof throughout the day and across different seasons. Even partial shading on a single panel can significantly reduce the output of an entire string of panels if you're using a string inverter system. This is why many modern installations now favor microinverters or power optimizers, which allow each panel to operate independently, mitigating the impact of shading on overall system performance.
During a professional site assessment, a solar installer will use specialized tools to map out shading patterns for every hour of every day of the year. They'll factor in the summer solstice, winter solstice, and equinoxes to get a full picture. Any area that experiences significant shading for more than a few hours a day, especially during peak sunlight hours (typically 9 AM to 3 PM), might be deemed unusable for solar. This means that even if a large section of your roof looks clear, shading from that towering oak tree in your backyard could dramatically reduce the actual usable space, requiring you to find alternative areas or trim trees.
Local Zoning and Setback Requirements
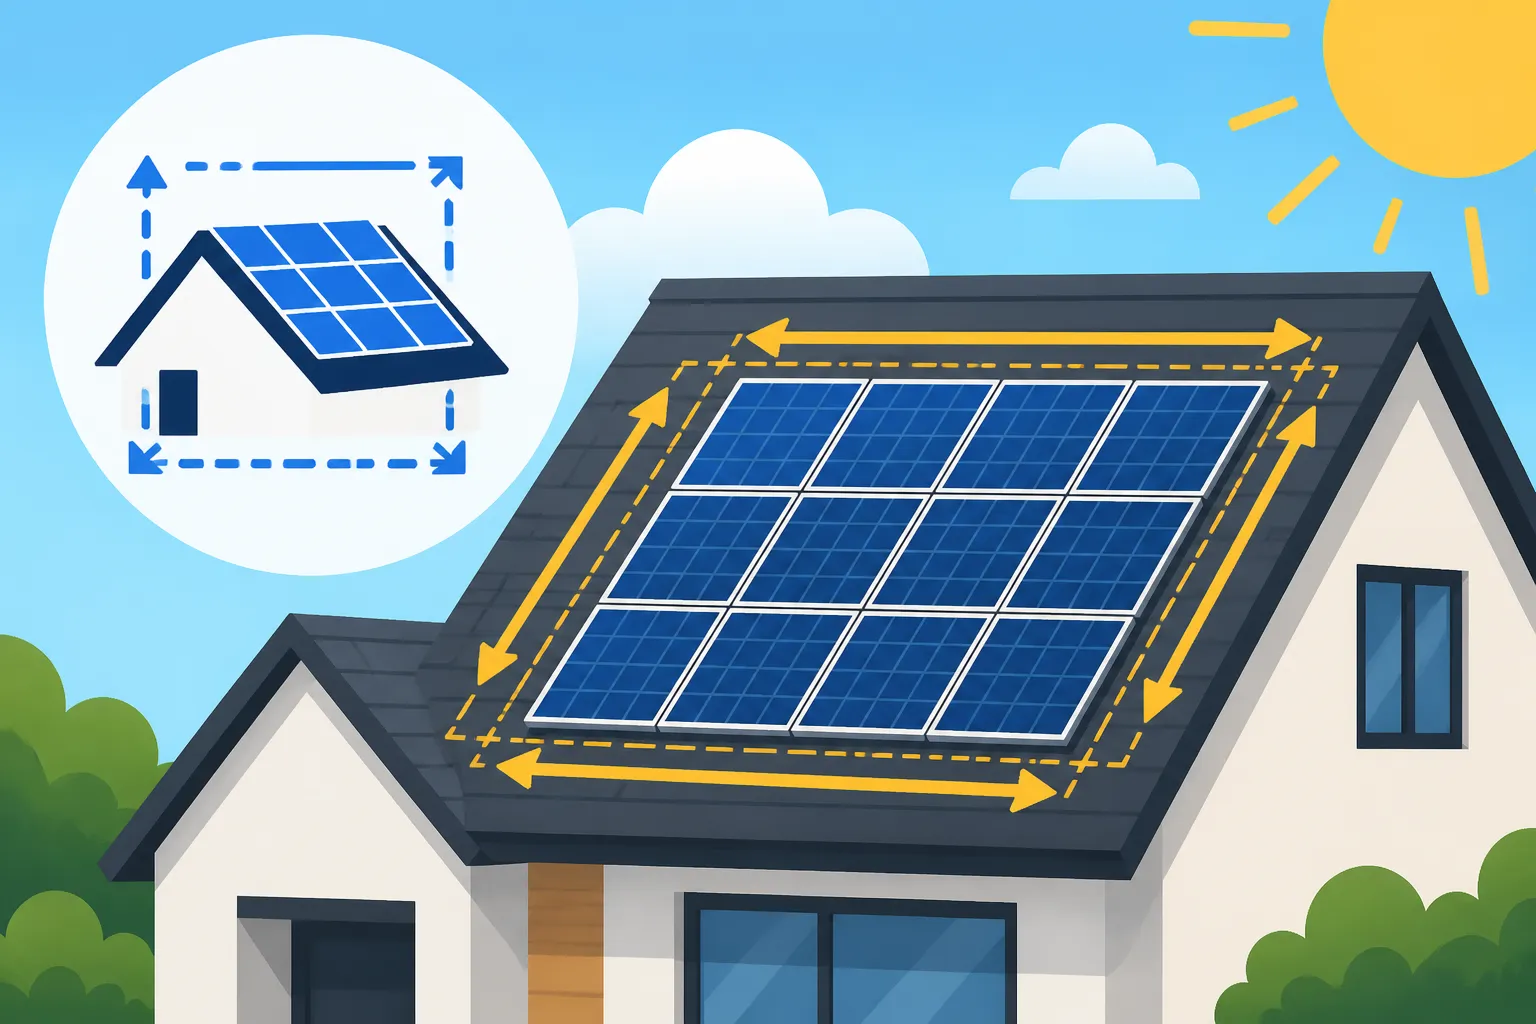
It's not just about what fits; it's also about what's allowed. Local building codes, zoning ordinances, and even homeowner association (HOA) rules can impose restrictions on solar panel placement. The most common of these are setback requirements. Many municipalities, like those in California or even smaller towns in New York, require solar panels to be set back a certain distance (e.g., 3 feet) from the ridge line, eaves, or side edges of the roof. This is primarily for fire safety, providing firefighters with clear pathways.
These setbacks can significantly reduce the usable area, especially on smaller or more complex roofs with multiple gables. For example, a roof might have 1,000 square feet of total surface area, but after applying all the necessary setbacks around vents, chimneys, and the roof edges, only 600 square feet might actually be available for panels. It's critical to understand these local regulations early in the process. A reputable solar company will be well-versed in these rules for your area and will factor them into their design. If you're looking for an installer, platforms like Modernize can connect you with local professionals who understand these nuances and can guide you through the permitting process. You might find it helpful to read about Solar Permit & Interconnection (PTO) Explained to understand this part of the process better.
| Factor | Impact on Usable Roof Space |
|---|---|
| Roof Orientation | South-facing roofs maximize production, requiring fewer panels for desired output. East/West may need more panels or higher efficiency. North-facing is generally avoided. |
| Roof Pitch (Angle) | Optimal pitch (30-45 degrees) allows panels to sit flush. Very shallow/steep pitches might require special mounts or reduce effective surface area due to angles. |
| Shading | Trees, chimneys, vents, dormers, and neighboring buildings can render large sections of the roof unusable if shaded during peak sunlight hours. |
| Obstructions | Vents, skylights, chimneys, HVAC units, and other roof-mounted equipment directly reduce the area where panels can be placed. |
| Local Setback Rules | Fire codes often require panels to be a certain distance from ridge lines, eaves, and edges, shrinking the effective installation area. |
| Roof Condition/Age | An old or damaged roof may need replacement before solar, adding to costs and timeline. Only suitable sections of a healthy roof can be used. Consider reading Do I Need a New Roof Before Solar? for more information. |
| Structural Integrity | The roof must be able to support the weight of the panels and racking. An engineering review is usually required, and some roofs might need reinforcement, affecting the feasibility of certain areas. |
Measuring Your Roof and Assessing Suitability
You've got your energy usage, and you know the factors that can eat into your available roof space. Now, let's get practical: how do you actually figure out how much space you have? While a professional assessment is always the most accurate, you can do some preliminary checks yourself to get a ballpark idea.
DIY Roof Measurement Techniques
Before a solar installer even steps foot on your property, you can get a surprisingly good sense of your roof's solar potential. The simplest method involves using a measuring tape from the ground (if safe to do so with an extendable pole) or, more accurately, using online satellite imaging tools. Google Maps and Google Earth are fantastic free resources that allow you to zoom in on your home and use their built-in measurement tools to estimate the square footage of different roof sections. This can help you determine the overall size of potential solar zones.
When you're doing this, mentally (or physically, with chalk if you can safely access the roof) mark off areas that are obviously unsuitable: chimneys, skylights, large vents, and any areas consistently shaded by trees or other structures at different times of the day. Remember to factor in potential setbacks from edges and ridges, as discussed earlier. Even a rough sketch of your roof with approximate dimensions and marked obstructions can be incredibly useful when you first speak with solar companies. It shows them you've done your homework and helps them quickly understand your home's unique layout.
Professional Site Assessment Tools
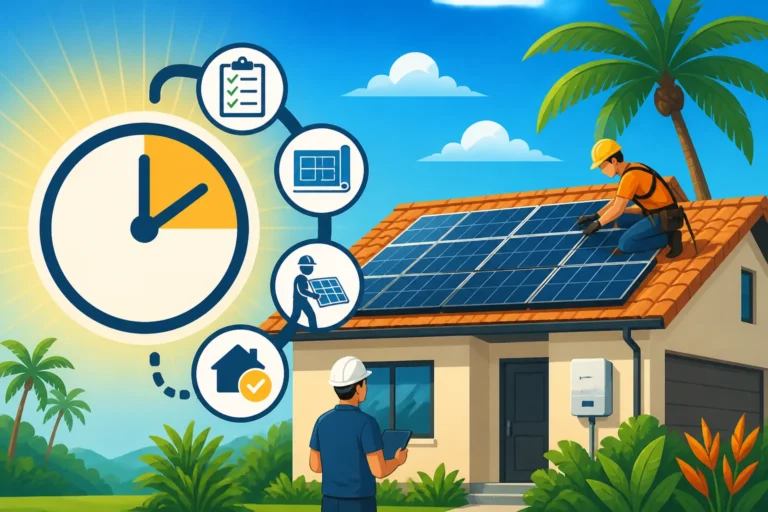
While DIY measurements are a great starting point, nothing beats a professional site assessment. A qualified solar installer will use sophisticated tools and techniques to precisely map your roof and calculate its solar potential. This often involves drone technology, advanced software like Aurora Solar or Solargraf, and on-site measurements. These tools can create a highly accurate 3D model of your home, complete with precise roof dimensions, angles, and the exact placement of every obstruction.
Crucially, these professional tools also perform detailed shade analysis. They can simulate sun paths throughout the year, identifying exactly when and where shadows will fall on your roof. This allows them to design a system that maximizes energy production while avoiding shaded areas, or by specifying equipment like microinverters that perform better under partial shade conditions. They'll also assess your roof's structural integrity and age, which are vital considerations, as you might need a Roof Replacement Cost Before Solar to ensure your investment is sound. This comprehensive approach ensures that the proposed solar system is not only feasible but also optimized for your specific home and energy needs.
Alternative Solar Solutions for Limited Roof Space
What if, after all that measuring and assessment, you discover your roof simply isn't ideal for solar panels? Maybe it's too small, too shaded, or has too many obstructions. Don't throw in the towel just yet! There are several excellent alternatives and strategies that can still help you harness solar energy or reduce your reliance on the grid.
Ground-Mount Systems
If your roof space is constrained but you have available land on your property, a ground-mount solar system could be the perfect solution. As the name suggests, these systems involve installing solar panels on racks directly on the ground in your yard. This option offers tremendous flexibility in terms of orientation and tilt, allowing you to optimize the panels for maximum sun exposure without worrying about roof pitch or existing obstructions. You can even adjust the tilt angle seasonally for slightly better performance.
Ground-mount systems are particularly beneficial if your roof is old, has a complex shape, or is heavily shaded. They can also be easier to access for cleaning and maintenance. Of course, they do require a sufficient amount of clear, unshaded land, and often come with a slightly higher upfront cost due to the additional racking, trenching for electrical lines, and potentially more extensive permitting. However, for homes with ample yard space in areas like rural Ohio or large suburban lots in Texas, a ground-mount system can provide robust and highly efficient solar energy. You can explore the cost differences by reading about Ground-Mount vs Roof-Mount Solar.
Community Solar Programs
For those with absolutely no suitable roof or ground space, or for renters and condo owners, community solar is a fantastic option. This model allows multiple subscribers to benefit from a large, off-site solar farm. Instead of having panels on your own property, you subscribe to a portion of the electricity generated by the community array. In return, you receive credits on your electricity bill, effectively reducing your monthly energy costs.
Community solar programs are gaining traction across the country, especially in states like New York and Illinois, where specific initiatives like Illinois Shines & Solar for All are designed to make solar accessible to more people. This is an excellent way to support renewable energy and save money without any physical installation on your home. It’s also a great fit for individuals who might be moving in the near future and don't want the long-term commitment of a rooftop system. You can even qualify for specific Solar Incentives for Renters & Condos in some areas.
High-Efficiency Panels and Battery Storage
Even with limited roof space, you might still be able to go solar by strategically selecting your equipment. Opting for high-efficiency solar panels, like those from brands such as SunPower (Maxeon) or REC, means you'll generate more power from a smaller physical footprint. While these panels might have a higher cost per watt, they allow you to maximize output from every available square foot of your roof. For example, if you only have space for 12 panels, choosing 450-watt, high-efficiency panels instead of 350-watt standard panels can give you an extra 1.2 kW of power, significantly boosting your overall system size and savings.
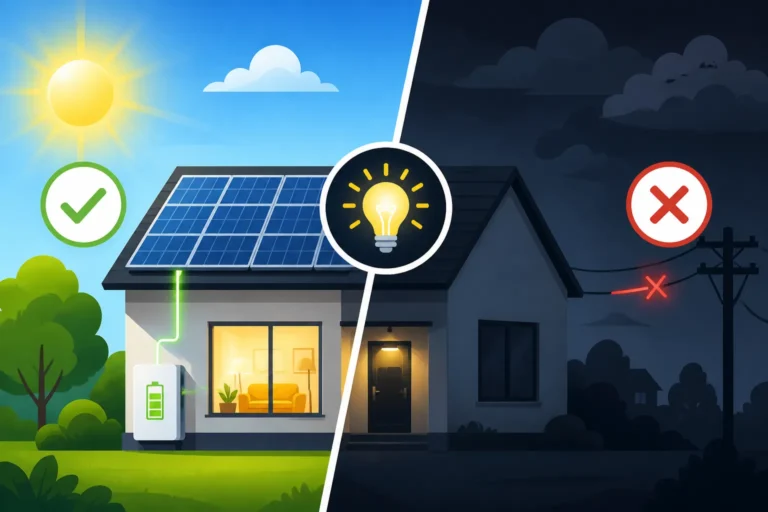
Pairing your solar array with a solar battery, like a Tesla Powerwall or an Enphase IQ Battery, can also change the game for limited-space installations, particularly where net metering policies are less favorable, such as under California's NEM 3.0. A battery allows you to store excess solar energy generated during the day for use at night or during peak demand periods. This means you get more value out of every kilowatt-hour your panels produce, even if you can't install enough panels to cover 100% of your usage through grid export. This approach can be a smart move if your utility offers an Avoided-Cost Rate & Export Credits Explained rather than full retail net metering. You can learn more about Solar Battery Incentives in 2026 to see if this is a viable option for you.
Working with Solar Professionals for Optimal Design
Navigating the world of solar can feel like a maze, especially with all the technical details, local regulations, and equipment choices. This is precisely why partnering with experienced solar professionals is not just helpful but essential. They are the experts who can translate your energy needs and roof realities into a functioning, cost-effective solar system.
The Role of a Solar Designer
A solar designer is more than just someone who draws a layout; they are a critical part of ensuring your system is efficient, compliant, and tailored to your specific situation. Their job begins with a comprehensive site assessment, utilizing specialized software to map your roof, identify shading, and calculate optimal panel placement. They consider all the variables we've discussed: roof orientation, pitch, obstructions, and local setback requirements. For instance, if you live in a historic district in Charleston, South Carolina, a designer will know about specific aesthetic guidelines that might influence panel choice or placement, ensuring your system gets approved.
Beyond simply fitting panels onto your roof, a designer optimizes your system for energy production and your financial goals. They'll advise on the best panel wattage and inverter technology (microinverters versus string inverters) based on your roof's unique characteristics, like whether you have significant shading. They are also responsible for creating the detailed blueprints required for permitting and ensuring the design adheres to all electrical and structural codes. Think of them as the architects of your solar future, making sure every detail is accounted for to maximize your investment.
Getting Multiple Quotes and Comparing Designs
Once you have a handle on what you're looking for, the next crucial step is to gather multiple quotes from different solar installers. This isn't just about price; it's about comparing designs, equipment, warranties, and the overall approach each company takes. You might find that one installer's proposed design requires more panels than another to meet the same energy offset, or that their choice of inverter technology is better suited to your particular roof. Platforms like Modernize can be incredibly useful here, as they connect homeowners with vetted local installers, allowing you to easily compare offers and find the best fit for your needs.
When comparing quotes, don't just look at the total cost. Pay attention to the "cost per watt" (total system cost divided by total kW DC capacity) as a key metric. Ask detailed questions about the panel brands they use (e.g., Qcells, Jinko Solar), the inverter technology (Enphase, SolarEdge), and the warranties offered for both the equipment and the installation. A transparent installer will walk you through their design choices and explain why they believe their system is best for your home. Remember, a cheaper upfront price isn't always the best value in the long run if the system is poorly designed or uses lower-quality components. It's an investment, so take your time to understand all aspects of the proposals. You might even want to check out how to Compare Solar Installer Quotes for a deeper dive.
Maximizing Your Roof Space: Practical Tips and Strategies
Even after considering all the technical factors, there are still proactive steps you can take to make the most of the roof space you have, or to ensure that any limitations don't derail your solar ambitions. It’s all about being strategic and thinking ahead.
Optimizing Panel Layout and Avoiding Obstructions
A skilled solar designer will work like a puzzle master, arranging panels to maximize coverage while respecting all necessary setbacks and avoiding permanent obstructions. Sometimes, this means using a slightly different panel size or even placing a few panels on a secondary roof plane (like a detached garage or a different section of the main roof) if the primary area is too small. Microinverters are a real hero here; because each panel operates independently, the design can be much more flexible, allowing panels to be placed in areas that might experience occasional shading without bringing down the performance of the entire system.
Consider what temporary or movable obstructions you might have. Is there an old satellite dish you no longer use? Can an antenna be relocated? Are there any small, non-essential vents that could be combined or rerouted during a roof replacement? Removing these before installation can free up precious square footage. Also, if you have trees casting shade, exploring responsible trimming options with an arborist can unlock more sunlight for your panels. However, always ensure any tree work doesn't compromise the health of the tree or impact your property's aesthetics more than you'd like.
Planning for Future Expansion
The energy landscape, and your personal energy needs, are constantly evolving. What if you decide to add that electric vehicle in a few years, or convert your home heating to an all-electric system? It’s smart to think about future expansion now, even if you’re not installing the maximum possible system initially. Discuss this with your solar installer. They might be able to suggest designing the initial system with an inverter that can handle more panels later, or by laying out the first phase of panels in a way that leaves a clear pathway for additional panels without a complete overhaul.
This foresight can save you significant money and hassle down the road. Retrofitting an existing system with more panels can be more expensive and complex than simply adding them to a pre-planned layout. Even if you only install enough panels to offset 70% of your current usage, having a plan to expand to 100% when you introduce that EV can be a strategic move. This could involve ensuring enough conduit capacity is run or that the main service panel has room for additional circuit breakers for an expanded array.
Leveraging State and Local Incentives for Maximum Value
Finally, remember that the financial viability of solar isn't just about how much electricity you produce; it's also about the incentives available to help offset the upfront cost. Even if your roof isn't "perfect" and requires more panels or higher-efficiency equipment, incentives can make the investment worthwhile. For instance, while the federal solar tax credit is significant, many states offer additional programs, like the New York NY-Sun & State Solar Tax Credit (25%) or the Massachusetts SMART Program Explained.
These incentives can include state tax credits, rebates, or even performance-based incentives (PBIs) like SRECs Explained: Selling Solar Renewable Energy Credits. These programs are designed to lower the net cost of your system, making solar more accessible and improving your overall return on investment. Always research the specific incentives available in your area. A good installer, especially one found through services like Modernize, will be knowledgeable about all the local and state programs and help you navigate the application process to ensure you maximize your savings. Understanding all the available programs, including Federal Solar Incentives That Still Exist in 2026, can drastically improve the financial feasibility of your solar project, regardless of your roof's characteristics.
Disclaimer
Please note that this content is intended for informational purposes only and does not constitute professional advice. Solar system design, installation, and financial outcomes are highly specific to individual circumstances, location, and prevailing regulations. Always consult with qualified solar professionals for personalized assessments, quotes, and advice regarding your specific property and energy needs. Local building codes, utility policies, and incentive programs are subject to change.