How Long Does Solar Installation Take?
The journey to powering your home with sunshine can feel like a marathon, full of exciting possibilities but also a fair bit of waiting and uncertainty. One of the biggest questions on everyone's mind is, "How long does solar installation really take?" It's a common frustration to get an initial sales pitch that makes it sound like a quick weekend project, only to find yourself weeks or even months into the process with no end in sight. This comprehensive guide will walk you through every step of the solar installation timeline, from your very first inquiry to the moment your system goes live, helping you set realistic expectations and understand what can influence the speed of your transition to solar.
Understanding the Overall Solar Installation Timeline
When we talk about the "installation timeline," it's crucial to understand that it's much more than just the days workers spend on your roof. The entire process is a multi-stage journey, each with its own potential for swift progress or frustrating delays. From the initial spark of interest to flipping the switch on your brand-new solar system, it typically spans several weeks to a few months, sometimes even longer depending on a myriad of factors. Think of it less as a single event and more as a project management exercise with many moving parts.
Initial Research and Quote Gathering
This is often the first step homeowners take, and it can vary wildly in duration based on how quickly you move. You might spend days, weeks, or even a couple of months researching different solar technologies, reading reviews, and trying to understand How Much Do Solar Panels Cost? 2026 Guide. During this phase, you're trying to figure out if solar is even a viable option for your home, what kind of savings you might see, and what kind of budget you're looking at. It's an information-gathering expedition where you're trying to get a feel for the market without committing to anything just yet.
Once you've done your homework, the next logical step is to start getting actual quotes. This usually involves contacting several solar companies, perhaps through platforms like Modernize, which can help connect you with reputable installers in your area. Each installer will typically want to schedule a consultation, either virtually or in person, to discuss your energy needs, inspect your roof (often remotely with satellite imagery at this stage), and put together a proposal. Getting multiple quotes is highly recommended, as it allows you to compare pricing, equipment options, warranties, and estimated savings. This process alone, from initial contact to receiving detailed proposals, can take anywhere from 1 to 3 weeks, especially if you're diligent about comparing different offers and asking many questions about What Questions to Ask a Solar Installer.
Site Assessment and System Design
After you've selected an installer and signed a contract, the real gears start turning. The very next critical step is the detailed site assessment and system design. Your chosen solar company will send a team out to your home to conduct a thorough evaluation. This isn't just a quick glance at your roof; it's a meticulous inspection. They'll measure your roof dimensions precisely, assess its condition and structural integrity, identify any shading issues from trees or neighboring buildings, and examine your electrical panel to ensure it can handle the new solar load. They might also check your attic space and the existing wiring.
This detailed assessment provides the foundation for your custom solar system design. Engineers will then take this data and use sophisticated software to determine the optimal number, placement, and type of solar panels, inverters (whether string, microinverters, or optimizers), and potentially a battery backup system. The goal is to maximize energy production while adhering to all local building codes and aesthetic preferences. This design phase, which includes the physical site visit and the subsequent engineering work, typically takes between 2 to 4 weeks. Any complexities with your roof structure, electrical system, or desired system size can extend this period, as revisions might be needed to finalize the perfect plan.
Permitting and Interconnection Agreements
Ah, the permitting phase. This is often cited as the longest and most unpredictable part of the entire solar journey, and for good reason. Before any physical work can begin on your home, your solar installer needs to secure a series of approvals from your local municipality and your utility company. These approvals ensure that your solar system meets all safety standards, electrical codes, and zoning regulations. The exact requirements vary wildly from city to city and state to state, creating a patchwork of bureaucratic hurdles.
First, your installer will submit detailed blueprints and documentation to your local building department for a construction permit. This can involve fire department reviews, structural reviews, and electrical reviews. Simultaneously, they'll apply to your utility company for an interconnection agreement, which is essentially permission to connect your solar system to the grid and participate in programs like Net Metering Explained: How It Works by State. The time it takes for these applications to be reviewed and approved can range from a swift 2 weeks in highly solar-friendly jurisdictions to a frustrating 8-12 weeks, or even longer, in areas with overloaded departments or complex regulations. It's a waiting game where your installer is often at the mercy of external entities, and homeowners often feel helpless, wondering about the latest updates to their Solar Permit Process in California or other states.
The Physical Installation Day(s)
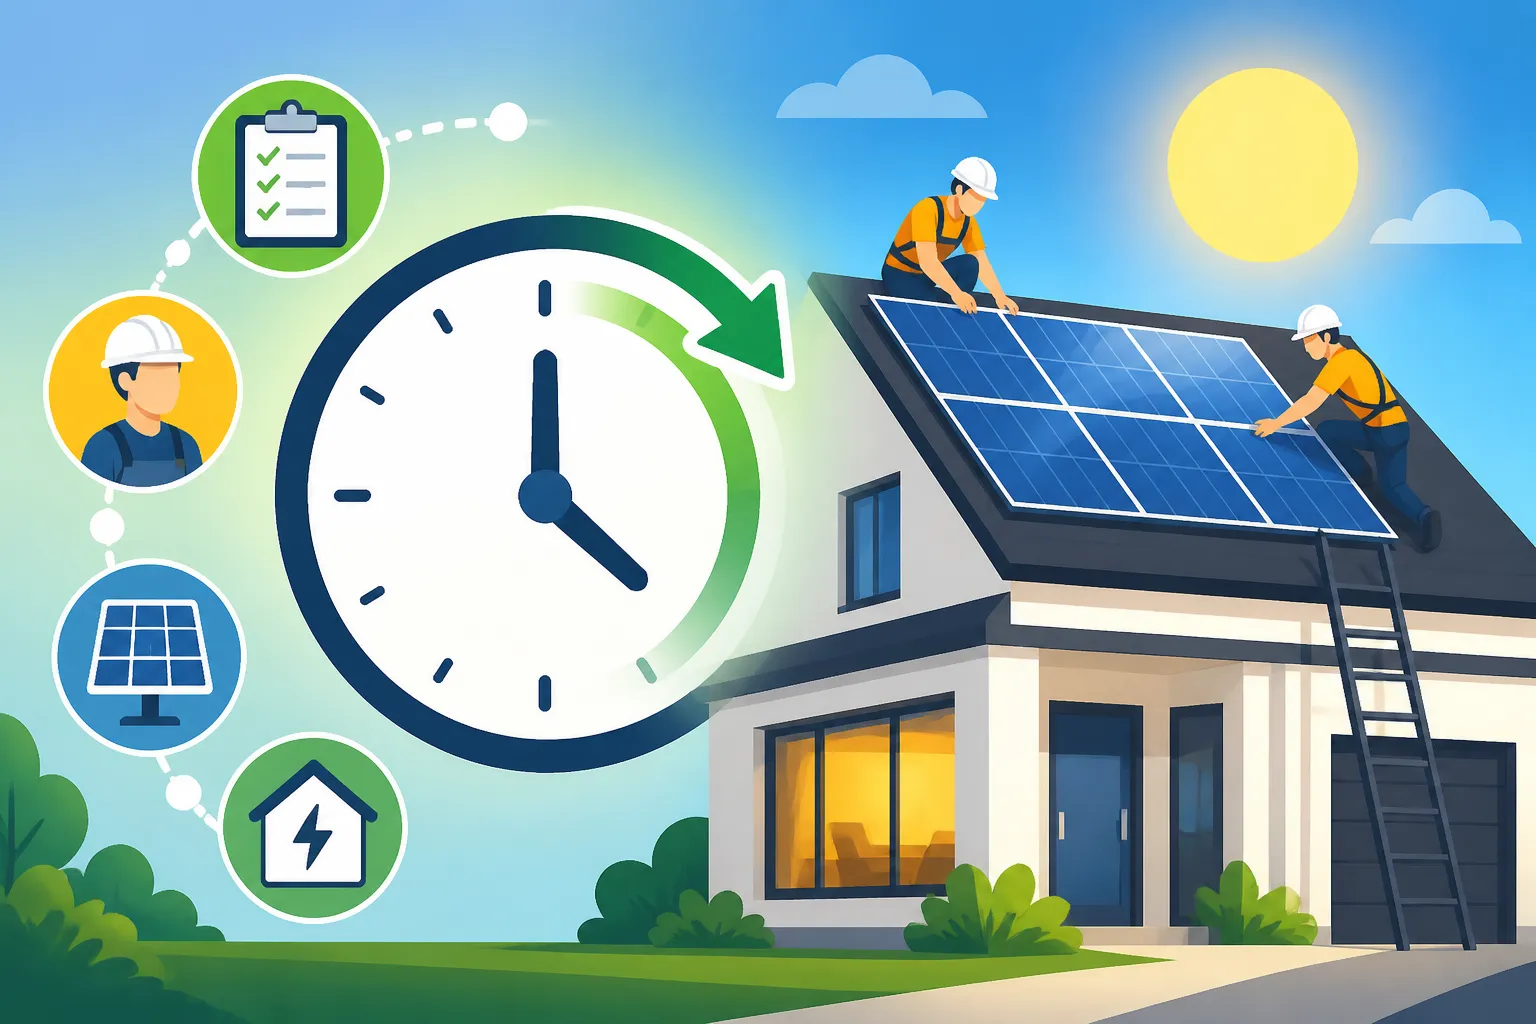
Once all the paperwork is approved and the permits are in hand, the moment you’ve been waiting for finally arrives: the actual physical installation! This is the most visible part of the process, and surprisingly, it's often the quickest. Many homeowners are pleasantly surprised by how efficiently a professional solar crew can work. The crew arrives with all the necessary equipment, from the panels themselves to the mounting hardware, inverters, and wiring. This phase is typically where you’ll see the most activity on your roof and around your electrical panel.
Panel Mounting and Racking
The first step on installation day is typically preparing the roof for the solar panels. This involves installing a racking system, which is the framework that will securely hold your panels in place. Installers will typically mark out the layout, attach mounting brackets directly to your roof rafters, and then assemble the rails onto these brackets. Great care is taken to ensure the roof remains watertight; flashing is installed under shingles to prevent leaks. The team works meticulously to ensure everything is perfectly aligned and level, setting the stage for optimal panel performance.
Once the racking is securely in place, the solar panels themselves are carefully lifted onto the roof and bolted onto the racking system. This part of the process is often what homeowners imagine when they think of "solar installation." Depending on the size of your system – say, how many solar panels you need for your home – and the complexity of your roof, this mounting and racking phase can take a single day or sometimes extend into a second day. A typical residential system with 15-25 panels can often have the panels mounted within a day if the weather cooperates and the crew is experienced.
Wiring and Inverter Installation
With the panels securely mounted, the next critical step is the electrical work. Each solar panel needs to be wired to convert the sunlight into electricity. Depending on your chosen inverter type, this will involve either connecting individual microinverters directly to each panel (common with brands like Enphase) or wiring strings of panels to a central string inverter, often located on the side of your house or in your garage. This wiring ensures that the direct current (DC) electricity generated by the panels can be converted into alternating current (AC) that your home appliances use.
The electrical team will meticulously run conduits and wires from the panels and inverters down to your home's main electrical panel. This involves careful routing to comply with safety codes and maintain the aesthetics of your home. They'll also install any necessary disconnect switches and monitoring equipment. This electrical hookup, including inverter installation and integration with your home's system, is usually completed concurrently with panel mounting or immediately afterward. For a standard residential system, the wiring and inverter installation typically takes another half to full day, rounding out the physical work on site to usually 1-3 days total.
Final Electrical Hookups
After the main components are in place and the wiring is largely complete, the installers will conduct the final electrical hookups and safety checks. This involves connecting the solar system to your main service panel and ensuring all circuits are properly grounded and protected. They will also install the crucial net meter, if your utility requires a new one, which is what tracks the electricity your system sends back to the grid and the electricity you pull from it. This is a vital component for those benefiting from net metering policies.
The installers will test the system to ensure it's functioning correctly and safely. While you won't be able to turn it on just yet – that comes after final inspections and utility approval – they'll confirm that the system is ready for the next stages. This finalization of electrical connections and internal testing typically happens on the last day of the physical installation, bringing the on-site work to a close. It’s a moment of relief for homeowners, as the visible transformation is complete, but it’s important to remember that there are still critical steps before you can actually begin generating your own power.
Post-Installation Steps and Activation
Once the physical installation crew packs up their tools, you might feel like you're almost done. However, there are still a few crucial steps that need to happen before your solar system can be officially turned on and start generating power. These post-installation phases are all about ensuring safety, compliance, and proper grid integration.
Inspections and Quality Checks
With the solar panels, inverters, and all wiring in place, the system needs to pass a final inspection by your local building department. This inspection is independent of the installer and serves as a critical safety check. An inspector will verify that the installation complies with all local building codes, electrical codes, and safety regulations. They'll look at the structural integrity of the mounting, the quality of the electrical connections, the proper labeling of equipment, and overall workmanship.
Your installer will coordinate this inspection, and you'll usually be notified of the scheduled date. In some cases, multiple inspections might be required – one for the electrical work and another for the structural components. If any issues are found, the installer will need to address them and then request a re-inspection, which can add delays. Assuming everything passes smoothly, you'll receive a final approval, a significant milestone that paves the way for the next step: utility interconnection. This inspection phase usually takes 1-3 weeks after physical installation, but again, it can vary based on your local jurisdiction's availability and thoroughness.
Utility Interconnection and PTO
Even after your local building department gives its stamp of approval, your solar system still can't be turned on until your utility company grants "Permission To Operate" (PTO). This is arguably the most anticipated and sometimes most frustrating waiting period for homeowners. The utility needs to review the final inspection report, confirm that all their specific requirements for grid connection have been met, and often update their metering equipment (e.g., swapping out your old meter for a new net meter). Understanding What Is Permission to Operate (PTO)? is crucial, as it's the final gatekeeper to energy independence.
Your solar installer will submit all the necessary documentation to the utility company on your behalf. The utility then reviews this information, ensures their grid infrastructure can handle your system, and schedules any necessary meter upgrades. The timeframe for PTO can be highly variable, ranging from a quick few days to several weeks, or even a couple of months in some areas. Utilities have their own processes and backlogs, and their responsiveness can be a major bottleneck. Only after receiving official PTO can you, or your installer, flip the switch and start producing your own clean energy.
System Monitoring and Activation
Once PTO is granted, it's finally time for activation! Your installer will either remotely activate your system or come out for a brief visit to ensure everything is running as expected. They'll show you how to use your system's monitoring portal, which is typically an app on your smartphone or a web-based dashboard. This monitoring system allows you to track your solar production in real-time, see how much energy you're consuming, and understand your overall energy savings. Brands like Enphase and SolarEdge offer excellent monitoring platforms that give you granular control and insights into your system's performance.
This is the point where you finally get to enjoy the fruits of your patience and investment. Your solar panels are now actively generating electricity, reducing your reliance on the grid, and hopefully lowering your utility bills significantly. While the physical installation is a single event, this activation and monitoring phase represents the true beginning of your solar journey, allowing you to harness the sun's power daily. The whole process, from that initial phone call to Modernize for a quote to receiving PTO and flipping the switch, typically ranges from 2 to 6 months, but can sometimes be quicker or longer.
| Stage of Installation | Average Timeframe | Potential Factors for Variation |
|---|---|---|
| Initial Research & Quotes | 1-3 Weeks | Number of quotes sought, complexity of needs |
| Site Assessment & Design | 2-4 Weeks | Roof complexity, electrical panel age, design revisions |
| Permitting & Interconnection | 2-12+ Weeks | Local municipal backlog, utility company efficiency, specific state regulations |
| Physical Installation | 1-3 Days | System size, roof type, weather conditions, crew size |
| Post-Install Inspections | 1-3 Weeks | Inspector availability, re-inspection needs |
| Utility PTO | 1-8 Weeks | Utility company backlog, meter upgrade scheduling |
| Total Project Timeline | 2-6+ Months | All factors combined, can be highly variable |
Factors That Influence the Timeline
The solar installation journey, as you can see, isn't a fixed sprint but more of an obstacle course. Many variables can either smooth the path or throw up roadblocks, significantly impacting how long it takes to get your system up and running. Understanding these factors can help you manage your expectations and even potentially mitigate some delays.
Local Permitting Office Efficiency
This is often the single biggest wildcard in the entire process. The speed and efficiency of your local city or county permitting office can make or break a quick solar installation timeline. Some municipalities have streamlined online portals, dedicated solar permit staff, and clear, concise requirements, allowing permits to be approved in a matter of days or a couple of weeks. These are often areas where solar adoption is high and local governments have invested in making the process easier.
However, many other jurisdictions, especially those new to a high volume of solar applications, have manual processes, limited staff, and complex or outdated requirements. This can lead to significant backlogs, requiring weeks or even months for permit review. Imagine your installer submitting plans, only for them to sit in a queue for weeks before a single person looks at them. Then, if there are any minor details missing or needing clarification, the plans are sent back, and the whole process restarts the waiting game. This bureaucratic dance is a major reason why Solar Permitting & Interconnection (PTO) Explained often highlights this stage as the longest. It's truly out of your installer's, and your, direct control.
Homeowner Responsibilities and Communication
While much of the process is handled by your solar installer, your active participation and responsiveness as a homeowner also play a role in the timeline. From quickly reviewing and signing contracts to promptly responding to information requests from your installer or utility, delays on your end can easily add days or weeks to the overall project. For example, if your installer needs access to your property for a site assessment or if they need you to be available for an inspection, a delay in scheduling can push back subsequent steps.
Clear and consistent communication with your installer is key. Don't be afraid to ask for updates, understand what the next steps are, and inquire if there's anything you can do to help move things along. A good installer, like those you might find through Modernize, will keep you informed, but being proactive yourself ensures you're not unknowingly holding up the process. Making quick decisions on design choices, color preferences for racking, or financing options can also help keep the project on track.
Weather and Installer Scheduling
The weather is an undeniable factor that can impact the physical installation portion of the timeline. Installing solar panels involves working on roofs, often at significant heights, and requires specialized electrical work. Heavy rain, high winds, snow, ice, or extreme heat can all make installation unsafe or impractical. A professional solar installer will always prioritize the safety of their crew and the quality of the installation, meaning they'll reschedule if conditions are unfavorable. These postponements, especially during seasons with unpredictable weather, can add days or even weeks to the on-site work timeline as the crew’s schedule needs to be realigned.
Furthermore, the installer's own schedule and staffing can affect how quickly your project moves. Reputable, in-demand installers often have a pipeline of projects. While they strive for efficiency, there might be a waiting period between signing your contract and the actual site assessment, or between permit approval and the physical installation. This is another reason why checking an installer's availability and project queue during the quoting phase can be helpful. Larger, more established companies often have more crews and better scheduling flexibility, but even they can face unexpected challenges that lead to adjustments.
Regional Differences in Installation Speed
Just like everything else in the solar world, the overall installation timeline isn't uniform across the country. Different states and even different regions within states have varying levels of solar adoption, regulatory frameworks, and local government efficiency, all of which contribute to how quickly a project can move from concept to completion.
States with Streamlined Processes
Some states and specific cities have actively worked to streamline the solar installation process, recognizing its economic and environmental benefits. These areas often have:
- Dedicated Solar Programs: States like Massachusetts with its Massachusetts SMART Program Explained or New York with New York NY-Sun & State Solar Tax Credit (25%) often come with established regulatory paths and incentives that make the process smoother.
- Online Permitting Portals: Many progressive municipalities have invested in digital platforms where installers can submit permit applications, track their status, and receive approvals online, significantly reducing processing times. For instance, cities within states known for solar, like certain parts of Arizona or Colorado, often feature more efficient permitting.
- Utility Cooperation: In states where utilities are more accustomed to solar and have well-defined interconnection guidelines, the PTO process can be much quicker. This often goes hand-in-hand with robust State Solar Incentives: Complete 2026 Guide and supportive energy policies.
For example, in parts of New Jersey, where the solar market is mature and programs like the New Jersey SREC-II / SuSI Program Guide have been in place for years, the entire timeline, from signing to PTO, can be on the shorter end, sometimes as quick as 2-3 months if there are no major holdups. Installers in these regions are highly experienced with the local nuances, further accelerating the process.
Areas with Complex Regulations
On the other end of the spectrum are regions where solar is still relatively new, or where existing bureaucracies haven't caught up with the demand. These areas can present more challenges, leading to extended timelines.
- Fragmented Permitting: Some states or counties have a patchwork of different regulations across individual towns, each with its own specific forms, fees, and review processes. This can be a nightmare for installers, who must navigate a unique set of rules for every single project.
- Utility Backlogs: In certain regions, utility companies might be slow to process interconnection agreements or perform necessary meter upgrades due to a lack of resources, outdated systems, or simply a lower priority given to residential solar. Texas, for example, has a very diverse utility landscape, and the experience can vary greatly from one service territory to another when it comes to Texas Net Metering Rules in 2026.
- Rigid Building Codes: Some local codes might be overly strict or not yet adapted to modern solar technology, requiring installers to jump through additional hoops or seek special approvals. This is especially true for older, historic districts or areas with unique architectural requirements.
In states like Florida, where hurricane readiness is a major concern, installations require stringent engineering and permitting to withstand extreme weather. While essential for safety, these robust requirements can add time to the design and approval phases. Similarly, areas with lower solar penetration might find that local officials are less familiar with solar technology, leading to slower review times as they scrutinize plans more cautiously. Choosing an installer who has deep, hyper-local experience in your specific town or county is often the best way to navigate these complexities, as they will be familiar with the individual quirks of your local permitting and utility processes. This local expertise is invaluable in helping homeowners understand their specific Solar Installation Process in Florida.
How to Mitigate Delays During Solar Installation
While some delays are unavoidable, especially those related to permitting and utility interconnection, there are proactive steps you can take to help keep your solar installation on track. A little foresight and diligence can go a long way in ensuring a smoother and quicker transition to solar power.
Choosing a Reputable Installer
This is arguably the most crucial step you can take to mitigate delays. A good solar installer isn't just someone who puts panels on your roof; they're a project manager, a bureaucratic navigator, and your advocate throughout the entire process. A reputable installer will have:
- Deep Local Experience: They'll be intimately familiar with your local permitting office's requirements, the utility company's interconnection process, and any regional quirks. This knowledge allows them to submit complete and accurate applications the first time, reducing the chances of rejection or requests for more information. They'll know exactly what forms are needed for your Solar Permit Process in Texas or elsewhere.
- Strong Communication: They will proactively keep you informed about the status of your project, set realistic expectations, and promptly respond to your questions. You won't be left wondering what's happening.
- Efficient Internal Processes: A well-organized company will have dedicated teams for design, permitting, installation, and customer service, ensuring a smooth handoff between stages and minimizing internal delays.
- Good Relationships: Established installers often have working relationships with local inspectors and utility representatives, which can sometimes help smooth out minor issues or clarify requirements more quickly.
Platforms like Modernize can be incredibly helpful in connecting you with vetted, local solar professionals. Don't just go with the cheapest bid; thoroughly research potential installers, read reviews, check their certifications (like NABCEP), and ask for references. Understanding How to Choose a Solar Installer is paramount to a successful project. Asking about their typical project timelines for homes in your area can also give you a realistic expectation.
Proactive Communication and Preparation
While your installer handles the heavy lifting, your engagement as a homeowner can significantly impact the timeline. Being prepared and proactive can prevent unnecessary holdups.
- Be Responsive: When your installer needs information from you, whether it's tax documentation for incentives, signatures on paperwork, or scheduling availability, respond as quickly as possible. Delays on your end, even small ones, can cascade and push back subsequent steps.
- Keep Your Property Accessible: Ensure clear access to your roof, electrical panel, and attic on the scheduled days for site assessments, physical installation, and inspections. Trim any overhanging branches if necessary, and clear away any obstacles that might impede the crew's work.
- Understand the Process: Educate yourself on the various stages of solar installation. Knowing what to expect at each phase, including the typical waiting periods for permits and PTO, will help you manage your own expectations and reduce anxiety. Ask your installer for a detailed timeline breakdown and clarify any questions you have about What Happens After Solar Is Installed?
- Budget for Potential Delays: While you hope for a smooth process, it's wise to mentally prepare for the possibility of delays, especially during the permitting and utility interconnection phases. Don't plan a major vacation or other home projects that hinge on a specific solar activation date, just in case things take longer than anticipated.
By taking an active, informed role and partnering effectively with a reliable installer, you can do your part to navigate the complexities of solar installation and bring your renewable energy dreams to life as efficiently as possible.
Disclaimer
Please note that the information provided in this guide is intended for general informational purposes only and does not constitute professional advice. Solar installation timelines can vary significantly based on individual circumstances, local regulations, utility policies, and installer availability. Always consult with certified solar professionals and local authorities for precise information pertaining to your specific project.