Solar Installation Process in Oregon
Thinking about going solar in Oregon can feel like navigating a dense forest, full of confusing paths and unexpected turns. You've heard the promises of lower utility bills and energy independence, but the actual process of getting panels on your roof might seem overwhelming, especially with all the state-specific rules and unique weather patterns. This comprehensive guide is here to demystify the solar installation journey in the Beaver State, breaking down each step so you know exactly what to expect.
Understanding Oregon's Unique Solar Landscape
Oregon is a fantastic place for solar, even with our infamous rainy season! Many folks worry about cloudy days, but solar panels are surprisingly efficient even when the sun isn't blazing. What really makes Oregon stand out are the specific regulations and the strong community support for renewable energy. It’s not just about getting panels; it’s about understanding how they fit into our state's energy goals and local infrastructure.
The Initial Spark: Why Oregon Homeowners Go Solar
For many Oregonians, the decision to go solar stems from a desire for greater energy independence and financial savings. Our electricity rates, while not the highest in the nation, have been on a steady upward climb. Locking in predictable energy costs is a huge draw. Imagine knowing what you'll pay for electricity for the next 20-25 years, rather than being at the mercy of utility price hikes. Beyond the wallet, there's a deep-seated environmental consciousness here. Many homeowners in places like Portland, Eugene, and Bend are passionate about reducing their carbon footprint and contributing to a cleaner future. The appeal of powering your home with sunshine, especially when surrounded by Oregon's natural beauty, is incredibly strong.
Another significant factor is the increasing awareness of climate change and the need for sustainable living. Choosing solar aligns perfectly with Oregon's progressive values and commitment to environmental stewardship. It's not just a home improvement project; it's a lifestyle choice that resonates deeply with the local community. When you speak with various solar providers, you'll find they often highlight these intrinsic benefits, alongside the tangible financial returns.
Key Regulatory Bodies and Local Permitting Differences
Navigating the permitting process in Oregon can be a bit like hiking a new trail – you need to know which path to take. At the state level, the Oregon Public Utility Commission (OPUC) sets many of the overarching guidelines, particularly concerning interconnection standards and net metering policies. However, the real variability comes at the local level. Each city and county will have its own specific building codes, electrical codes, and zoning requirements. For example, installing solar in Portland might involve slightly different procedures and timelines than in Salem or Medford.
Local jurisdictions are responsible for issuing permits for solar installations, which means you'll deal with your city's planning department or county building department. They'll review your system design plans to ensure they meet structural integrity, electrical safety, and local aesthetic guidelines. This is where choosing a seasoned solar installer who understands these nuances becomes crucial. A good installer, like those you might find through a platform like Modernize, will handle all the permitting paperwork, ensuring your project moves smoothly through the local bureaucracy. They'll know if your area requires special considerations for things like historic districts or specific wildfire-prone zones, which can impact equipment choices and installation methods. It's this local expertise that can save you a ton of headaches and potential delays.
The Step-by-Step Solar Installation Journey in Oregon
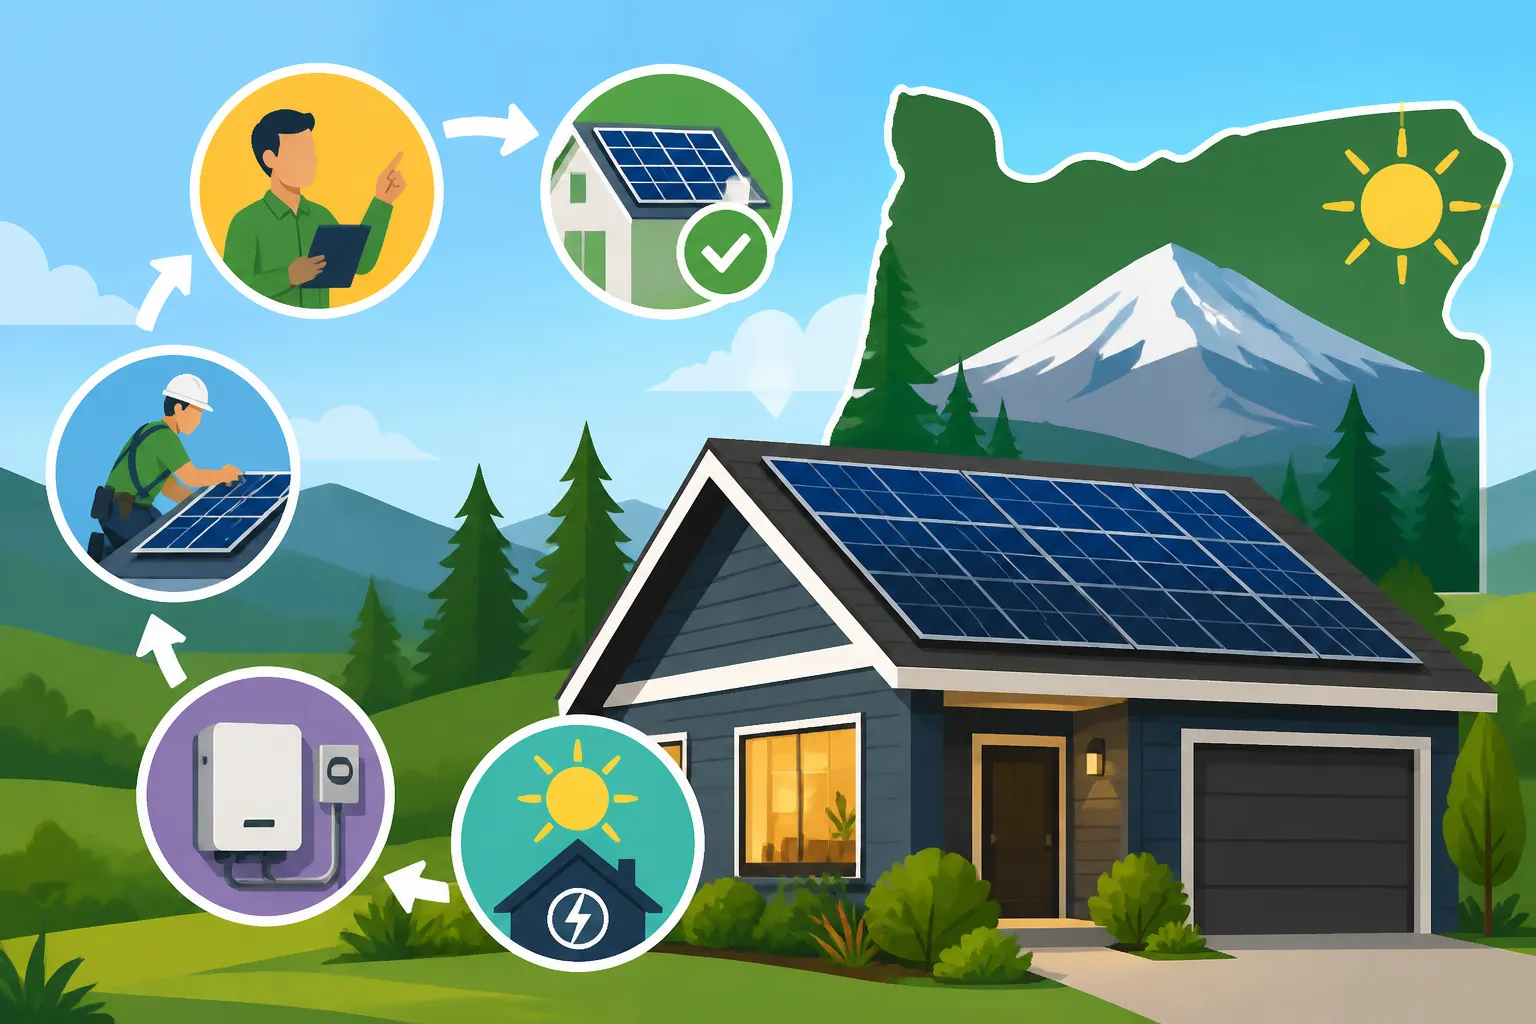
The process of installing solar panels on your Oregon home is a multi-stage journey, but with the right guidance, it’s far less daunting than it might seem. Think of it as a well-orchestrated project, with each step building on the last.
Initial Consultation and Site Assessment Specifics
Your solar journey typically begins with an initial consultation. This isn't just a sales pitch; it's a crucial information-gathering session. A solar professional will talk to you about your current electricity usage, your goals for going solar (e.g., maximizing savings, achieving energy independence, battery backup), and your budget. They'll usually ask to see your past utility bills to understand your energy consumption patterns, which is vital for designing an appropriately sized system.
Following this, a detailed site assessment will be scheduled. For Oregon homes, this often involves an expert coming to your property to evaluate your roof's condition, age, and size. They'll check for any shading issues from trees or neighboring buildings, which is especially important in our often-cloudy climate. They'll also assess your electrical panel to ensure it can handle the new solar system. They might use specialized software to analyze sun paths throughout the year to determine the optimal placement and tilt for your panels, taking into account Oregon's varied topography from the coast to the Cascades. This step is critical for determining How Many Solar Panels Do I Need for My Home? and ensuring the system will perform optimally year-round. Don't be afraid to ask detailed questions about their findings and how they factor into your proposed system design.
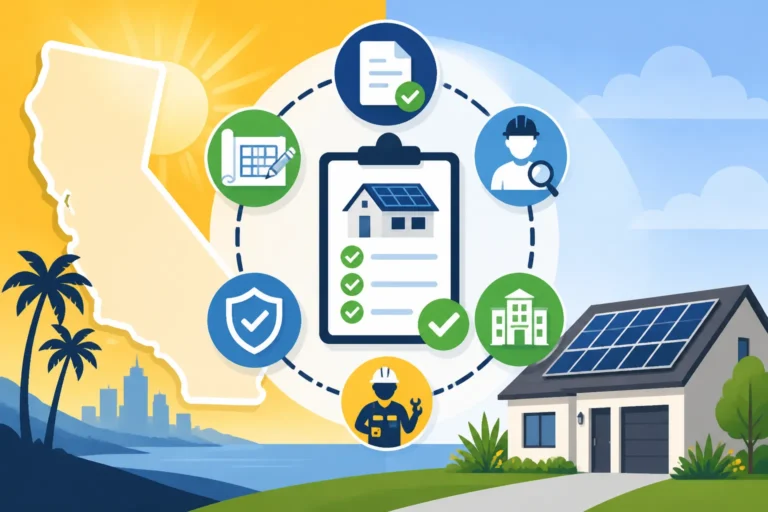
Design, Permitting, and Local Approvals
Once the site assessment is complete and you've decided on a system size and equipment (panels, inverters, and possibly batteries), the detailed design phase begins. Engineers will create a custom solar system layout for your specific roof, taking into account everything from panel efficiency to the structural integrity of your home. They'll select the right inverters—whether it's microinverters for individual panel optimization or a string inverter system—based on your roof's characteristics and potential shading.
After the design is finalized, your chosen installer will compile all the necessary documentation for local permitting. This includes electrical plans, structural drawings, and sometimes even aesthetic renderings, depending on your municipality's requirements. This is where understanding Solar Permitting & Interconnection (PTO) Explained becomes vital. Your installer will submit these plans to your city or county building department, and they'll handle any requests for additional information or revisions. The approval timeline can vary significantly across Oregon, from a few weeks in some areas to a couple of months in more complex jurisdictions. It's a waiting game, but a necessary one to ensure your system is safe, code-compliant, and eligible for incentives.
The Physical Installation Day
Once all permits are in hand, it's time for the exciting part: installation! The actual physical installation typically takes just one to three days, depending on the size and complexity of your system. A team of certified solar technicians will arrive at your home, ready to transform your roof.
First, they’ll prepare the roof by installing the mounting hardware and racking system. This typically involves attaching brackets to your roof rafters, which are then sealed to prevent leaks. Then, the solar panels themselves are carefully hoisted onto the roof and secured to the racking. Electrical wiring is run from the panels to the inverters and then down to your main electrical panel. If you're getting a solar battery, that will be installed, usually in your garage or utility room, and integrated into the system. Throughout this process, safety is paramount, and installers will follow strict protocols. A reputable installer will ensure minimal disruption to your daily life, and they'll clean up thoroughly once the work is done. They'll also likely give you a quick rundown of what they've done and what to expect next.
Inspection and Permission to Operate (PTO)
Even after the physical installation is complete, your system isn't quite ready to generate electricity for your home. Two final, critical steps remain: inspection and Permission to Operate (PTO).
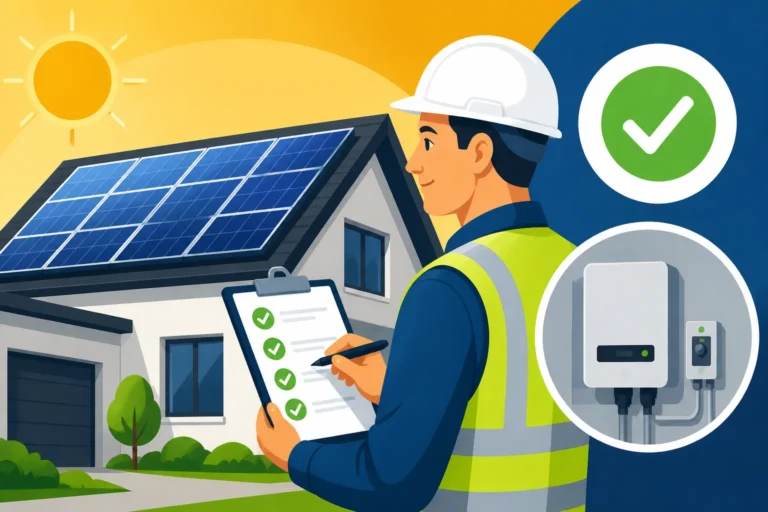
First, a local building inspector will visit your home to verify that the installation meets all local and state building and electrical codes. They'll check the mounting, wiring, grounding, and overall safety of the system. This inspection is mandatory and ensures everything was installed correctly and safely. Once your system passes this inspection, the installer will submit the paperwork to your utility company.
The utility company will then review the documentation and often perform their own final check or even install a new "net meter" at your home. This special meter tracks both the electricity you draw from the grid and the excess electricity your solar panels send back to it, crucial for Net Metering Explained: How It Works by State. Once the utility grants Permission to Operate (PTO), you'll get the green light to flip the switch and start generating your own clean power. This is the moment you've been waiting for! The whole process, from initial consultation to PTO, can range from two to six months in Oregon, largely depending on permitting and utility timelines.
Navigating Common Hurdles and Maximizing Your Oregon Solar Experience
While the solar installation process in Oregon is generally smooth, being aware of potential challenges and how to address them can save you a lot of stress.
Weather Considerations and System Performance
Oregon's weather is famously diverse, from the wet, cloudy winters of the Willamette Valley to the sunny, dry summers of Eastern Oregon. Many homeowners naturally worry about solar panel performance during the long, gray stretches of winter. It's true that your panels will produce less electricity on cloudy days than on clear, sunny ones. However, modern solar panels are designed to capture diffuse sunlight, meaning they still generate power even when it's overcast. Snowfall, while beautiful, can temporarily cover panels, reducing production. Most installers will factor these regional weather patterns into their production estimates, ensuring realistic expectations.
You might also wonder about extreme heat. While panels generally perform better in cooler temperatures, high-quality panels are built to withstand Oregon's occasional heatwaves without significant efficiency loss. When evaluating bids, ensure your installer provides a detailed annual production estimate, taking into account local weather data. This will help you understand your system's expected output throughout the year. Choosing panels with good low-light performance, like those from manufacturers focused on efficiency, can further optimize your system for Oregon's climate.
Finding Reputable Oregon Solar Installers
Choosing the right solar installer is arguably one of the most critical decisions in your solar journey. You're looking for a partner, not just a contractor. Start by getting multiple quotes – ideally three to five – from different companies. This allows you to compare not just pricing, but also equipment choices, warranty coverage, and proposed system designs. Platforms like Modernize can connect you with pre-vetted local installers, simplifying this initial research phase.
When evaluating installers, check their licensing and insurance. In Oregon, solar contractors should be licensed by the Construction Contractors Board (CCB). Look for companies with a strong track record, positive customer reviews, and a local presence. Ask about their experience with permitting in your specific city or county. Understand what their warranties cover, both for the equipment and for the installation workmanship. A good installer will walk you through the entire process, be transparent about costs, and provide excellent customer service both before and after installation. For more tips, check out our guide on How to Choose a Solar Installer. Be wary of high-pressure sales tactics or installers who push you towards a specific financing option without fully explaining alternatives.
Understanding Maintenance and Warranties in the Beaver State
One of the great things about solar panels is that they require relatively little maintenance. In Oregon, our abundant rainfall often helps keep panels clean of dust and pollen. However, an occasional rinse with a hose can be beneficial, especially after dry spells or if you live near dusty roads or agricultural areas. It’s generally not recommended to climb on your roof yourself; many homeowners opt for professional cleaning every few years if needed, or simply let the rain do its job.
What’s truly important for long-term peace of mind are your warranties. Solar systems typically come with several types:
- Product Warranty: Covers the solar panels themselves against manufacturing defects. Leading brands often offer 25-year product warranties.
- Performance Warranty: Guarantees that the panels will produce a certain percentage of their rated power output over time. For example, a common warranty might promise 80-85% of original efficiency after 25 years.
- Inverter Warranty: Covers your inverter, usually for 10-12 years for string inverters and 25 years for microinverters.
- Workmanship Warranty: Provided by your installer, covering the quality of the installation itself, including roof penetration and electrical work. These typically range from 10 to 25 years.
Always read the fine print of your warranties. Knowing what's covered and for how long will give you confidence in your investment and protect you from unexpected issues down the line. It's a key part of understanding Solar Panel Warranties Explained.
Financial Considerations Beyond Installation
Beyond the physical installation, understanding the ongoing financial aspects of going solar in Oregon is crucial for maximizing your investment. It’s not just about the upfront cost; it’s about the long-term savings and how your home’s value is affected.
Oregon State Incentives and Net Metering
Oregon has a supportive environment for solar, offering various incentives that can significantly reduce the net cost of your system and enhance your return on investment. While the federal solar tax credit is a major player nationally, Oregon has its own array of programs. The Oregon Department of Energy (ODOE) occasionally offers specific programs, and utilities often have their own rebates. For instance, Pacific Power and Portland General Electric (PGE) sometimes offer residential solar rebates that can help offset initial installation costs.
A critical component of solar savings in Oregon is net metering. This policy allows you to send any excess electricity your panels produce back to the grid, and your utility credits you for that power. This credit then offsets the electricity you pull from the grid when your panels aren't producing enough (like at night or on very cloudy days). This "buy-back" arrangement is essential for making solar financially viable. Understanding State Solar Incentives: Complete 2026 Guide is key to maximizing these benefits. Always check with your specific utility provider to understand their current net metering or net billing policies, as these can change and impact your overall savings.
Impact on Property Value and Resale
One of the most appealing long-term benefits of installing solar panels in Oregon is the positive impact on your home’s value. Study after study has shown that homes with owned solar panel systems sell for more and often sell faster than comparable homes without solar. Buyers are increasingly valuing homes with lower operating costs and a reduced environmental footprint.
The exact increase in value can vary depending on factors like the size of your system, your local real estate market, and the current energy prices in your area. However, it's generally a significant boost. In Oregon, many counties also offer solar property tax exemptions, meaning that while your home’s value may increase due to solar, your property taxes won't necessarily rise as a direct result of the solar installation itself. This is a huge benefit, effectively allowing you to enjoy the increased home value without an accompanying tax burden. This topic is explored in more detail in our article, Do Solar Panels Increase Home Value?. When it comes time to sell, having a paid-off solar system can be a major selling point, attracting environmentally conscious buyers looking for immediate energy savings.
Oregon Solar Installation Summary Table
To help you visualize the typical solar installation process in Oregon, here's a breakdown of the key stages and estimated timelines:
| Stage | Description | Estimated Timeline (Oregon) | Key Actions/Considerations |
|---|---|---|---|
| 1. Initial Consultation & Quote | Discuss energy needs, get preliminary design, and receive cost estimates. | 1-2 Weeks | Gather utility bills, ask about What Affects the Cost of Solar Panels?, compare quotes from at least 3 installers. Be wary of high-pressure sales tactics. |
| 2. Site Assessment | On-site evaluation of roof, electrical panel, shading, and structural integrity. | 1-2 Weeks | Critical for accurate system design. Discuss Roof Considerations for Solar Panels with your installer. |
| 3. Design & Contract | Final system design, equipment selection, and signing of contracts. | 1-2 Weeks | Review all terms, understand warranties, ensure clarity on financing. |
| 4. Permitting & Approvals | Installer submits plans to city/county for building and electrical permits, and utility for interconnection. | 4-8 Weeks (Variable) | This is often the longest waiting period. Your installer handles this, but understanding the process for Solar Permit & Interconnection Fees can help manage expectations. |
| 5. Equipment Ordering & Delivery | Solar panels, inverters, and mounting hardware are procured. | 2-4 Weeks | Coordinated by the installer. |
| 6. Installation | Physical installation of panels, racking, wiring, and inverters on your roof. | 1-3 Days | Most visible step. Installer ensures safety and quality. Minimal disruption to your home. |
| 7. Inspections | Local building department conducts final inspection to ensure code compliance. | 1-2 Weeks | Essential for safety and legality. Your installer will schedule and facilitate this. |
| 8. Utility Interconnection (PTO) | Utility grants Permission to Operate, often installing a new net meter. | 2-4 Weeks | The final step before you can turn your system on! Understand What Happens After Solar Is Installed? and how your net metering works. |
| Total Estimated Time | From consultation to flipping the switch. | 2-6 Months | This timeline is an average; specific circumstances, local jurisdiction, and utility efficiency can cause variations. Choosing a proactive installer can help keep things on track. |
Disclaimer
Please remember that the information provided in this guide is for general informational purposes only and does not constitute professional financial, tax, or legal advice. Solar policies, incentives, and costs can change rapidly, and local regulations vary. Always consult with qualified solar professionals, tax advisors, and your local authorities to get the most accurate and up-to-date information for your specific situation in Oregon.