Solar Installation Process in Illinois
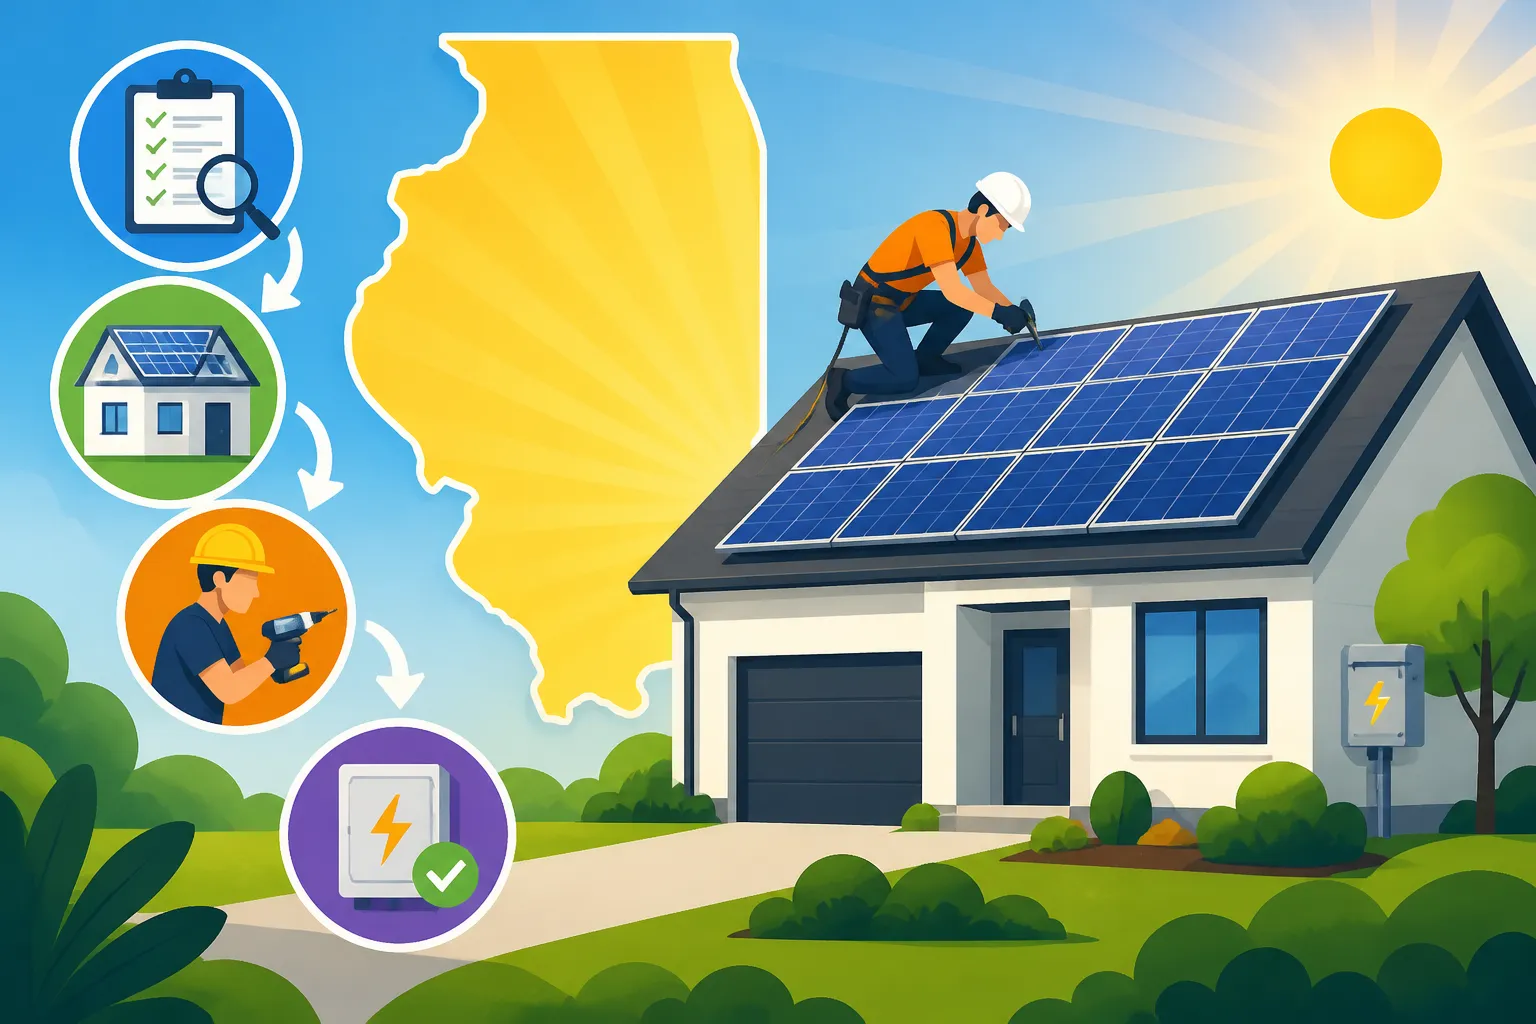
Embarking on the journey to power your home with solar in Illinois can feel a bit like trying to navigate a corn maze blindfolded. You know the end goal is amazing – clean energy, lower bills, and energy independence – but the path to get there, filled with consultations, permits, and inspections, often feels daunting and unclear. This comprehensive guide is here to shine a light on every step of the solar installation process in Illinois, giving you the confidence and knowledge to embrace renewable energy for your home.
Getting Started with Solar in Illinois: Your Initial Steps
The decision to go solar is a big one, and the first few steps are all about gathering information, understanding your options, and finding the right professionals to guide you. It's an exciting time, but also one that requires careful consideration to ensure you make the best choices for your home and budget.
Finding the Right Solar Partner and Initial Consultation
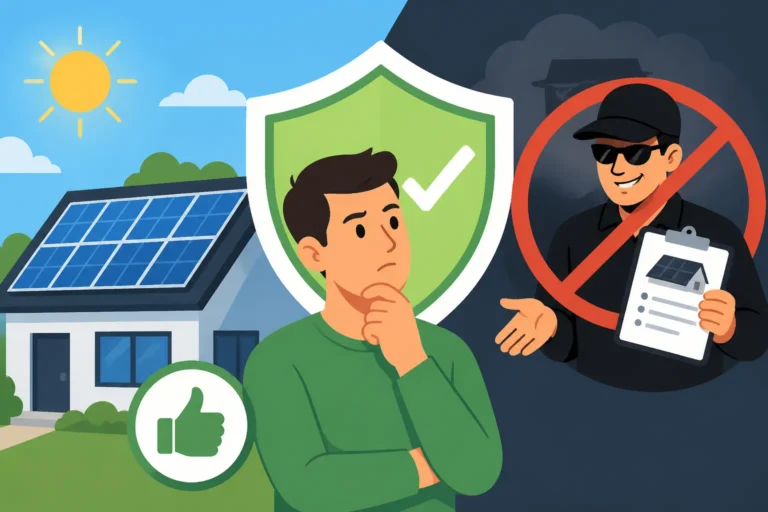
One of the most critical decisions you'll make is choosing a reputable solar installer. This isn't just about finding someone to put panels on your roof; it's about partnering with a company that understands the unique aspects of solar in Illinois, from local regulations to specific weather patterns. Many homeowners feel overwhelmed by the sheer number of companies out there, and frankly, some sales tactics can be aggressive. This is why resources like Modernize can be incredibly helpful in connecting you with vetted local professionals who can provide clear, no-pressure quotes.
During the initial consultation, a good installer will spend time understanding your energy needs, current electricity bills, and long-term goals. They should walk you through the basics of how solar works, discuss different system types, and explain the financial benefits tailored to your situation. Don't be shy about asking questions! This is your opportunity to gauge their expertise and ensure they're a good fit. Remember, you're looking for transparency and a company that truly wants to educate you, not just sell you something. For more insights on this crucial step, you might want to read our guide on How to Choose a Solar Installer.
The Site Assessment: What to Expect at Your Home
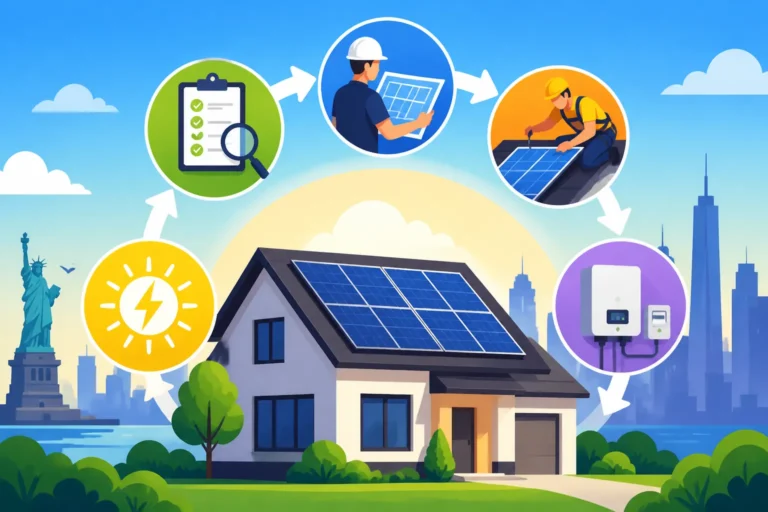
Once you've found an installer you feel comfortable with, the next step is a detailed site assessment. This isn't just a quick glance at your roof; it's a comprehensive evaluation of your property to determine the optimal placement and size of your solar energy system. A technician will visit your home to measure your roof's dimensions, assess its structural integrity, and identify any potential shading issues from trees, chimneys, or neighboring buildings. They'll also check your electrical panel to ensure it can handle the new solar system.
In Illinois, where weather can be quite varied, installers also consider factors like snow load and wind resistance, ensuring your system is built to last. They might use specialized software to model sun exposure throughout the year, taking into account seasonal changes in sun path. This detailed assessment is vital because it directly impacts your system's efficiency and overall energy production. Understanding Roof Considerations for Solar Panels is key here, as your roof's material, age, and orientation all play a role in the feasibility and success of your solar project.
Understanding Illinois Solar Incentives and Financing
Illinois is quite forward-thinking when it comes to solar energy, offering a variety of incentives that can significantly reduce the upfront cost and improve the long-term return on investment. The flagship program is the Adjustable Block Program, often referred to as Illinois Shines & Solar for All. This program provides direct payments for the energy your solar panels produce in the form of Solar Renewable Energy Credits (SRECs). Illinois homeowners can generate income by selling these credits on a market, providing a substantial boost to the financial viability of going solar.
Beyond state-specific programs, you'll also want to explore federal incentives and potential local rebates. For instance, while the federal solar tax credit has seen changes, there are still federal solar incentives that can help offset costs. Your installer should be well-versed in all applicable programs and help you navigate the application process. When it comes to financing, you'll likely encounter options like cash purchases, solar loans, leases, or power purchase agreements (PPAs). Each has its pros and cons, and understanding which one aligns with your financial goals is crucial. Our guide on SRECs Explained: Selling Solar Renewable Energy Credits can provide a deeper dive into how that particular incentive works, and if you're exploring financing, don't miss our comprehensive guide on Solar Loans: Complete Guide.
Design, Permitting, and Approvals: Navigating the Red Tape
After the initial assessment and financial discussions, the real planning begins. This phase involves intricate design work and, often, a bit of bureaucratic navigation through local permits and utility approvals. While it might sound tedious, a good solar provider handles most of this heavy lifting for you.
System Design and Equipment Selection
Based on your site assessment and energy needs, your solar installer's engineering team will create a custom design for your solar energy system. This isn't a one-size-fits-all approach; it's meticulously planned to maximize energy production while seamlessly integrating with your home's aesthetics and electrical system. They'll determine the optimal number and placement of panels, the type of inverter (string inverter, microinverters, or power optimizers), and any necessary electrical upgrades.
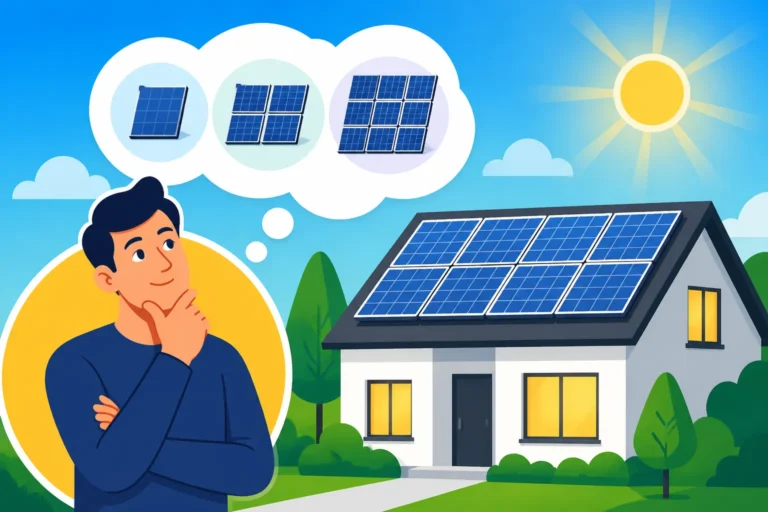
For instance, a homeowner in Naperville with a large, unshaded south-facing roof might get a different design than someone in Chicago with a smaller, partially shaded roof. The goal is always to balance efficiency with cost-effectiveness. The design also considers future energy needs, such as adding an electric vehicle charger or a battery storage system. A common question during this stage is How Many Solar Panels Do I Need for My Home?, which the design phase precisely answers. The choice of equipment, from the solar panels themselves to the inverters and mounting hardware, also plays a huge role in the system's long-term performance and durability.
The All-Important Permitting Process in Illinois
Once the design is finalized, the next hurdle is securing the necessary permits. This can often be one of the more time-consuming parts of the entire process, as it involves working with local municipal building departments. Each city or county in Illinois might have slightly different requirements, which can be frustrating for homeowners. For example, the permitting process in Springfield might differ from that in Aurora. Your solar installer should be fully responsible for submitting all architectural and electrical plans, ensuring they meet local codes and safety standards.
Navigating permit applications can involve multiple inspections of the submitted plans, ensuring everything from structural integrity to electrical wiring adheres to strict guidelines. Delays at this stage are common, but a proactive installer will keep you informed and manage expectations. This step is critical for ensuring your solar installation is safe, compliant, and eligible for all available incentives. For a deeper understanding of this step, refer to our comprehensive guide on Solar Permitting & Interconnection (PTO) Explained.
Utility Interconnection Application
Parallel to the local permitting process, your installer will also submit an interconnection application to your local utility company. In Illinois, utilities like ComEd, Ameren Illinois, and MidAmerican Energy each have their own procedures for connecting new solar systems to the grid. This application informs the utility that you'll soon be generating electricity and potentially sending excess power back into their grid.
The utility company reviews your system design to ensure it meets their technical and safety standards. They need to confirm that your system won't negatively impact grid stability or other customers. Once approved, the utility will authorize the installation of a new meter (often a net meter), which tracks both the electricity you draw from the grid and the excess electricity your panels send back. This net metering agreement is crucial for maximizing your savings and understanding how much you're credited for your surplus power. This process ensures a smooth transition to solar and helps avoid any unexpected issues with your electricity provider.
Bringing Solar to Life: Installation Day and Activation
After all the planning, designing, and permitting, the exciting part finally arrives: the physical installation of your solar panels! This is typically the quickest phase of the entire solar journey, transforming your roof into a clean energy powerhouse.
The Physical Installation of Your Solar System
The installation itself is usually completed within a few days, depending on the size and complexity of your system. A team of certified installers will arrive at your home and begin the work. They start by installing the mounting hardware onto your roof, which forms the secure foundation for your panels. Rest assured, professional installers take great care to ensure roof penetrations are properly sealed to prevent leaks. From there, the solar panels are carefully lifted and attached to the mounts.
Next, the electrical components are installed. This includes wiring the panels to your chosen inverter system – whether it's string inverters, microinverters, or optimizers – and connecting the inverter to your home's main electrical panel. This process requires skilled electricians to ensure all connections are safe and up to code. While the crew is working, you'll see your roof transform, often much faster than you anticipate. If you're curious about the overall timeline, our article on Solar Installation Timeline: What to Expect offers a broader perspective on the entire process. Most reputable installers, like those you might find through Modernize, maintain strict safety protocols throughout the installation.
Inspections and Permission to Operate (PTO)
Once the physical installation is complete, your system isn't immediately switched on. First, it needs to pass a final inspection by your local building department. This inspection confirms that the installation adheres to all local building and electrical codes, ensuring the safety and structural integrity of your system. An inspector will check everything from the mounting hardware to the electrical wiring and inverter connections.
After passing the municipal inspection, the utility company will perform its own final check. This usually involves inspecting the new net meter installation and verifying that the system is safe to connect to their grid. Once the utility grants "Permission to Operate" (PTO), your system can be officially turned on, and you can start generating your own clean electricity! This is the moment all your planning pays off, marking the transition from a traditional utility customer to a solar energy producer. Without PTO, your system cannot legally or safely operate.
Here’s a quick overview of the typical timeline for solar installation in Illinois:
| Phase | Description | Typical Timeline (after contract signing) |
|---|---|---|
| Initial Consultation & Site Assessment | Discuss needs, evaluate roof and electrical system. | 1-2 weeks |
| System Design | Engineering team creates detailed blueprints for panels, inverters, wiring. | 1-3 weeks |
| Permitting & Utility Interconnection | Submission of plans to local authorities and utility; approvals. This is often the longest phase. | 4-12 weeks (highly variable by location) |
| Equipment Procurement | Ordering and receiving solar panels, inverters, and other components. | 2-4 weeks (often overlaps with permitting) |
| Physical Installation | Mounting panels, wiring, and electrical connections. | 1-3 days |
| Final Inspections | Local building inspector and utility company verify compliance and safety. | 1-3 weeks |
| Permission to Operate (PTO) | Utility grants final approval to activate the system. | 1-2 weeks |
| Total Estimated Time | From initial contract to flipping the switch. | 8-20+ weeks |
Note: These timelines are estimates and can vary significantly based on local jurisdiction, utility responsiveness, and specific project complexity.
Living with Solar: Monitoring and Maintenance
Congratulations! Your solar system is now active and generating clean energy. But the journey doesn't end there. Understanding how to monitor your system and what minimal maintenance it requires will ensure you get the most out of your investment for decades to come.
Monitoring Your Solar System's Performance
Most modern solar systems come equipped with sophisticated monitoring software that allows you to track your energy production in real-time. This is often accessible via a desktop portal or a smartphone app, providing valuable insights into how much electricity your panels are generating, how much you're consuming, and how much you're sending back to the grid. Brands like Enphase and SolarEdge, popular in Illinois, offer robust monitoring platforms that are user-friendly.
Monitoring your system isn't just a cool gadget feature; it's a vital tool for ensuring optimal performance. If you notice a sudden dip in production that can't be explained by weather conditions, it could indicate an issue that needs attention, such as a shaded panel or a malfunctioning component. Your installer will typically set up this monitoring system for you and walk you through how to use it, empowering you to be an active participant in your home's energy management. For more on what to expect after your system is up and running, check out What Happens After Solar Is Installed?.
Keeping Your Solar Panels in Top Shape
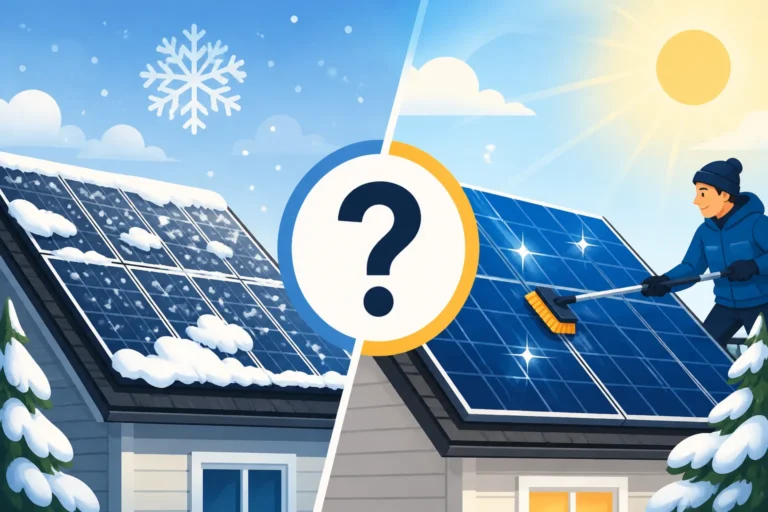
One of the great advantages of solar panels is their minimal maintenance requirements. Unlike a car or a furnace, they don't have many moving parts that need regular servicing. However, a little care can go a long way in ensuring they operate at peak efficiency for their entire lifespan. The primary concern is keeping the panels clean from debris, dust, leaves, or even bird droppings, which can partially shade cells and reduce output.
In Illinois, rain and snow often do a good job of naturally cleaning the panels. However, during prolonged dry spells or if you live near dusty roads or agricultural fields, a periodic cleaning might be beneficial. Most homeowners can do this themselves with a hose and a soft brush from the ground, or you can hire a professional solar panel cleaning service. It's generally recommended to avoid harsh chemicals or high-pressure washers, which could damage the panels. Beyond cleaning, it's a good idea to periodically check for any visible damage to the panels or wiring, although major issues are rare. Your installer should provide guidelines for Solar Panel Maintenance & Cleaning to help you keep your system running smoothly for years.
Disclaimer
Please remember that the information provided in this article is for general guidance only and should not be considered professional financial, legal, or energy advice. Solar incentives, regulations, and costs can change frequently, and local requirements vary widely. Always consult with qualified solar professionals, tax advisors, and local authorities to get the most accurate and up-to-date information for your specific situation.