Solar Installation Process in Massachusetts
Thinking about going solar in Massachusetts can feel like navigating a maze. You’ve heard about the benefits, but the actual process – from initial paperwork to flipping the switch – often seems shrouded in mystery, leaving many homeowners feeling overwhelmed and unsure where to even begin. This comprehensive guide is designed to demystify the solar installation journey in the Bay State, walking you through each crucial step so you know exactly what to expect from start to finish.
Initial Steps: Consultation, Design, and Financing
Before any panels grace your roof, there's a vital groundwork phase that sets the entire project in motion. This stage is all about understanding your needs, designing a system that works for your home, and figuring out how you’ll pay for it.
Finding the Right Solar Partner
The first and arguably most important step is choosing a reliable solar installer. This isn't just about getting the cheapest quote; it's about finding a company that understands Massachusetts' specific regulations, can navigate local permitting offices, and stands by their work for years to come. Look for installers with a strong local presence, positive reviews, and relevant certifications. It's often helpful to reach out to a few different companies to compare bids, system designs, and customer service approaches. Many homeowners find that platforms like Modernize can help connect them with reputable local installers, streamlining the initial research phase. Remember, this is a significant investment, so take your time and ask plenty of questions. You might want to read our guide on how to choose a solar installer to ensure you're making an informed decision.
Once you’ve selected an installer, they'll conduct a site visit, often called a site assessment or solar survey. During this visit, they’ll examine your roof’s condition, orientation, shading, and structural integrity. They'll also assess your electrical panel and discuss your energy consumption patterns. This information is crucial for designing a system that maximizes energy production and meets your household's needs.
System Design and Financial Planning
With the site assessment complete, your chosen installer will develop a customized solar system design. This includes the number and type of solar panels, the inverter system (microinverters or string inverters), and the optimal placement on your roof. They'll also provide a detailed proposal outlining the estimated energy production, projected savings, and the total cost.
This is also the time to explore your financing options. In Massachusetts, you have several choices, including outright cash purchase, solar loans, or power purchase agreements (PPAs) and leases. Each option has its own pros and cons, impacting your upfront costs, long-term savings, and eligibility for incentives. While the federal solar tax credit remains a powerful incentive, understanding the full scope of financial benefits like the Massachusetts SMART Program Explained is crucial. For instance, the Solar Massachusetts Renewable Target (SMART) Program offers fixed payments for the electricity generated by your solar system over a set period, providing a predictable revenue stream. Your installer should walk you through how these incentives factor into your overall return on investment. If you're wondering if solar is worth it, especially in Massachusetts, exploring Is Solar Worth It in Massachusetts? can provide more context.
Navigating the Permitting and Approval Maze in Massachusetts
Once you've settled on a design and financing, the administrative heavy lifting begins. This is often the most time-consuming part of the process, involving multiple approvals from local and state entities.
Local Permitting Requirements
Every town and city in Massachusetts has its own set of building codes and permitting requirements for solar installations. Your installer will be responsible for preparing and submitting all necessary applications to your local building department. This typically includes:
- Building Permit: To ensure the structural integrity of your roof and the safety of the installation.
- Electrical Permit: To verify that the electrical work is up to code and safely integrated into your home's system.
- Zoning Permit: To confirm the installation complies with local zoning ordinances, which might dictate placement, height, or setback requirements.
For example, homeowners in Boston might find slightly different requirements or processing times compared to someone in a more rural town like Amherst. Your installer should be well-versed in these local nuances, as delays here can push back your installation timeline significantly. They’ll also handle any required inspections by the local building and electrical inspectors during and after the installation.
Utility Interconnection and State Programs
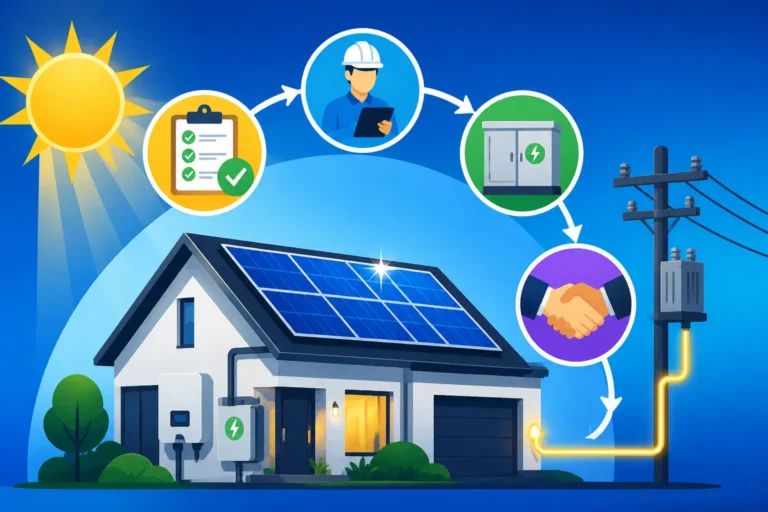
Beyond local permits, your solar system needs to be approved by your utility company to connect to the grid. This is called the interconnection process, and it's a critical step that allows your home to send excess solar electricity back to the grid and receive credits, often through net metering. Massachusetts has specific Net Metering Explained: How It Works by State rules that dictate how utilities like Eversource, National Grid, or Unitil credit you for the power your system generates but you don't use. Your installer will manage the interconnection application, ensuring all technical specifications and safety standards are met. This process typically involves a review by the utility, followed by an agreement and often the installation of a new meter that can track both incoming and outgoing electricity.
Furthermore, Massachusetts offers robust state-level incentives. The SMART program, mentioned earlier, requires specific applications and documentation to ensure your system qualifies for the incentive payments. Your installer will typically manage these applications as well, ensuring you receive all eligible benefits. This integrated approach, where your installer handles both local and state-level paperwork, is one reason why selecting an experienced solar professional is so important.
Here's a simplified overview of the typical administrative journey:
| Step | Responsible Party | Estimated Timeline | Key Outcome |
|---|---|---|---|
| 1. Design & Contract Signing | Homeowner & Installer | 1-2 Weeks | Finalized system design, financing, and signed agreement |
| 2. Local Permitting Applications | Installer | 2-8 Weeks (varies by town) | Approved Building, Electrical, and Zoning Permits |
| 3. Utility Interconnection Request | Installer | 2-6 Weeks | Utility approval to connect to the grid |
| 4. State Incentive Applications | Installer | 1-4 Weeks | Enrollment in programs like SMART |
| 5. Final Permit Approvals | Local Authorities | 1-2 Weeks | All permits granted, ready for installation |
Note: Timelines are estimates and can vary significantly based on local jurisdiction efficiency, utility processing times, and the complexity of your specific project.
Installation Day: What to Expect on Your Property
After weeks of paperwork and anticipation, the day finally arrives when the solar panels are physically installed. This is usually the quickest part of the entire process, but it requires careful coordination and attention to detail.
Pre-Installation Preparations and Arrival
Before the crew arrives, your installer might provide you with a checklist of items to prepare. This could include clearing access paths, ensuring pets are secured, or moving vehicles out of the driveway. On the scheduled day, the installation team, usually a small crew of experienced technicians, will arrive with all the necessary equipment, including the solar panels, racking systems, inverters, and electrical components. They’ll typically set up safety equipment, such as ladders, scaffolding, and fall protection, as safety is paramount on any rooftop work. Your presence might be required for initial introductions or to answer any last-minute questions, but generally, the team will work independently.
The actual physical installation usually happens quite quickly, often in just one to three days, depending on the size and complexity of your system. Larger systems or those requiring extensive electrical upgrades might take a bit longer. For a deeper dive into overall timelines, consider reading How Long Does Solar Installation Take?
Mounting Panels and Electrical Work
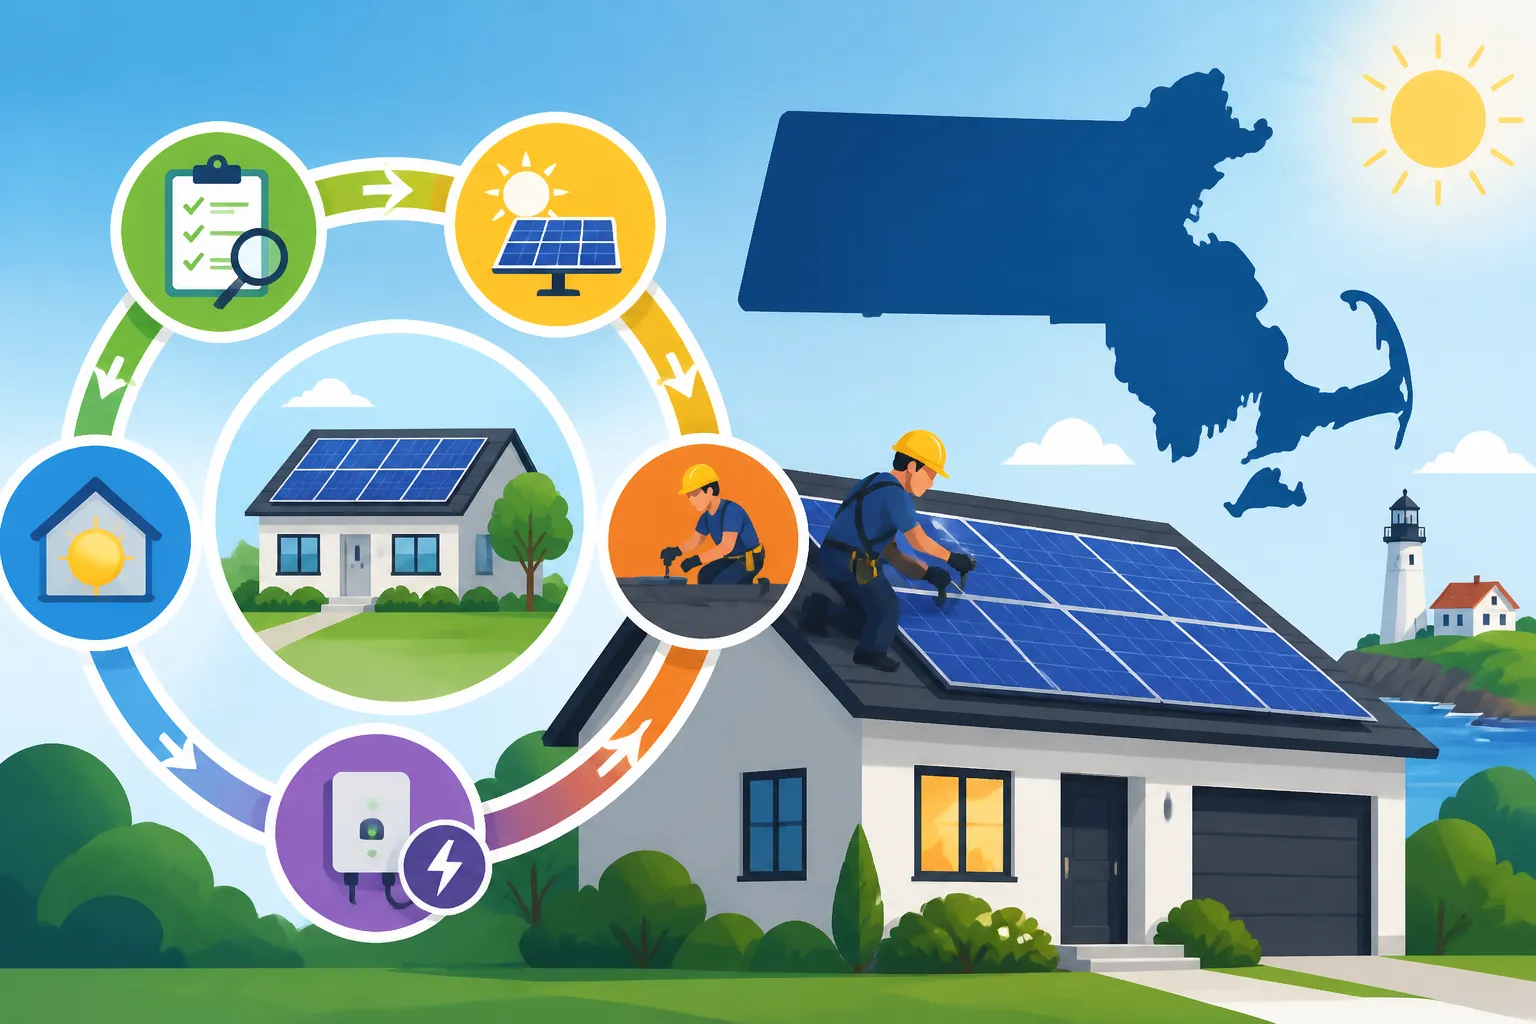
The installation process typically follows a clear sequence:
- Racking System Installation: The crew first installs the mounting hardware directly onto your roof. This robust racking system serves as the foundation for the solar panels, securely attaching them to your roof’s structure without compromising its integrity. Installers take great care to seal any penetrations to prevent leaks, often using flashing and sealants specifically designed for solar applications. If you have concerns about your roof, it's wise to review Roof Considerations for Solar Panels beforehand.
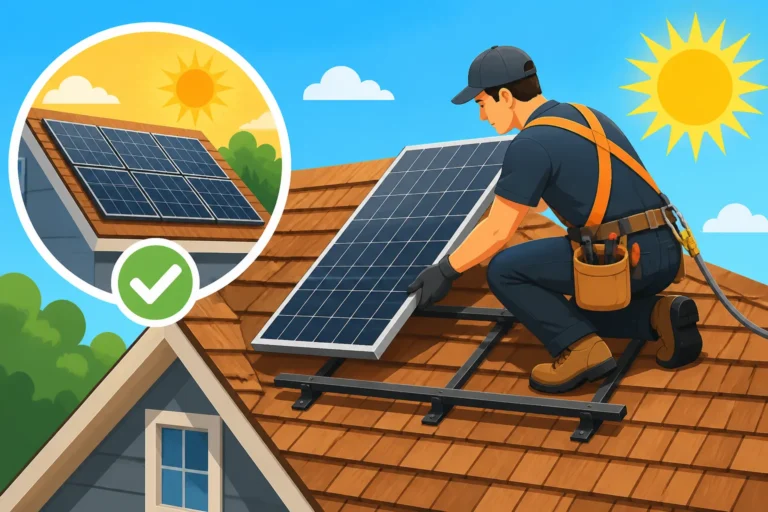
- Solar Panel Placement: Once the racking is in place, the solar panels themselves are carefully lifted onto the roof and secured to the racking. This stage requires precision to ensure proper alignment and optimal sun exposure. The electrical connections between panels are also made at this time.
- Inverter Installation: The inverter, which converts the DC electricity from the panels into usable AC electricity for your home, is installed. This could be a central string inverter mounted on a wall, or individual microinverters attached directly underneath each panel.
- Electrical Wiring: The electrical system is then wired, connecting the solar array to the inverter, and the inverter to your home’s main electrical panel and the utility meter. This work is performed by licensed electricians to ensure everything complies with electrical codes and safety standards.
Throughout this process, the crew will maintain a clean and organized workspace, minimizing disruption to your daily life. They’ll also conduct preliminary tests to ensure all components are functioning correctly before they pack up. It’s a fascinating process to watch, transforming your roof into a clean energy powerhouse.
Final Steps: Inspection, Permission to Operate, and Enjoying Your Solar System
The installation might be complete, but you’re not quite ready to start generating and saving money yet. There are a few critical final steps to ensure everything is safe, up to code, and officially connected to the grid.
Final Inspections
Once your solar system is physically installed, it must undergo final inspections by both the local building department and electrical inspector. These inspections are crucial to verify that the installation meets all local codes, safety standards, and the approved design plans. The inspectors will examine the racking, wiring, panel placement, inverter, and all electrical connections to ensure everything is compliant and safe.
This is a non-negotiable step in Massachusetts, as it’s designed to protect homeowners and ensure the long-term reliability of your system. Your installer will coordinate these inspections and will typically be on-site to address any questions or minor issues that might arise. Don't be alarmed if an inspector requests a small adjustment; it's a normal part of ensuring quality and safety. Successfully passing these inspections paves the way for the next big step: getting permission to operate.
Receiving Permission to Operate (PTO)
After your system has passed all local inspections, your utility company (Eversource, National Grid, Unitil, etc.) will issue what's known as Permission to Operate (PTO). This is the official green light that allows you to activate your solar system and begin sending excess electricity back to the grid. The time it takes to receive PTO can vary, but it usually happens within a few weeks after the final inspections are passed.
Without PTO, your system cannot legally be turned on and connected to the utility grid. Your installer will submit all necessary documentation from the completed inspections to the utility company. Once PTO is granted, your utility will often activate your net meter, which accurately measures the electricity your home imports from and exports to the grid. Only then can you switch on your system and truly begin enjoying the benefits of solar power. Understanding Solar Permitting & Interconnection (PTO) Explained can help manage expectations during this waiting period.
Monitoring and Maintenance
Congratulations! Once you have PTO, your solar system is officially up and running. Your installer will typically provide you with access to a monitoring portal or app, allowing you to track your system's energy production in real-time. This is a fantastic tool to see how much electricity your panels are generating, track your savings, and identify any potential performance issues.
While solar panels require minimal maintenance, it's a good idea to keep an eye on their performance. In Massachusetts, occasional cleaning to remove pollen, dust, or snow can help maintain optimal efficiency. Most systems come with robust warranties, covering both the panels and the installation, giving you peace of mind for decades to come. Many homeowners will find that once activated, their solar journey is largely hands-off, allowing them to focus on the significant energy bill savings. The upfront process might seem extensive, but the long-term rewards of energy independence and reduced utility bills make it a truly worthwhile endeavor for many in the Bay State.
Disclaimer
This guide provides general information about the solar installation process in Massachusetts. Specific requirements, timelines, and available incentives can vary based on your exact location, utility provider, and changes in state or local regulations. Always consult with a qualified solar professional and local authorities for advice tailored to your specific situation.