Solar Installation Process in Colorado
Thinking about going solar in Colorado can feel like stepping into a whole new world, full of exciting possibilities but also a dizzying array of steps, paperwork, and technical jargon. Many homeowners get overwhelmed just trying to figure out where to begin and what to expect from start to finish. This comprehensive guide is here to demystify the solar installation process in Colorado, breaking down each phase into understandable, manageable steps so you can approach your solar journey with confidence.
From Curiosity to Consultation: The Initial Steps for Colorado Homeowners
The journey to powering your Colorado home with sunshine often begins with a simple question: "Is solar right for me?" This initial phase is all about gathering information, understanding your options, and connecting with the right professionals who can help turn your solar dreams into a reality. It's perfectly normal to feel a bit lost at first, but with a structured approach, you'll navigate these early stages smoothly.
Researching Your Solar Potential and Needs
Before you even talk to an installer, it's incredibly helpful to do a little homework on your own. This isn't about becoming a solar expert overnight, but rather understanding the basics of how solar panels might fit your specific situation. Think about your current electricity bills – how much energy do you use? Are your bills consistently high, especially during peak seasons? Understanding your usage is key to determining what size solar system you might need. You can often find this information on your past utility statements, often in kilowatt-hours (kWh).
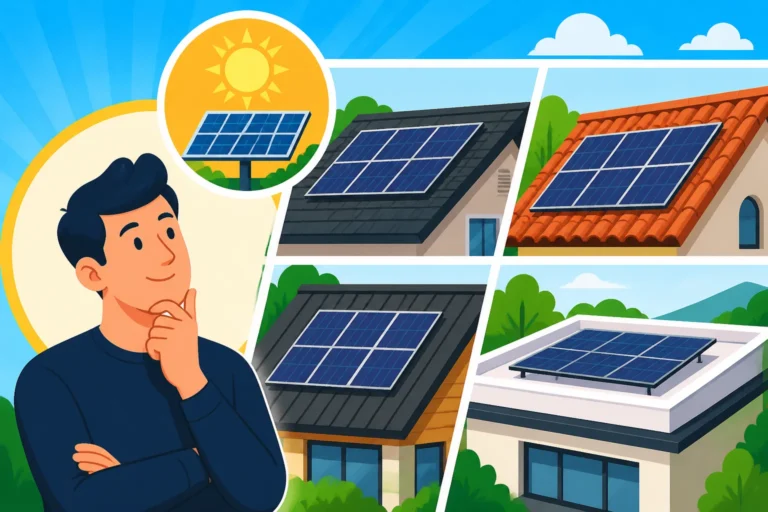
Another critical factor is your home's unique characteristics. Does your roof get a lot of direct sunlight throughout the day, or is it heavily shaded by trees or neighboring buildings? A south-facing roof with minimal obstructions is generally ideal, but modern solar technology can still be highly effective on east or west-facing roofs. Even the age and condition of your roof matter; installing solar panels on an old roof that needs replacing soon is a common pitfall. You'll want to address any roofing issues beforehand, as it's far more cost-effective to replace your roof before solar installation than to remove and reinstall panels later. For a deeper dive, you might find our guide on Roof Considerations for Solar Panels particularly helpful.
Finding Reputable Colorado Solar Installers
Once you have a general idea of your energy needs and roof suitability, the next crucial step is finding qualified solar installers in Colorado. This can feel like a daunting task, as the market is flooded with options, and not all companies offer the same level of service or expertise. It's vital to choose an installer with a strong local presence, good customer reviews, and proper licensing and insurance. You want someone who understands Colorado's specific climate challenges, like heavy snowfall in mountain regions or intense summer sun on the Front Range.
Don't settle for the first quote you receive. We always recommend getting at least three to five different quotes to compare not just prices, but also equipment choices, warranty terms, and financing options. Platforms like Modernize can be a fantastic resource here, as they help connect you with vetted local solar companies in your area, streamlining the process of getting multiple bids. This saves you the headache of searching endlessly and ensures you're comparing apples to apples. A comprehensive resource on How to Choose a Solar Installer can offer more detailed advice on what to look for and questions to ask.
The Initial Site Assessment and Proposal
After contacting a few installers, they will typically schedule an initial site assessment. This is where a solar professional comes to your home to take a closer look at everything you've considered. They'll examine your roof, assess shading, inspect your electrical panel, and discuss your energy goals in detail. They might even use drone technology to get precise measurements and solar irradiance data. This assessment is critical for them to design a system that perfectly matches your home's unique energy profile and maximizes solar production.
Following the site visit, the installer will present you with a detailed proposal. This proposal should include the recommended system size (e.g., 8 kW, 10 kW), the number and type of solar panels, the inverter technology, estimated costs, projected savings, and any applicable incentives. This is your chance to ask all your burning questions, clarify any uncertainties, and really dig into the numbers. Don't be afraid to push for clear explanations on things like financing terms, warranty coverage for both equipment and labor, and the estimated Solar Panel Payback Period Explained.
Permitting, Design, and Approval in the Centennial State
Once you've chosen an installer and are happy with the proposed system design, the real behind-the-scenes work begins. This phase involves a good deal of technical design, navigating local regulations, and securing necessary approvals from both your municipality and utility company. While your solar installer will handle most of this, understanding the steps will empower you to follow the process and ask informed questions.
System Design and Engineering Plans
Your chosen solar installer will take the information gathered during the site assessment and translate it into detailed engineering plans. This isn't just about drawing where the panels go; it involves structural analysis of your roof to ensure it can support the weight, electrical schematics showing how the system integrates with your home's existing wiring, and calculations to ensure optimal energy production. These plans must meet strict electrical and building codes, which can vary slightly depending on your specific city or county within Colorado. For instance, the requirements in Denver might differ slightly from those in Boulder or Colorado Springs.
The design phase also accounts for various components, such as whether you'll use string inverters, microinverters (popular for shaded roofs), or power optimizers. If you're considering a battery backup system, like a Tesla Powerwall or Enphase IQ Battery, these plans will also detail its integration, ensuring seamless power transfer during outages. This intricate planning ensures not only efficiency but also the safety and longevity of your solar energy system.
Navigating Local Permits and Approvals
This is often the most time-consuming part of the solar installation process in Colorado, and it's where local knowledge really shines. Every municipality in Colorado requires permits for solar installations to ensure they meet local building, electrical, and zoning codes. Your installer will be responsible for submitting these plans to the relevant local authorities – be it the City and County of Denver's Community Planning and Development, Jefferson County's Building Safety Division, or your local equivalent. The complexity and turnaround time for permits can vary wildly, sometimes taking weeks or even a couple of months.
Common reasons for delays in the permitting process include incomplete documentation, specific historical district regulations, or the need for additional structural engineering reviews for older homes. While your installer handles the heavy lifting, it’s good to stay in touch with them for updates. They’re usually well-versed in the specific permit requirements for different areas, which is another reason why choosing a local, experienced installer is so beneficial. Our article on Solar Permitting & Interconnection (PTO) Explained delves into this topic more broadly, but remember local Colorado nuances are key.
Utility Interconnection Agreement and Net Metering
Beyond local permits, you'll also need approval from your utility company to connect your solar system to the electrical grid. This is known as the interconnection agreement. In Colorado, major utilities like Xcel Energy and Black Hills Energy have specific application processes. This agreement essentially outlines the terms under which your solar system will operate in parallel with the utility grid, allowing you to send excess electricity back to the grid and receive credits.
This process is closely tied to Net Metering Explained: How It Works by State, which is a crucial incentive in many parts of Colorado. Under net metering, if your panels produce more electricity than you use during the day, that excess power is exported to the grid, and your utility credits your account. When your panels aren't producing (like at night), you draw electricity from the grid, and those credits help offset your bill. Different utilities in Colorado might have slightly different net metering policies, so understanding your specific utility's rules is paramount to maximizing your savings. This is another area where platforms like Modernize can help ensure you're connected with installers familiar with the local utility requirements in Colorado.
Installation Day and Beyond: Powering Up Your Home
After all the planning, design, and paperwork are complete, it's time for the exciting part: the physical installation of your solar panels and getting your system up and running. This phase is usually much quicker than the planning stages, but it's equally important to ensure everything is done correctly and safely.
The Physical Installation Process
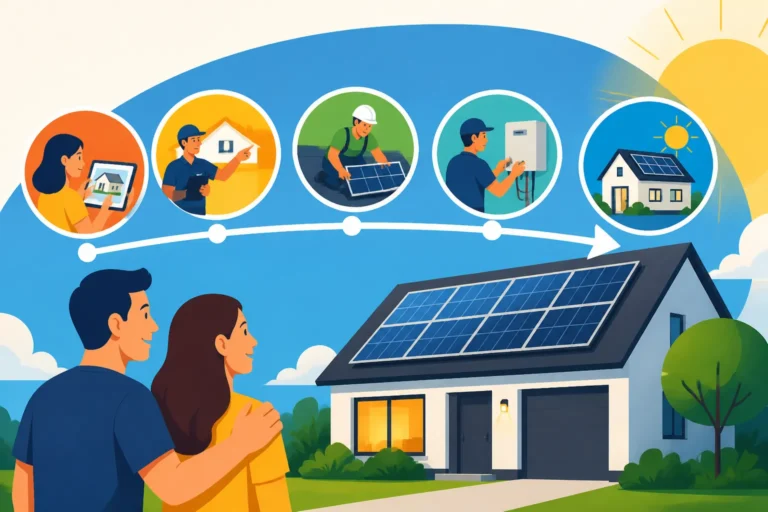
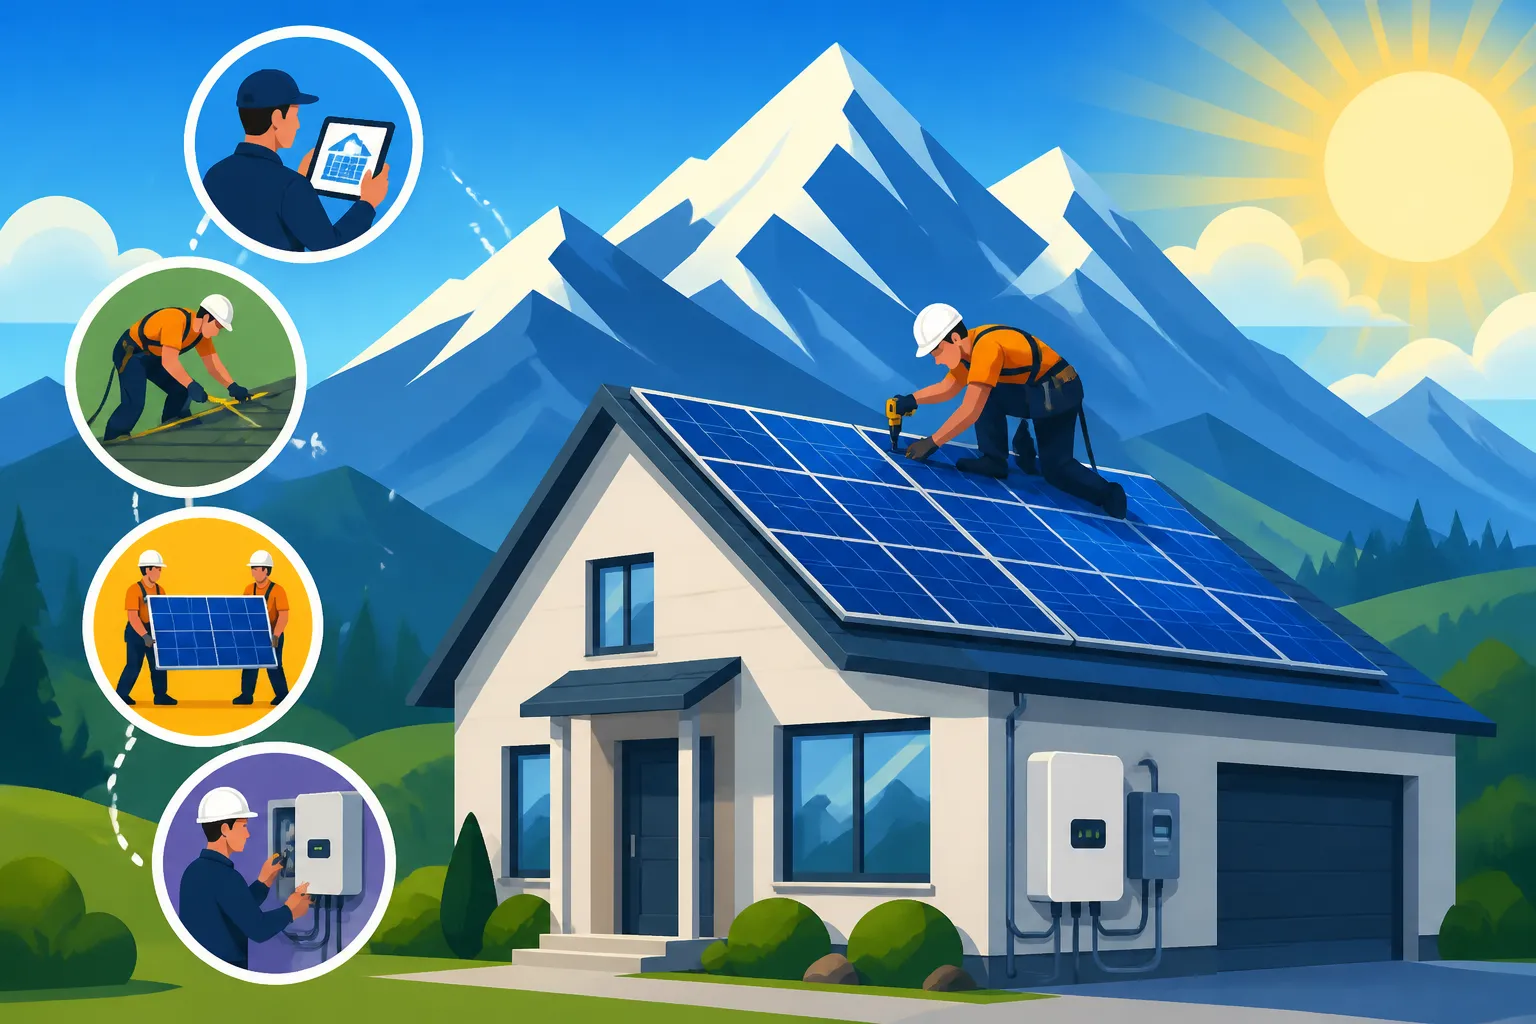
Installation day often brings a flurry of activity to your home. A team of skilled installers will arrive with your panels, inverters, racking systems, and all the necessary electrical components. Typically, the installation involves several key steps:
- Racking System Installation: First, they'll attach a racking system directly to your roof. This system provides a secure framework for the solar panels. Rest assured, reputable installers use methods that protect your roof from leaks and structural damage, often utilizing flashing and sealant to maintain weatherproofing.
- Solar Panel Placement: Once the racks are in place, the solar panels are carefully lifted onto the roof and bolted securely to the racking system. This is done with precision to ensure optimal alignment and aesthetics.
- Electrical Wiring: The panels are then wired together, and the wiring is routed to the inverter, which converts the DC (direct current) electricity produced by the panels into AC (alternating current) electricity usable by your home and the grid. This also involves connecting to your home's main electrical panel.
- Inverter and Meter Installation: The inverter is typically installed on a wall outside your home or in a garage. If your utility requires a new net meter (a special meter that can track both electricity imported from and exported to the grid), that will also be installed or upgraded at this time.
The actual physical installation of solar panels on your roof typically takes just 1-3 days, depending on the size and complexity of your system. However, the entire journey from contract signing to flipping the switch can take anywhere from 2-4 months or more, as outlined in our Solar Installation Timeline: What to Expect guide.
Inspections and Permission to Operate (PTO)
Once the physical installation is complete, your system isn't immediately switched on. First, it needs to pass a series of inspections. Local building inspectors will visit your home to ensure the installation adheres to all local codes, permits, and safety regulations. They'll check the structural integrity of the mounting, the electrical wiring, and the overall system safety. This is a critical step to ensure your system is compliant and safe to operate.
After passing the local inspections, your utility company will perform its own final review. This is usually a quick check to ensure the system is correctly interconnected to their grid and that the metering equipment is properly installed and functioning. Once the utility grants its final approval, you'll receive what's known as "Permission to Operate" or PTO. This is the moment you've been waiting for! Without PTO, you cannot legally activate your system and begin sending power to the grid. Our article on What Is Permission to Operate (PTO)? explains this in much more detail.
Activating Your System and Ongoing Monitoring
With PTO in hand, your solar installer will often come back for a final visit to flip the switch and officially turn on your solar energy system. Congratulations – you're now producing clean, renewable energy for your Colorado home! Most modern solar systems come with monitoring capabilities, often through an online portal or a mobile app. This allows you to track your system's performance in real-time, see how much electricity your panels are generating, and monitor your energy consumption.
Regular monitoring is a fantastic way to ensure your system is always performing optimally. While solar panels require minimal maintenance, checking their output periodically can help you quickly identify any issues, such as a shaded panel or a malfunctioning inverter. Over the long term, understanding your solar production helps you truly appreciate the savings and environmental benefits you're contributing.
The solar journey for Colorado homeowners is a rewarding one, despite the steps involved. By understanding each phase, from initial research to flipping the switch and beyond, you can feel confident and in control of your transition to clean energy.
| Phase | Key Activities | Estimated Timeframe | Who's Responsible |
|---|---|---|---|
| I. Initial Exploration | Research needs, gather quotes, conduct site assessment, review proposals | 2-4 Weeks | Homeowner, Solar Installer |
| II. Design & Permitting | Finalize design, secure local building permits, obtain utility approvals | 4-12 Weeks (highly variable) | Solar Installer (primary) |
| III. Installation | Physical installation of panels, wiring, inverters, meters | 1-3 Days | Solar Installer |
| IV. Activation | Local inspections, utility interconnection approval (PTO), system activation | 2-6 Weeks | Local Authorities, Utility Co. |
| V. Post-Installation | System monitoring, minimal maintenance | Ongoing (25+ years) | Homeowner |
Disclaimer
The information provided in this guide is intended for general informational purposes only and does not constitute professional advice. Solar system costs, incentives, and installation processes can vary significantly based on location, specific home characteristics, utility policies, and market conditions. Always consult with qualified solar professionals and financial advisors for personalized advice tailored to your individual situation.