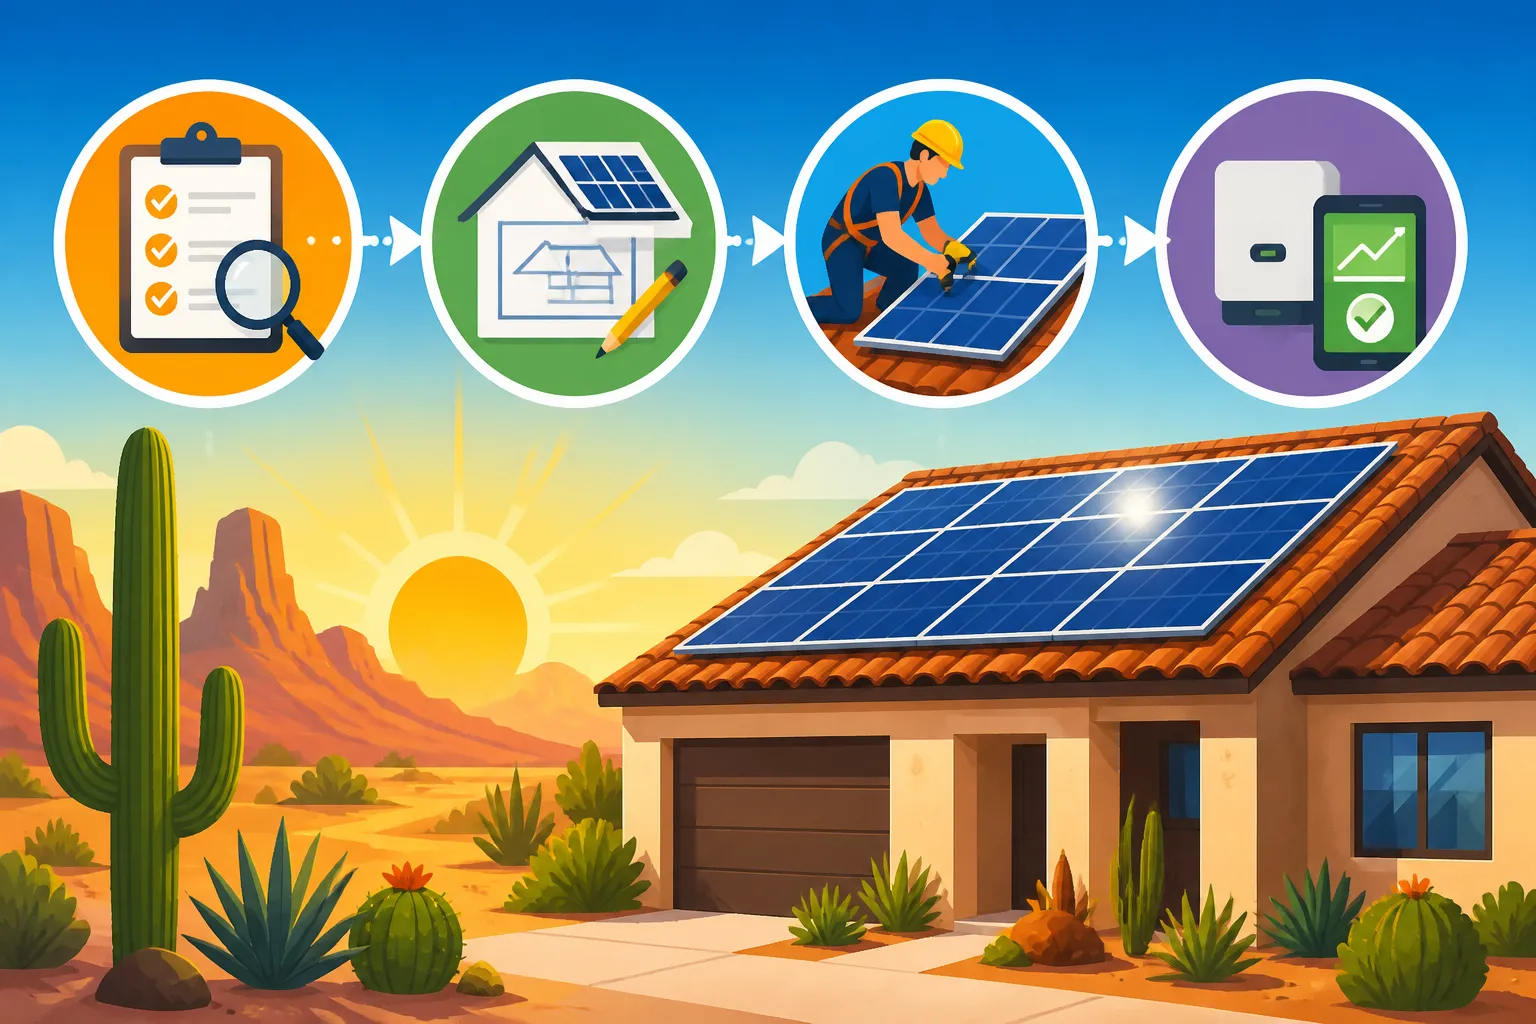
Solar Installation Process in Arizona
Thinking about going solar in Arizona? It’s a fantastic idea, especially with all that glorious sunshine, but let's be honest, the whole process can feel like navigating a maze in the desert heat. From figuring out what size system you need to dealing with permits and utility companies, it's easy to get overwhelmed. This guide is here to walk you through every step of the solar installation process specifically for homeowners in Arizona, making it feel less like a chore and more like an exciting journey toward energy independence.
Getting Started with Solar: Initial Steps in Arizona
Embarking on your solar journey means doing a bit of homework up front. It's not just about slapping panels on the roof; it’s about making smart, informed decisions that will benefit you and your home for decades to come. Especially in a state like Arizona, where the sun is abundant, but the climate is also intense, these initial steps are crucial for a successful and efficient system.
Understanding Your Energy Needs and Solar Potential
Before you even think about what kind of panels you want, you need to understand your home's unique energy footprint. In Arizona, air conditioning runs almost year-round, which means many households have significantly higher electricity consumption than those in cooler climates. Pulling out your last 12 months of utility bills from providers like Arizona Public Service (APS) or Tucson Electric Power (TEP) is the best starting point. These bills will show your average monthly and annual kilowatt-hour (kWh) usage, which is the bedrock for designing an appropriately sized solar system.
Beyond consumption, assessing your home's solar potential is key. This involves looking at your roof's direction – south-facing is generally ideal for maximum sun exposure in the northern hemisphere – and any shading issues from nearby trees, chimneys, or even neighboring buildings. While Arizona boasts incredible sunshine, even a small amount of consistent shade can dramatically reduce your system's efficiency. A reputable installer will perform a detailed site assessment, often using satellite imagery and on-site visits, to determine the optimal placement and number of panels. They’ll look at things like roof integrity, available space, and pitch, ensuring your investment truly pays off. For a deeper dive into sizing, consider reading our guide on How Many Solar Panels Do I Need for My Home?.
Finding a Reputable Arizona Solar Installer
This step cannot be overstated, especially when you consider the long-term investment and the specific climate challenges in Arizona. You need an installer who understands not just solar technology, but also local regulations, common Arizona roof types (like concrete tiles), and the unique dust and heat conditions that can affect system performance and longevity. Look for installers with a strong track record, positive customer reviews, and proper licensing from the Arizona Registrar of Contractors. Don't be shy about asking for references or checking out their past projects.
It’s also wise to get multiple quotes. Not only does this give you a competitive overview of pricing, but it also allows you to compare different system designs, equipment recommendations, and warranty offerings. Platforms like Modernize can be incredibly helpful here, as they connect you with pre-vetted local solar professionals who understand the Arizona market. When comparing quotes, pay attention to the price per watt, the specific brands of panels and inverters being offered, and the estimated production. Remember, the cheapest quote isn't always the best; value often lies in quality equipment, robust warranties, and excellent customer service. To help you choose wisely, check out our insights on How to Choose a Solar Installer.
Navigating the Design and Permitting Labyrinth
Once you’ve settled on an installer, the real groundwork begins. This phase is where your general idea gets translated into a concrete, code-compliant plan ready for installation. It involves meticulous system design tailored to your home and rigorous navigation of local bureaucratic hurdles, which can sometimes feel like the most challenging part of the entire journey.
Custom System Design for Arizona Homes
In Arizona, solar system design isn't a one-size-fits-all approach. The intense heat, for example, means that panel choice and inverter selection can impact efficiency over time. Installers will typically design your system using panels known for their good temperature coefficient, meaning they perform better in high heat. They'll also consider the optimal tilt and azimuth (the direction the panels face) to maximize energy capture throughout the year, especially during peak air conditioning season.
Your installer will create a detailed proposal that includes a precise layout of the panels on your roof, the type and specifications of all equipment (panels, inverters, racking), and an estimated annual energy production. This design will also factor in important safety measures, like setbacks from roof edges and fire access pathways, which are critical for meeting local Arizona building codes. For homes with tile roofs, the racking system will be carefully chosen to ensure watertight seals and proper weight distribution, preventing leaks and structural issues. They’ll also consider the aesthetic impact, trying to make the system as visually appealing as possible within the constraints of optimal performance. Want to know more about different panel options? Our guide to the Best Solar Panels of 2026 offers a great overview.
Navigating Arizona's Permitting and Interconnection Process
This is often where homeowners experience the most frustration and delays. After the system design is finalized, your installer will prepare a comprehensive set of plans and apply for all necessary permits from your local municipality. Whether you're in Phoenix, Tucson, Mesa, Chandler, or Flagstaff, each city or county will have its own specific requirements for electrical, structural, and sometimes even zoning permits. These permits ensure that your solar installation is safe, compliant with local codes, and properly integrated into your home's existing electrical system.
Alongside local permits, your installer will manage the utility interconnection agreement with your electric provider, such as APS or TEP. This is the official process that allows your solar system to connect to the grid and participate in any available net metering or export credit programs. In Arizona, while full retail net metering is no longer the standard, some utilities offer alternative billing mechanisms or buyback programs. The interconnection application often requires technical details about your system and can take several weeks or even months for approval. Patience is truly a virtue during this phase, as your installer is dependent on the processing times of various government and utility departments. Our article on Solar Permitting & Interconnection (PTO) Explained can shed more light on this complex topic.
Here's a simplified look at typical permit and interconnection timelines in Arizona:
| Step | Estimated Timeline (Business Days) | Key Players | Notes |
|---|---|---|---|
| Site Assessment & Design | 5-15 | Solar Installer, Homeowner | Crucial for accurate system sizing. |
| Permit Application Submission | 2-5 | Solar Installer | Submitted to local city/county building department. |
| Municipal Permit Review | 15-45 (can vary widely) | Local Building Department | Review for electrical, structural, and zoning compliance. |
| Utility Interconnection Application | 5-10 | Solar Installer, Utility Company (APS/TEP) | Submitted in parallel with or after permit application. |
| Utility Review & Approval | 20-60 | Utility Company | Approval for connecting to the grid. |
| Total Pre-Installation Phase | 47-120+ | This timeline is highly variable and depends on local efficiency. |
The Installation and Activation Journey in Arizona
After the planning, design, and permitting hurdles are cleared, you finally get to the exciting part: seeing your solar panels come to life on your roof! This phase is typically much quicker than the previous ones but involves precise execution and crucial final inspections.
The Physical Installation Day
Once all permits are approved, your solar installer will schedule the physical installation. This usually takes just 1-3 days for most residential systems, depending on the system size and complexity of your roof. The installation crew, typically comprised of roofers and electricians, will arrive on-site with all the necessary equipment. They'll start by preparing the roof, installing the mounting hardware, and then carefully placing the solar panels. Each panel is wired into the inverter system, which converts the DC (direct current) electricity generated by the panels into AC (alternating current) electricity usable by your home and the grid.
Given Arizona’s high temperatures, especially during summer, installers often prioritize early morning work and ensure their crews are well-hydrated and protected from the sun. They'll take care to protect your property and ensure a clean work site. Modern racking systems are designed to be minimally invasive to your roof, with careful flashing to prevent leaks. It's a busy but fascinating process, transforming your roof into a clean energy power plant. Want a visual idea? Our post on How Are Solar Panels Installed? Step by Step details the process.
Inspections and Permission to Operate (PTO)
Even after the panels are securely installed and wired, you can't just flip a switch and start generating electricity. The system must undergo a series of critical inspections. First, your local municipality will conduct a final electrical and building inspection to ensure the installation adheres to all approved plans and local codes. This is typically done by a city or county inspector who will check everything from wiring to panel mounting.
Once the municipal inspection passes, the final hurdle is the utility company's inspection. An APS or TEP representative will visit your property to verify that the system has been installed according to their interconnection standards and that the new solar meter (or a bidirectional meter) is correctly installed and functioning. Only after the utility company gives its official "Permission to Operate" (PTO) can your system be safely activated and connected to the grid. Your installer will usually be the one to flip the switch for the first time, officially bringing your solar energy system online. It's a moment of celebration, marking your home's transition to sustainable energy and the start of your savings journey. Knowing when you can officially turn on your system is vital, and our article on What Is Permission to Operate (PTO)? goes into more detail.
Post-Installation Life and Maintenance
Congratulations, your solar system is up and running in sunny Arizona! But the journey doesn't end with flipping the switch. There are still a few things to keep in mind to ensure your system performs optimally for its entire lifespan and continues to deliver those sweet energy savings.
Monitoring Your Solar System's Performance
Modern solar systems come with sophisticated monitoring software, often accessible via a smartphone app or a web portal. This technology allows you to track your system's energy production in real-time, daily, monthly, and annually. It's incredibly satisfying to see how much electricity your panels are generating, especially on those blazing Arizona summer days when your AC is working overtime. This monitoring also helps you identify any potential issues early on. A sudden drop in production on a sunny day could indicate a problem with a panel or inverter, allowing you to alert your installer for a check-up.
Understanding your production data also helps you manage your energy consumption more effectively. You might find yourself doing laundry or running the dishwasher during peak solar production hours to maximize self-consumption and further reduce your reliance on grid electricity. Many apps even integrate with smart home devices, giving you a comprehensive view of your home's energy ecosystem. Learning how to interpret these numbers is key to maximizing your investment, and our guide on How to Monitor Solar Panel Performance offers helpful tips.
Routine Maintenance and Longevity in Arizona's Climate
Compared to other home systems, solar panels require relatively little maintenance. However, Arizona's unique environment presents a few considerations. Dust accumulation is a real thing in the desert, and while rain helps to wash some of it away, you might find that your panels benefit from an occasional cleaning, especially after dust storms. Many homeowners opt for professional cleaning services a couple of times a year, or you can do it yourself with a hose and a soft brush from the ground, taking care not to use harsh chemicals or abrasive tools.
Beyond cleaning, regular inspections by your installer every few years can help ensure all components are functioning correctly. They’ll check the wiring, mounting hardware, and inverter for any signs of wear or damage. Most solar panels come with a performance warranty of 25 years or more, guaranteeing a certain percentage of power output over time. Inverters typically have warranties ranging from 10 to 25 years. Understanding these warranties is important for long-term peace of mind. Investing in a quality system from the start and performing minor, proactive maintenance will ensure your solar panels continue to harness Arizona’s sun for decades, keeping your electricity bills low and your home comfortable.
Disclaimer
Please note that the information provided in this guide is for general informational purposes only and does not constitute professional advice. Solar policies, incentives, and regulations can change frequently. It is highly recommended to consult with qualified solar professionals and local authorities in Arizona for specific advice tailored to your situation.