How to Install Solar Panels on a Slate Roof
It's completely understandable to feel a bit overwhelmed when you start thinking about putting solar panels on a slate roof. For many homeowners, the thought of altering such a unique, durable, and often historic roofing material feels like a huge risk. You love the look, the longevity, and the character your slate roof brings, but you also want the energy independence and savings of solar. This guide is here to walk you through the specialized process of installing solar panels on a slate roof, ensuring you understand the challenges, the precise techniques, and how to find the right professionals to protect your investment.
Understanding the Unique Challenges of Solar on Slate Roofs
Slate roofs are incredibly beautiful and remarkably long-lasting, often outliving several generations of homeowners. They’re also, quite frankly, a beast of a different color when it comes to solar installations. Unlike asphalt shingles or metal roofs, which are relatively straightforward to work with, slate presents a set of unique challenges that demand a highly specialized approach. Ignoring these nuances can lead to costly damage, leaks, and a severely compromised roof, which is the last thing anyone wants when trying to upgrade their home.
The Fragility and Weight of Slate Tiles
One of the biggest hurdles with slate is its inherent fragility. While individual slate tiles are incredibly dense and durable against the elements, they are also brittle and can easily crack or break underfoot if not handled with extreme care. This means that every single step on your roof, every tool placed, and every panel moved must be executed with precision and a deep understanding of the material. It’s not a job for just any roofing crew or solar installer; it requires true artisans who respect the integrity of your roof.
Moreover, slate roofs are notoriously heavy. A typical slate roof can weigh anywhere from 8 to 15 pounds per square foot, significantly more than asphalt shingles which might be 2-4 pounds per square foot. When you add the weight of solar panels, racking, and possibly snow accumulation, the cumulative load on your roof structure can become substantial. Before any work even begins, a thorough structural assessment by a qualified engineer is absolutely non-negotiable. You need to ensure your home’s framing can comfortably support the additional weight without causing long-term stress or damage.
Specialized Tools and Techniques Required
The delicate nature of slate means that traditional solar mounting hardware simply won't cut it. You can't just drill holes indiscriminately or use standard flashing that might compromise the watertight seal slate is famous for. Instead, specialized tools and techniques are paramount. Installers need to employ methods that minimize tile disturbance, prevent breakage, and maintain the roof's critical waterproofing layers. This often involves specific slate hooks, brackets, and flashing designed to integrate seamlessly without causing stress points or potential leaks.
Another key technique involves using "slate rippers" to carefully remove individual tiles without damaging surrounding ones, allowing access to the underlayment for mounting. Once the mounting hardware is secured, new or salvaged slate tiles are expertly slipped back into place around the mounts. This painstaking process requires not only special tools but also a practiced hand, patience, and a deep appreciation for craftsmanship. It’s why finding an installer with specific experience in slate roof solar is paramount, rather than just choosing the lowest bid.
The Specialized Solar Installation Process on Slate
Installing solar on a slate roof isn't just a matter of slapping panels on top; it's a meticulous process that marries the art of roofing with modern solar technology. It demands a detailed plan, expert execution, and a commitment to preserving the beauty and longevity of your home. Rushing any step or cutting corners can lead to significant problems down the line, costing you more in repairs than any initial savings.
Initial Assessment and Meticulous Planning
The journey begins long before a single panel reaches your roof. It starts with an exhaustive site survey and a deep dive into the specifics of your home. The first order of business is usually that structural engineering assessment we talked about. This isn't just a quick glance; it involves analyzing your roof's framing, trusses, and overall structural integrity to confirm it can handle the added load of the solar system. If there are any concerns, reinforcement might be necessary, which adds to the project timeline and cost but is absolutely vital for safety and long-term stability.
Next, a detailed roof inspection is carried out. This includes assessing the age and condition of your existing slate tiles. Are there many already cracked or damaged? Is the underlayment sound? If your roof is nearing the end of its projected lifespan or has extensive damage, it might actually make more sense to undertake a full roof replacement or significant repairs before installing solar. This avoids the costly headache of removing and reinstalling panels just a few years later. Think of it as preparing a perfect canvas for your solar masterpiece. This is also the stage where the solar array itself is meticulously designed, determining How Many Solar Panels Do I Need for My Home? and their optimal placement for maximum sun exposure while respecting the roof's aesthetics.
Mounting Systems and Installation Steps
When it comes to the actual installation, slate roofs require proprietary mounting hardware. Standard flashing kits often involve lifting and bending shingles, which is a big no-no for slate. Instead, specialized slate flashing or mounting brackets are used. These systems are designed to slide under existing slate tiles without disturbing them excessively, securing directly to the roof rafters or decking below. Brands like S-5! offer solutions that clamp onto metal roofing seams, which can be adapted for certain slate configurations, but dedicated slate roof mounts are more common.
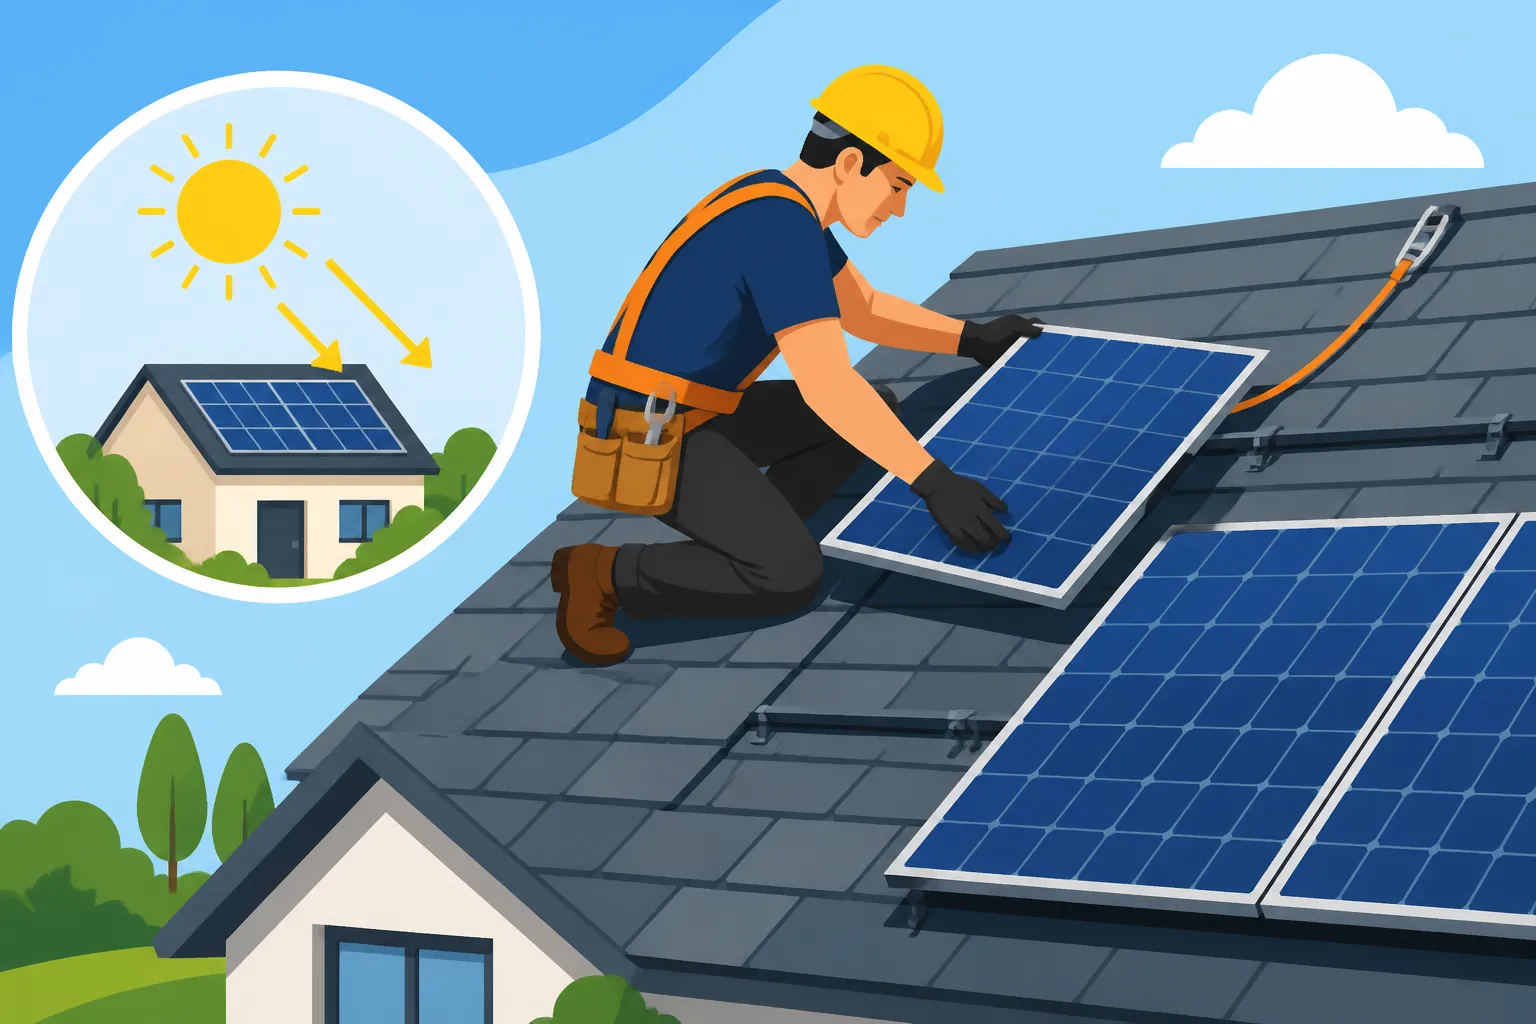
The typical process involves a crew carefully navigating the roof, using safety harnesses and specialized pads to distribute weight and prevent tile breakage. They might remove a small number of specific slate tiles using a slate ripper to expose the roof decking. Then, the mounting brackets are installed, often with specialized fasteners designed not to create stress points. A custom flashing, typically made of copper or other durable metal, is then integrated to maintain the watertight seal around the mount. Finally, the removed or new slate tiles are carefully re-integrated around the flashing, sometimes requiring cutting and shaping to fit perfectly. This labor-intensive work means that How Long Does Solar Installation Take? can be longer than average. Once the mounts are secure and sealed, the racking system is installed, followed by the solar panels themselves.
Electrical Integration and Final Steps
With the solar panels securely in place, the electrical work begins. This involves routing the wiring from the panels to the inverter, and then to your home’s electrical panel. Given the need to preserve the slate roof, conduit runs are carefully planned to be as unobtrusive as possible, often running along the edges of the array or through attic spaces if accessible. The type of inverter chosen, whether string inverters, microinverters, or power optimizers, will influence the wiring scheme. Microinverters, for instance, are installed directly under each panel, simplifying DC wiring on the roof but requiring more connections.
After all electrical components are installed and safety checks are performed, the crucial step of Solar Permitting & Interconnection (PTO) Explained takes place. This involves final inspections by local building departments and your utility company to ensure the system meets all codes and can safely connect to the grid. Only after receiving Permission to Operate (PTO) can your system be energized and start generating clean electricity. During this phase, it’s also important to understand What Happens After Solar Is Installed?, including monitoring your system's performance and routine checks.
Choosing the Right Professionals and Materials for Slate Roof Solar
This isn't a job where you want to go with the cheapest bid. The specialized nature of slate roof solar installation means that expertise and a proven track record are far more valuable than a slight price difference. Picking the wrong installer or cutting corners on materials can easily lead to much larger expenses down the line, including roof repairs and diminished solar performance.
Finding an Experienced Slate-Specific Installer
This is, without a doubt, the most critical step. You absolutely need an installer with demonstrable experience in installing solar on slate roofs. Don't be afraid to ask for specific references and portfolios of past slate roof projects. Ask to speak to previous clients who had slate roofs. A reputable installer will be eager to show off their expertise. They should have a deep understanding of slate roofing techniques, including how to handle, cut, and repair slate tiles. They should also carry specialized insurance that covers work on historic or delicate roofing materials.
When you're comparing installers, ask them about their proposed mounting hardware for slate roofs. Do they use dedicated slate mounts and flashings? What is their process for minimizing tile breakage and repairing any damaged tiles? A fantastic way to connect with these highly specialized contractors is through platforms like Modernize. They can help you filter for installers who have specific expertise in niche installations, rather than just general solar companies. It’s important to get multiple quotes, but prioritize expertise over price. Look for any Solar Installer Red Flags to Watch For, such as high-pressure sales tactics or a lack of detailed answers about their slate experience. A truly expert installer will be transparent about the complexities and costs involved. For more general advice, you can also refer to our guide on How to Choose a Solar Installer.
Here's a quick comparison of what to look for when evaluating installers for a slate roof:
| Feature/Consideration | Standard Solar Installer (Typical) | Slate Roof Solar Specialist (Ideal) |
|---|---|---|
| Roofing Experience | May have general roofing knowledge | Deep expertise in slate roofing, repair, and restoration |
| Mounting Hardware | Standard asphalt shingle flashing/mounts | Specialized slate hooks, custom flashing, S-5! solutions |
| Tile Handling | Risk of breakage, potential for improper repairs | Uses slate rippers, skilled handling, minimizes breakage |
| Structural Assessment | May rely on general contractor or skip | Integrates structural engineer report as standard practice |
| Insurance Coverage | Standard liability for typical solar | Specific coverage for historic or delicate roofing work |
| References/Portfolio | General solar installations | Specific examples of slate roof solar projects |
| Project Timeline | Generally faster | Longer due to meticulous process and specialized labor |
| Cost | Potentially lower upfront, higher risk of future repair | Higher upfront, lower long-term risk of roof damage |
Selecting Durable Solar Equipment
While the installation method is critical, the quality of your solar equipment also plays a significant role in a slate roof installation. You're making a substantial investment in the labor and expertise needed to integrate solar onto such a roof, so it only makes sense to pair it with high-quality, reliable components that will last. Look for solar panels from reputable manufacturers known for their durability and strong warranties. Companies like SunPower (Maxeon) or REC are often chosen for their robust construction and excellent performance, especially when long-term reliability is a top priority.
Similarly, choose high-quality inverters that are appropriate for your specific installation. Solar Inverters: String vs Microinverter vs Optimizer each have their pros and cons. Microinverters from brands like Enphase, for example, can be an excellent choice for slate roofs, as they allow for individual panel optimization and easier monitoring, and their placement under each panel means less high-voltage DC wiring running across the roof. Your installer should guide you through the best options based on your roof's characteristics, shading patterns, and your energy goals. Investing in top-tier panels and inverters ensures that once the system is meticulously installed, it will perform optimally for decades, making the most of your specialized slate roof integration.
Maintenance and Long-Term Considerations for Slate Roof Solar
Once your solar system is up and running on your slate roof, you might think the job is done. While the heavy lifting is certainly over, there are still some important considerations for long-term maintenance and ensuring your investment continues to pay off without compromising your unique roof. A proactive approach here can save you headaches and expenses down the line.
Protecting Your Slate Roof During Maintenance
One of the great things about solar panels is that they require relatively little maintenance. However, when cleaning or maintenance is necessary – for instance, if you need to access your roof for a non-solar related repair or for occasional Solar Panel Maintenance & Cleaning – it's crucial to remember the delicate nature of your slate. Any time someone needs to walk on your roof, whether it's for solar panel cleaning, gutter maintenance, or a chimney sweep, they must understand and respect the slate.
Inform any service personnel about the special care required for slate roofs. Ideally, they should use roof safety ladders, access platforms, or specific walking boards to distribute their weight and avoid directly stepping on the tiles. If you ever need to replace a damaged panel or an inverter, ensure that the solar company you call also has experience working on slate roofs, or that they coordinate with a slate roofing specialist to ensure any roof access or tile manipulation is done correctly. This extra layer of caution protects your primary asset – your roof – while allowing your solar system to thrive.
Long-Term Monitoring and Inspections
Just because your solar system is installed doesn't mean you should forget about it. Regular monitoring of your system’s performance is a smart practice. Most modern solar systems come with monitoring apps or web portals that allow you to track your energy production in real-time. If you notice a sudden drop in output from a particular panel or the entire array, it could indicate an issue that needs to be addressed. Early detection of problems can prevent larger, more expensive repairs.
Beyond digital monitoring, consider having your roof and solar array professionally inspected every few years, perhaps every 3-5 years. These inspections can identify any potential issues with the mounts, flashing, or even underlying slate tiles that might have shifted or cracked over time. This is especially important for slate roofs, where small cracks can sometimes go unnoticed but can eventually lead to leaks. An experienced slate roofer, perhaps in conjunction with a solar technician, can spot these issues early and recommend appropriate action, ensuring both your roof and your solar system remain in prime condition for their extensive lifespans.
Disclaimer
Please note that this guide provides general information and recommendations. The specifics of solar panel installation on a slate roof can vary significantly based on your home's unique structure, local building codes, weather conditions, and the specific products chosen. Always consult with qualified and licensed solar installers and structural engineers who have proven experience with slate roofs before making any decisions or beginning any installation work. Local regulations and incentive programs are subject to change.