Solar Installation Process in Wisconsin
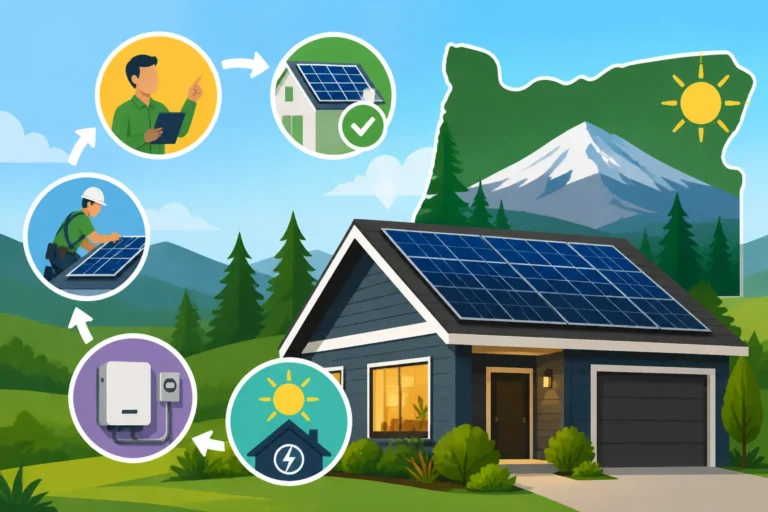
Thinking about going solar in Wisconsin can feel like navigating a maze, especially with all the talk about permits, utility approvals, and what actually happens on your roof. Many homeowners in the Badger State are eager to tap into clean energy but get bogged down by the perceived complexity of the installation process. This comprehensive guide is designed to break down every step, offering a clear roadmap for getting solar panels on your Wisconsin home, from initial curiosity to powering your life with the sun.
Understanding the Initial Stages of Going Solar in Wisconsin
Before any panels ever touch your roof, there's a crucial groundwork phase that sets the stage for a successful solar installation. This initial exploration and planning are vital for ensuring your system is perfectly tailored to your home and the unique regulations in Wisconsin. It’s where you start gathering information, comparing options, and understanding the financial implications.
Researching Local Solar Options and Incentives
One of the first things you'll want to dive into is what makes solar sense specifically for Wisconsin. While the federal solar tax credit is a major driver nationwide, states like Wisconsin have their own programs that can significantly sweeten the deal. For instance, the Focus on Energy program is a fantastic resource, offering incentives and assistance to Wisconsin residents and businesses who want to improve their energy efficiency and invest in renewable energy. This program often provides rebates for installing solar electric systems, which can directly reduce your upfront costs. You'll want to check their current offerings, as these can change.
Beyond state-specific initiatives, it's also smart to look into utility-specific programs. Many local utilities, such as Madison Gas and Electric (MG&E), We Energies, Alliant Energy, and Xcel Energy, have their own solar programs or net metering policies that impact your savings. Understanding these can feel a bit like reading legal jargon, but knowing how your utility handles excess power generated by your panels is crucial for calculating your long-term return on investment. You can often find a lot of useful information on your utility's website, or an experienced local solar installer can help you make sense of it all. It's also wise to understand more about how Net Metering Explained: How It Works by State can benefit you.
Getting a Professional Site Assessment and Multiple Quotes
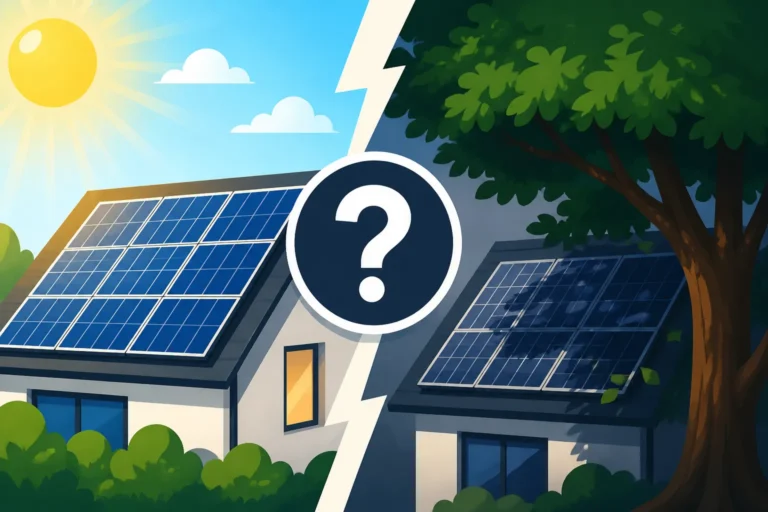
Once you've got a handle on the local landscape, the next big step is to get a professional site assessment. This isn't just someone glancing at your roof; it's a detailed evaluation of your home's solar potential. An installer will look at your roof's orientation, pitch, age, and any shading from trees or nearby buildings throughout the day and across seasons. They'll also analyze your past electricity bills to determine your average energy consumption, which is essential for sizing your solar system correctly. This assessment will help answer fundamental questions like "Can my roof hold solar panels?" and "How many solar panels do I need for my home?"
After the assessment, you'll start receiving quotes. This is where it pays to be thorough. Don't just go with the first offer! It's highly recommended to get at least three to five quotes from different reputable installers. Each quote should clearly outline the system size, the type of panels and inverters they plan to use, the total cost, estimated energy production, and the expected savings. This also allows you to compare warranties and customer service track records. A platform like Modernize can be incredibly helpful here, as it connects you with pre-screened local installers, making it easier to gather and compare offers without doing all the legwork yourself. Remember, the cheapest quote isn't always the best; look for value, comprehensive service, and strong warranties. You want to make sure you're not missing any Hidden Costs & Adders in Solar Quotes.
Navigating Solar System Design and Permitting in Wisconsin
After the initial research and site assessment, the project moves into the more technical and administrative phases: designing your custom solar system and securing all the necessary local and utility approvals. This stage can often feel like the slowest, but it’s absolutely critical for ensuring a safe, compliant, and efficient solar setup.
Custom System Design and Component Selection
With your energy needs and roof characteristics firmly established, the solar installer's engineering team will get to work on designing your bespoke solar system. This isn't a one-size-fits-all process. They will determine the optimal number and placement of panels to maximize sun exposure and energy generation, taking into account any shading issues or structural limitations. For instance, if you live in an older home in Milwaukee's historic Third Ward, the design might need to be more conservative to respect existing roof structures or local aesthetic guidelines.
The design phase also involves selecting the right components. This means choosing between different types of solar panels – perhaps high-efficiency monocrystalline panels from a brand like SunPower for a smaller roof, or more cost-effective options from Qcells if you have ample space. They'll also pick the appropriate inverter technology, whether it's a string inverter with optimizers or microinverters (like those from Enphase) that can handle individual panel performance, which can be particularly beneficial if your roof experiences varying levels of shade throughout the day. Your installer will also discuss options for adding a solar battery, like a Tesla Powerwall or an Enphase IQ Battery, which can be incredibly useful in Wisconsin for backup power during outages or to store excess energy if your utility's net metering isn't full retail.
Obtaining Local Permits and Utility Interconnection
Once the system design is finalized, the next hurdle is the permitting process. This involves submitting detailed plans to your local municipal building department for approval. Depending on where you live in Wisconsin, be it Madison, Green Bay, or a smaller rural community, the specific requirements and timelines can vary significantly. Some municipalities might have a streamlined process, while others may require more detailed engineering stamps or multiple rounds of review. Your solar installer should handle this on your behalf, as they are typically familiar with the local codes and regulations. It's their job to ensure all plans meet structural, electrical, and fire safety standards.
Concurrent with local permitting, your installer will also submit an interconnection application to your utility company. This application is essentially asking for permission to connect your new solar system to the existing electrical grid. The utility will review your system design to ensure it meets their technical and safety standards. This step is critical because without utility approval, you cannot legally operate your solar system and send excess power back to the grid. This phase can sometimes be the longest part of the solar installation timeline, as utility companies often have their own queues and review periods. Understanding the Solar Permitting & Interconnection (PTO) Explained can help set your expectations here.
| Step in Permitting & Interconnection | Description | Typical Duration in Wisconsin | Key Considerations |
|---|---|---|---|
| Local Building Permits | Submission of architectural and electrical plans to city/county for approval (e.g., structural integrity, electrical safety, zoning). | 2-6 weeks | Varies widely by municipality (e.g., Milwaukee vs. rural county). Expect potential revisions or additional requests from the permit office. |
| Utility Interconnection Application | Application to your utility (e.g., We Energies, MG&E) to connect your system to the grid and activate net metering. | 4-12 weeks | Utility review for grid stability and safety. May require upgrades to utility infrastructure in rare cases. |
| Pre-Installation Inspections | Some local authorities or utilities may conduct preliminary inspections of your property or existing electrical service. | 0-1 week | Ensures site readiness before physical installation begins. |
| Final Inspection (Post-Install) | Inspection by local building department after installation to confirm compliance with approved plans and local codes. | 1-2 weeks | Absolutely mandatory. The system cannot be activated until it passes this inspection. |
| Permission to Operate (PTO) | Final authorization from your utility company, allowing you to turn on your solar system and begin generating and potentially exporting power. | 1-2 weeks after final inspection | The green light! This is when you can flip the switch and start saving. |
The Physical Installation and Post-Activation Phase
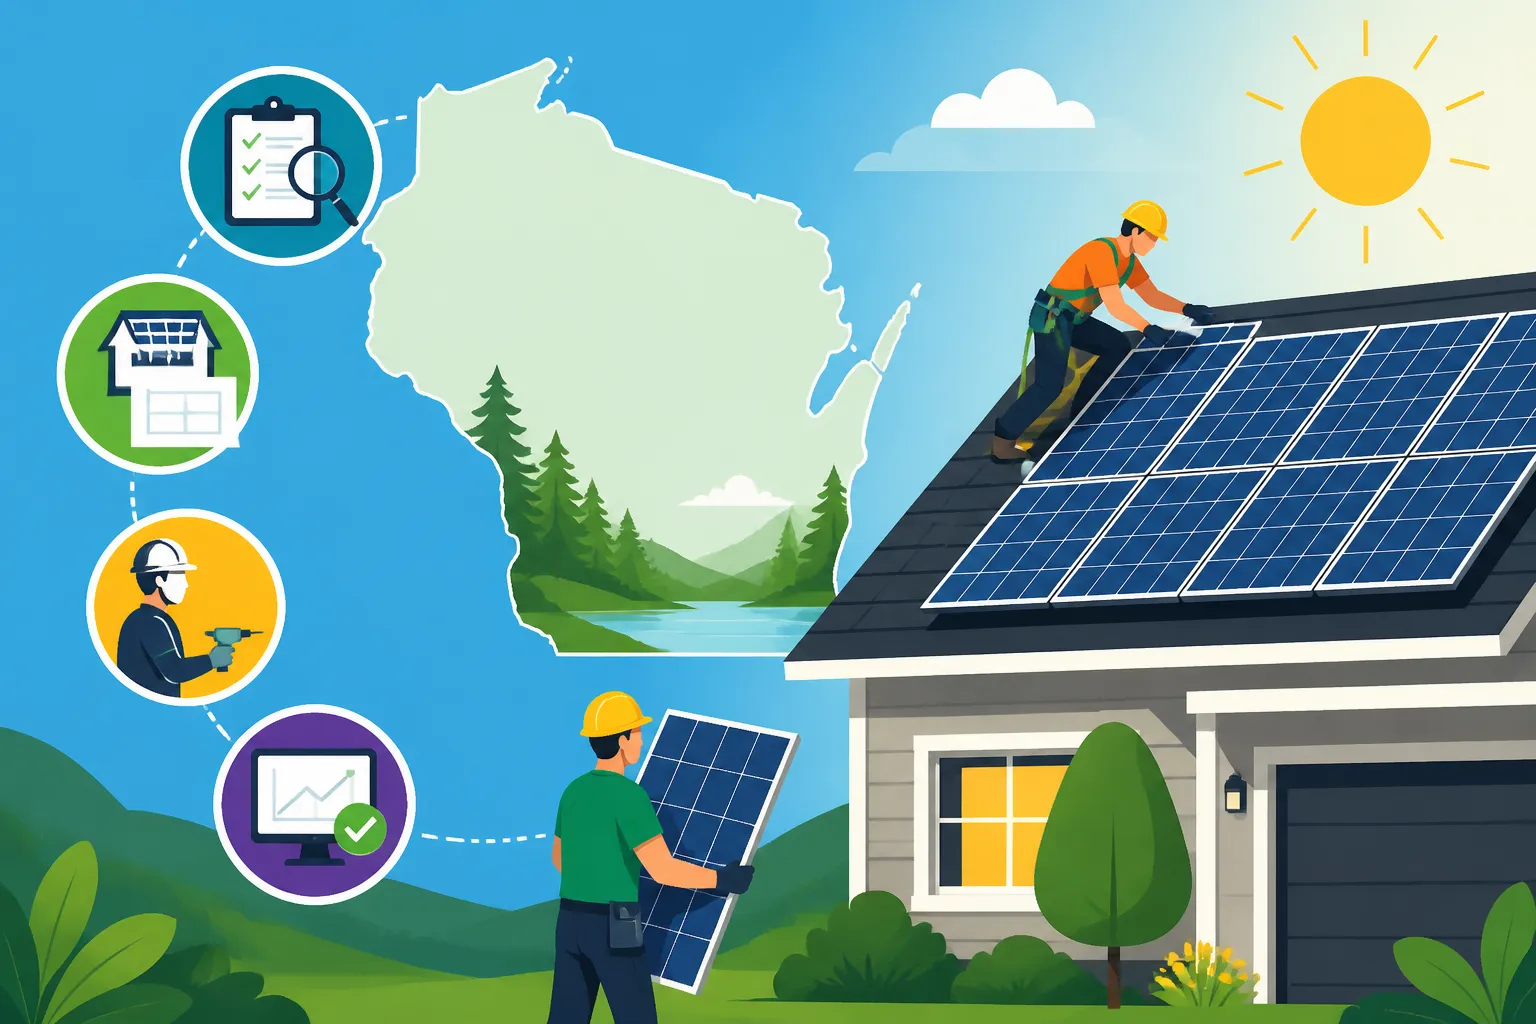
Once all the paperwork is approved and permits are in hand, the exciting part begins: the physical installation of your solar array. This is where the plans truly come to life, followed by the crucial steps of inspection and activation, finally bringing your home into the realm of clean energy.
Solar Panel Installation and Electrical Work
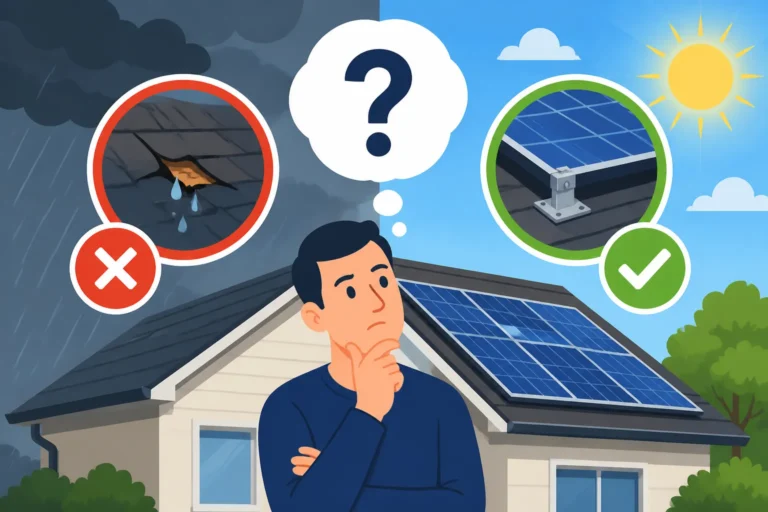
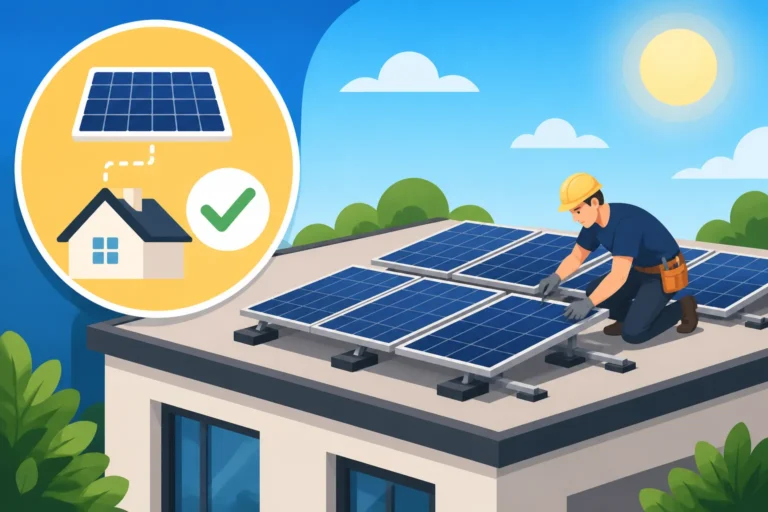
The actual installation of your solar panels is typically the quickest part of the entire process, often taking just a few days, depending on the system size and complexity. The crew will arrive, often with all the necessary equipment, and begin by installing the racking system onto your roof. This racking is what securely holds the solar panels in place. Rest assured, reputable installers use methods that protect your roof's integrity and prevent leaks. If you're concerned about your roof's condition, it's a good idea to discuss it during the site assessment; sometimes, getting A New Roof Before Solar is recommended to avoid future complications.
Once the racking is in place, the solar panels themselves are carefully mounted and secured. After the panels are on the roof, the electrical work begins. This involves connecting the panels to the inverters (which convert the DC electricity from the panels into AC electricity usable in your home), and then connecting the inverter to your home's electrical panel and, ultimately, to the utility grid. This stage is handled by licensed electricians to ensure everything is up to code and safe. During this phase, you might see brands like SolarEdge or Enphase being installed, depending on the inverter technology chosen for your system. The crew will work efficiently, but also carefully, ensuring every connection is solid and secure.
Final Inspections, Utility Connection, and System Activation
After the physical installation is complete, the journey isn't quite over. There are two critical final steps: the municipal final inspection and utility interconnection, leading to your Permission to Operate (PTO).
First, your local building department will send an inspector to your home. This inspection ensures that the installation adheres to all the approved plans, local building codes, and safety standards. They'll check the wiring, the mounting, the structural integrity, and various other aspects to confirm everything is safe and correctly installed. It's a vital safeguard to protect you and your property. If any issues are found, the installer will need to address them, and a re-inspection may be required.
Once you pass the municipal final inspection, the information is usually relayed to your utility company. Then, it's the utility's turn to give the final green light. They will often replace your existing meter with a new net meter, which is capable of measuring both the electricity you draw from the grid and the excess electricity your solar panels send back to it. This "Net Meter Installation" is what enables you to benefit from net metering policies. Once the utility performs any necessary final checks and installs the new meter, they issue the official Permission to Operate (PTO). This is the moment you've been waiting for! With PTO in hand, you can finally switch on your solar system and start generating your own clean electricity. Your installer should guide you through this final step and ensure you understand how to monitor your system's performance.
Life with Solar: Monitoring, Maintenance, and Maximizing Savings
Getting your solar system up and running is a huge accomplishment, but the journey doesn't end there. To truly maximize your investment and enjoy years of clean energy, it's important to understand how to monitor your system, what maintenance it might need, and how to continue saving money over the long haul.
Understanding Your Solar Production and Usage
One of the most exciting parts of having solar is watching your energy production. Most modern solar systems come with monitoring platforms, often accessible via a smartphone app or a web portal. For example, if you have an Enphase system, their MyEnlighten app gives you real-time data on how much electricity each panel is producing. Similarly, a SolarEdge system provides detailed insights into your overall system performance. These platforms allow you to track your daily, weekly, monthly, and annual energy generation.
Regularly checking your monitoring system is beneficial for several reasons:
- Performance Tracking: You can easily see if your system is performing as expected based on the installer's estimates and seasonal variations.
- Troubleshooting: If production suddenly drops, it could indicate a problem, such as a shaded panel, a dirty panel, or a component issue. Catching these early can prevent larger losses.
- Usage Habits: By correlating your solar production with your home's energy consumption (especially if you have a consumption meter installed), you can better understand your energy habits and find ways to optimize your usage, perhaps by running heavy appliances during peak solar production hours.
This proactive approach helps you stay on top of your system's health and ensures you're getting the most out of your solar investment.
Routine Maintenance and Long-Term Care
The good news about solar panels is that they generally require very little maintenance. They're designed to be durable and withstand harsh weather conditions, including Wisconsin's snowy winters and humid summers. However, a few simple steps can help ensure they operate at peak efficiency for their entire lifespan.
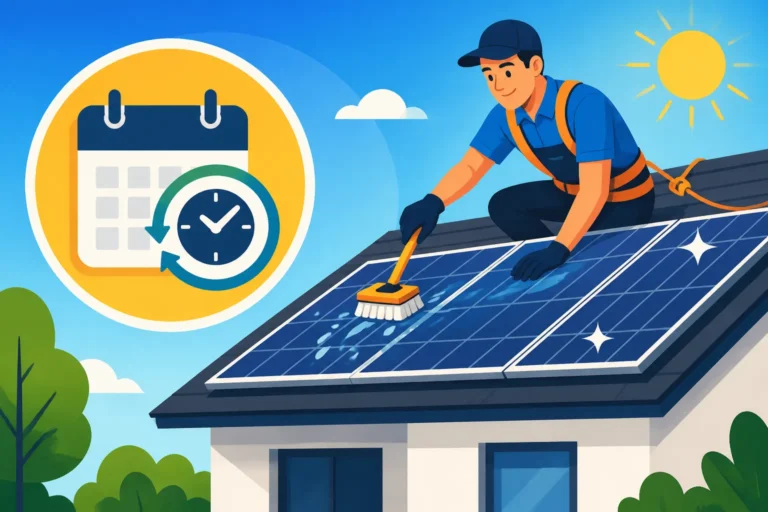
- Cleaning: While rain and snow can often do a decent job of washing away dust and dirt, a build-up of grime, pollen, or bird droppings can slightly reduce efficiency over time. Most homeowners in Wisconsin don't need to clean their panels frequently, perhaps once a year if you notice a significant accumulation or if you live near dusty roads or agricultural fields. If you do clean them, use a soft brush and water, ideally in the early morning or evening when the panels are cool. Always prioritize safety and consider hiring a professional cleaner if your roof is steep or difficult to access.
- Inspections: It's a good idea to have your system professionally inspected every few years. An inspector can check for loose wiring, wear and tear on components, or any potential issues that might not be obvious from your monitoring app. They can also ensure that your Solar Panel Warranties Explained remain valid through proper care.
- Tree Trimming: Keep an eye on any trees near your home that might grow and start shading your panels. Even partial shading can significantly impact a panel's output, especially with string inverter systems. Regular tree trimming can prevent this issue.
By taking these small, proactive steps, you can help your solar system continue to generate clean energy reliably for decades, often outliving its 25-year performance warranty. For homeowners still exploring options, platforms like Modernize can help connect you with installers who also offer maintenance packages or services, ensuring peace of mind for the long term.
Maximizing Your Solar Savings in Wisconsin
Beyond the direct savings on your electricity bill, several strategies can help you maximize the financial benefits of your solar system in Wisconsin. Understanding these can significantly enhance your overall return on investment.
Leveraging Net Metering and Smart Energy Usage
Wisconsin's net metering policies are crucial for maximizing your solar savings. Net metering allows you to send any excess electricity your panels produce back to the grid in exchange for credits on your utility bill. When your panels aren't producing enough (like at night or on cloudy days), you draw electricity from the grid, and your accumulated credits help offset those costs. The specific terms of net metering can vary by utility in Wisconsin, so it's vital to understand your utility's specific rate structure. Some offer full retail rate credits, while others might offer a lower "avoided-cost rate."
To really make the most of net metering, consider adjusting your energy consumption habits. As mentioned earlier, running energy-intensive appliances like dishwashers, washing machines, or electric dryers during the sunniest parts of the day means you're directly using your own solar power, rather than pulling from the grid or just sending it for credits. If you have a solar battery, this strategy becomes even more powerful, as you can store excess energy during the day and use it to power your home in the evening, further reducing your reliance on grid electricity and maximizing self-consumption.
Exploring Additional Incentives and Programs
While the federal solar tax credit is a significant financial boost for homeowners, remember that Wisconsin has its own ongoing incentives. The Focus on Energy program, for example, often provides specific rebates for renewable energy projects, including solar. These aren't always static, so it's worth checking their website annually or consulting with your solar installer to see if any new programs have been introduced or existing ones updated.
Furthermore, keep an eye out for local grants or municipal initiatives. Some cities or counties occasionally offer small, localized incentives to encourage renewable energy adoption. These are often less publicized but can add up. For example, some Wisconsin communities might offer property tax exemptions for solar, meaning the added value of your solar system doesn't increase your property taxes. Your solar installer or a service like Modernize, which has a broad network, might be aware of these specific local programs that you could qualify for, helping you discover every possible avenue to make solar more affordable and impactful. Learning about State Solar Incentives: Complete 2026 Guide will also give you great insights.
Disclaimer
The information provided in this article is intended for general informational purposes only and does not constitute professional financial, legal, or energy advice. Solar incentives, policies, and costs can change frequently and vary significantly based on your specific location, utility provider, and individual circumstances. We strongly recommend consulting with qualified solar professionals and financial advisors to determine the best options for your home.