Solar Installation Process in New York
Thinking about going solar in New York is an exciting prospect, but the path from initial curiosity to flipping the switch on your new system can feel a bit overwhelming. Between understanding local regulations, dealing with permits, and picking the right installer, it's easy to get lost in the details and wonder if it's all worth the hassle. This comprehensive guide will walk you through every step of the solar installation process in the Empire State, demystifying each stage so you know exactly what to expect.
Initial Assessment and System Design
Before a single solar panel ever touches your roof, there's a crucial preliminary phase where your home's unique characteristics are evaluated and your future solar system is meticulously designed. This isn't just about slapping panels wherever they fit; it's about creating an efficient, safe, and effective energy solution tailored specifically for you. It's a foundational step that sets the stage for everything that follows, and getting it right means a smoother, more beneficial experience in the long run.
The Home Solar Site Survey
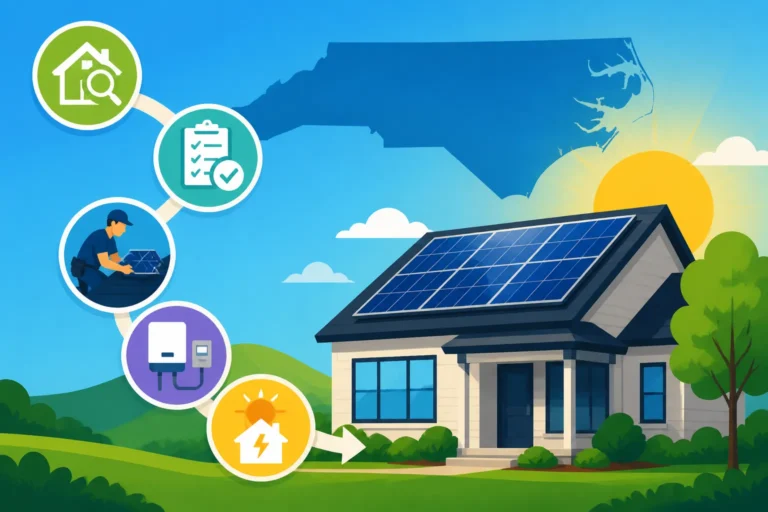
The site survey is essentially the deep dive into your property's solar potential. After you've expressed interest and perhaps received some preliminary estimates, a qualified solar installer will schedule a visit to your home. This isn't just a quick look-around; it's a thorough inspection designed to gather all the necessary data to accurately plan your system. They’ll assess your roof's condition, age, and structural integrity to ensure it can support the weight of the panels. If your roof is nearing the end of its life, for example, your installer might recommend a roof replacement before going solar to avoid needing to remove and reinstall the panels later, which can be an added expense.
During this survey, they'll also pay close attention to potential shading issues. Large trees, nearby buildings, or even architectural features on your own home can cast shadows on your roof at different times of the day, significantly impacting how much sunlight your panels receive. The installer will use specialized tools to map out sun paths throughout the year, identifying optimal placement for maximum energy production. They'll also check your electrical panel to ensure it can handle the new solar load and determine if any upgrades are needed. This detailed assessment is vital for ensuring your system performs as expected and avoids costly surprises down the road. Many homeowners find it helpful to get multiple quotes, and services like Modernize can help you connect with qualified local installers who conduct these essential surveys.
Crafting Your Custom Solar System Design
Once all the site survey data is collected, your solar installer's design team gets to work on creating a custom plan for your home. This is where the technical expertise really shines, as they translate raw data into a functional and efficient solar array. They'll consider factors like your household's annual electricity consumption, the available roof space, and the angle and orientation of your roof to determine the optimal number and type of solar panels you'll need. This is a crucial step in understanding How Many Solar Panels Do I Need for My Home?
The design will also specify the type of inverter technology – whether it's a string inverter with optimizers or microinverters – which converts the DC electricity from your panels into usable AC electricity for your home. They'll show you exactly where each panel will be placed on your roof, how the wiring will run, and the location of other critical components like the inverter and any potential solar battery storage. You'll receive detailed blueprints, often including 3D renderings, that give you a clear visual of what your system will look like. This is your chance to ask questions and request adjustments before anything is finalized, ensuring the design meets both your energy needs and aesthetic preferences.
Navigating Permits and Approvals
Once your system design is finalized and you've signed contracts with your chosen solar installer, the next major hurdle is securing the necessary permits and approvals. This phase is often the longest and most bureaucratic part of the entire process, and it requires careful attention to detail. In New York, this involves navigating both local municipal regulations and the specific requirements of your utility company. Understanding this stage is key to knowing what to expect during the overall Solar Installation Timeline: What to Expect.
Local Building and Electrical Permits
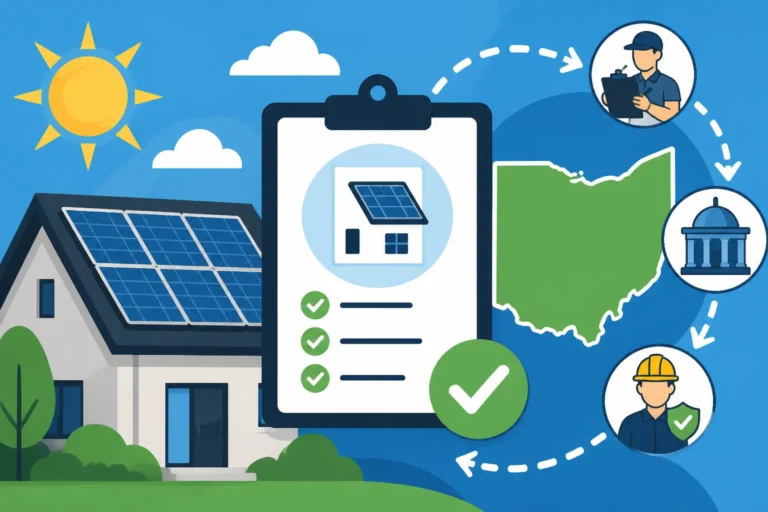
Every solar installation in New York requires local permits to ensure it meets safety codes and zoning ordinances. The exact requirements can vary significantly from one city or town to another, even within the same county. For example, installing solar panels in New York City will involve different departmental reviews compared to a town in upstate New York like Ithaca or Rochester. Typically, your solar installer will handle the entire permitting application process on your behalf. This is one of the major benefits of working with an experienced professional rather than attempting a DIY Solar Panels: Is It Worth It? project.
They will prepare and submit all the necessary documentation, including the detailed system design plans, structural analysis reports, and electrical schematics, to your local building department. Depending on your municipality, this might involve multiple reviews – structural, electrical, and sometimes even historical preservation committees if you live in a designated district. This phase can take anywhere from a few weeks to several months, depending on the local permitting office's workload and specific requirements. Your installer will track the application status and respond to any requests for additional information, ensuring everything is compliant before construction can begin.
Utility Interconnection and Net Metering Applications
In addition to local building permits, you'll also need approval from your utility company to connect your new solar system to their electrical grid. This is known as the interconnection process, and it's essential for enabling you to participate in programs like net metering, which is how you get credit for any excess electricity your panels produce and send back to the grid. In New York, utilities like Con Edison, National Grid, NYSEG, and Rochester Gas & Electric each have their own specific interconnection procedures and timelines. You can learn more about how this works generally in Net Metering Explained: How It Works by State.
Your installer will submit an interconnection agreement application to your utility, detailing your system's specifications and how it will safely integrate with the existing grid infrastructure. This application is crucial because it often includes your request for net metering. The utility will review the application to ensure grid stability and safety. Once approved, they will typically install a new net meter or reprogram your existing one, which is designed to measure both the electricity you consume from the grid and the excess electricity your solar panels export to it. Without this utility approval, your system cannot legally or safely operate. The interconnection process, combined with local permitting, forms the backbone of the "permitting and interconnection (PTO)" phase, as getting Solar Permitting & Interconnection (PTO) Explained is your green light to move forward.
Installation Day and System Activation
After the extensive planning and permit wrangling, the moment finally arrives for the physical installation of your solar energy system. This is often the most exciting part for homeowners, as you see your plans transform into a tangible, energy-producing asset. But it's not just about bolting panels to your roof; it involves careful execution, diligent inspections, and the final green light from your utility company.
The Physical Solar Installation
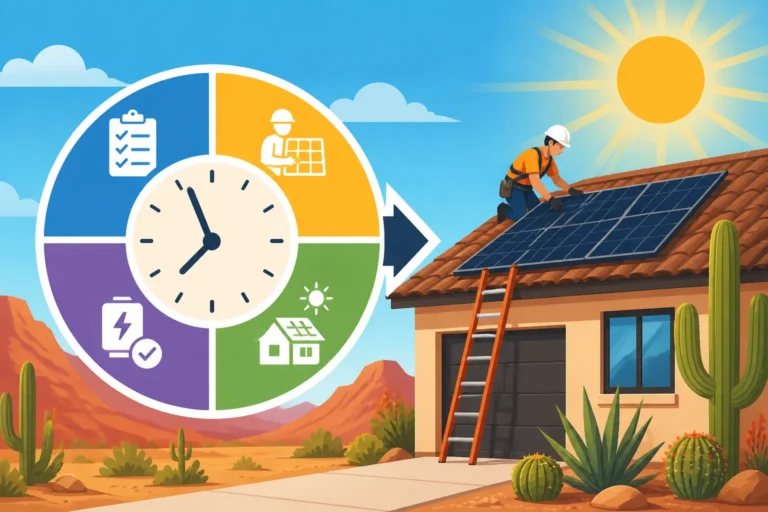
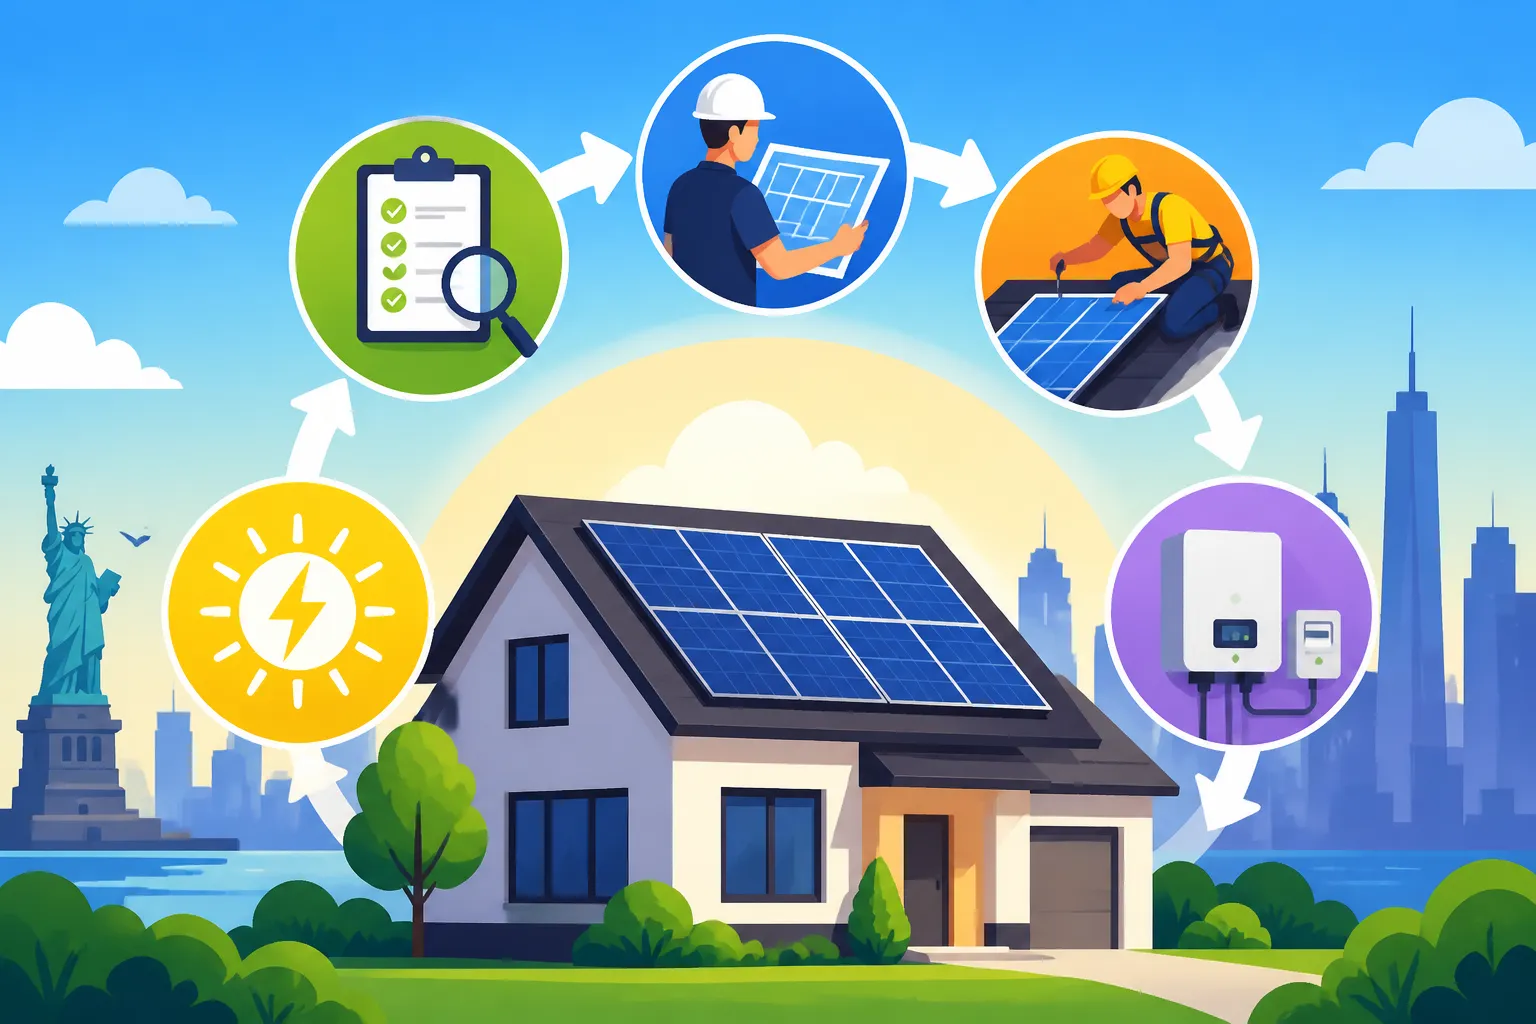
With all permits secured, your solar installer will schedule the installation day, or days. For most residential systems, the actual physical installation of the panels and equipment can be completed in just one to three days, though larger or more complex systems might take a bit longer. The process generally follows a well-defined sequence. First, the crew will prepare your roof, often installing mounting hardware and flashing to ensure a watertight seal. This is a critical step for preventing future leaks and ensuring the longevity of your roof and solar system.
Next, the racking system is assembled, which provides the framework upon which the solar panels will sit. Once the racking is secure, the solar panels themselves are carefully hoisted onto the roof and bolted into place. Simultaneously, electricians will be working to install the inverters – whether it's a central string inverter usually located near your electrical panel, or microinverters mounted directly under each panel – and connect them to your home's electrical system. All wiring will be run, typically through conduits, to ensure safety and code compliance. This is when your home truly starts to look like a solar-powered property. If you're curious about the general steps, our guide on How Are Solar Panels Installed? Step by Step provides an excellent overview.
Final Inspections and Permission to Operate (PTO)
Once the physical installation is complete, there are usually a couple more crucial steps before you can actually turn your system on. First, your local building department will conduct a final inspection. A municipal inspector will visit your property to verify that the solar installation adheres to all local building, electrical, and fire codes, and that it matches the approved plans. They'll check the wiring, grounding, structural integrity of the mounts, and ensure all safety measures, such as rapid shutdown devices, are correctly installed and functioning. Passing this inspection is a non-negotiable step to ensure the safety and legality of your new system.
After the municipal inspection passes, your utility company (like National Grid or Con Edison in New York) performs its own final check. This is generally a quick visit to confirm that the meter is correctly installed or programmed, and that the system is ready for safe interconnection with their grid. Once the utility gives its final approval, often referred to as "Permission to Operate" (PTO), you are officially authorized to switch on your solar system and start generating your own clean electricity! This is the exciting moment many homeowners eagerly await. Your installer will typically guide you through this final activation, explaining how to monitor your system's performance. For further insights on what happens next, check out What Happens After Solar Is Installed?
Post-Installation and Ongoing Benefits
Receiving Permission to Operate isn't the end of your solar journey, but rather the beginning of a long-term relationship with your new energy source. After the installation dust settles, there's a period of familiarization, monitoring, and taking advantage of the various financial incentives that make solar so appealing in New York.
Monitoring Your Solar Production
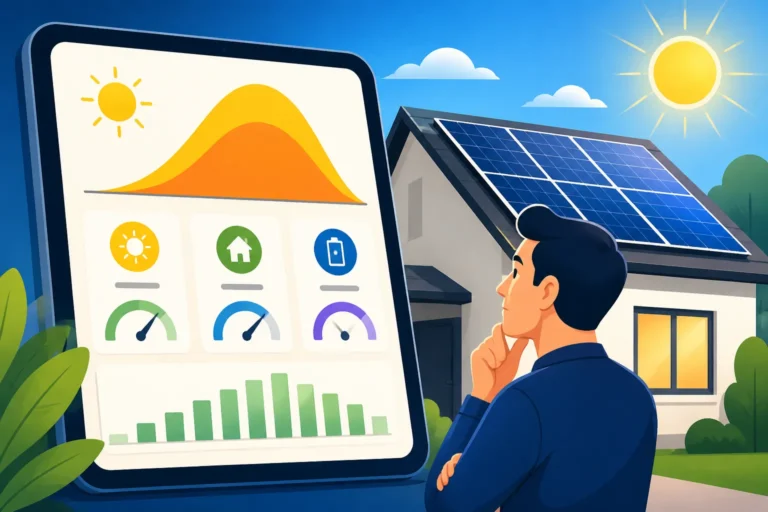
Once your solar system is up and running, you'll want to keep an eye on its performance. Most modern solar systems come with a monitoring app or online portal that allows you to track your energy production in real-time. This can be a fascinating tool, letting you see exactly how much electricity your panels are generating hour by hour, day by day, and month by month. You can usually access this data from your smartphone or computer, offering transparency into your energy savings.
Regularly checking your monitoring portal allows you to ensure your system is performing optimally. You can quickly identify if there's any unexpected drop in production, which might indicate a problem that needs attention, such as shading from newly grown trees or a dirty panel. Your solar installer, especially reputable ones found through networks like Modernize, will typically provide training on how to use your monitoring system and explain what normal production levels look like for your specific system and local weather patterns. This empowers you to be an active participant in managing your home's energy future.
Leveraging New York's Solar Incentives
One of the biggest advantages of going solar in New York is the robust package of state and local incentives designed to make renewable energy more accessible and affordable. While the federal solar tax credit is a major benefit for many, New York offers its own significant programs that can dramatically reduce your out-of-pocket costs and improve your overall return on investment. You should definitely explore resources like the New York NY-Sun & State Solar Tax Credit (25%).
The NY-Sun program, administered by the New York State Energy Research and Development Authority (NYSERDA), offers various incentives, including performance-based incentives and upfront rebates that can offset a substantial portion of your installation costs. Additionally, New York homeowners can benefit from a state tax credit that is often applied on top of the federal credit, further enhancing savings. Many localities also offer Solar Property Tax Exemptions by State, meaning the value your solar system adds to your home won't result in higher property taxes. Your solar installer should be well-versed in these programs and help you apply for all eligible incentives, maximizing your financial benefits from day one.
Ongoing Maintenance and Warranty Coverage
While solar panels are generally very low maintenance, a little care can go a long way in ensuring their long-term performance. Most panels are designed to be self-cleaning from rainfall, but in areas with heavy dust, pollen, or significant bird activity, occasional cleaning might be beneficial. Your installer can advise on the best practices for cleaning, or you might opt for a professional cleaning service. It’s also a good idea to periodically check for any debris or excessive shading that might impact production.
Beyond cleaning, modern solar systems come with comprehensive warranties that protect your investment. Typically, you'll have a product warranty covering the panels themselves (often 20-25 years), a performance warranty guaranteeing a certain level of electricity output over time, and an installer workmanship warranty covering the installation quality (usually 10-25 years). Inverters and batteries also come with their own warranties, usually ranging from 10-12 years for inverters and 10-15 years for batteries. Understanding these warranties is important, as they provide peace of mind and protect you from potential issues down the line.
| Installation Phase | Estimated Timeframe | Key Activities | Responsible Party (Primary) |
|---|---|---|---|
| Initial Consultation | 1-2 weeks | Energy usage analysis, preliminary design, cost estimates | Solar Installer |
| Site Survey | 1-2 weeks post-consult | Roof inspection, shading analysis, electrical assessment, structural check | Solar Installer |
| System Design | 1-3 weeks | Detailed blueprints, equipment selection, engineering sign-off | Solar Installer |
| Permitting & Interconnection | 4-12 weeks (variable) | Application submission, local building code review, utility approval | Solar Installer |
| Equipment Ordering | 2-6 weeks | Procurement of panels, inverters, racking, battery (if applicable) | Solar Installer |
| Physical Installation | 1-3 days | Roof preparation, racking installation, panel mounting, electrical wiring | Solar Installer |
| Local Inspections | 1-2 weeks post-install | Municipal building and electrical code compliance checks | Local Authorities |
| Utility Interconnection (PTO) | 1-3 weeks post-inspection | Final utility approval, meter exchange/reprogramming, system activation | Utility Company |
| System Activation | Immediate after PTO | Turning on the system, homeowner training | Solar Installer |
Disclaimer
Please remember that the information provided in this article is intended for general guidance only and does not constitute professional advice. Solar policies, incentives, and costs can change rapidly, and specific regulations vary significantly by location and utility provider. Always consult with qualified solar professionals and local authorities for personalized advice and the most up-to-date information regarding your specific situation.