Roof Considerations for Solar Panels
Deciding to go solar is an exciting step towards energy independence, but it often comes with a nagging question: "Is my roof even ready for this?" Many homeowners feel overwhelmed by the thought of drilling into their biggest asset, wondering if their roof is too old, too shaded, or just not right. This comprehensive guide will walk you through every critical roof consideration for solar panels, helping you understand what makes a roof solar-ready and what to do if yours isn't quite there yet.
Understanding Your Roof's Basics: The Foundation for Solar
Before you even start dreaming about how many panels you can fit, you need to get down to brass tacks about your roof's fundamental characteristics. It's not just a surface; it's the very foundation that will support your solar energy system for decades to come. Overlooking these basic structural and age considerations could lead to costly issues down the line, turning your investment into a headache.
Roof Age and Expected Lifespan
One of the first and most crucial questions you need to ask is about the age of your roof. Solar panels are a long-term investment, typically lasting 25 to 30 years or even more. The last thing you want is to install a brand-new solar system only to find out five years later that your roof shingles are failing and need to be replaced. Removing and reinstalling solar panels for a roof replacement can be surprisingly expensive, often running into the thousands of dollars, completely negating some of your hard-earned savings.
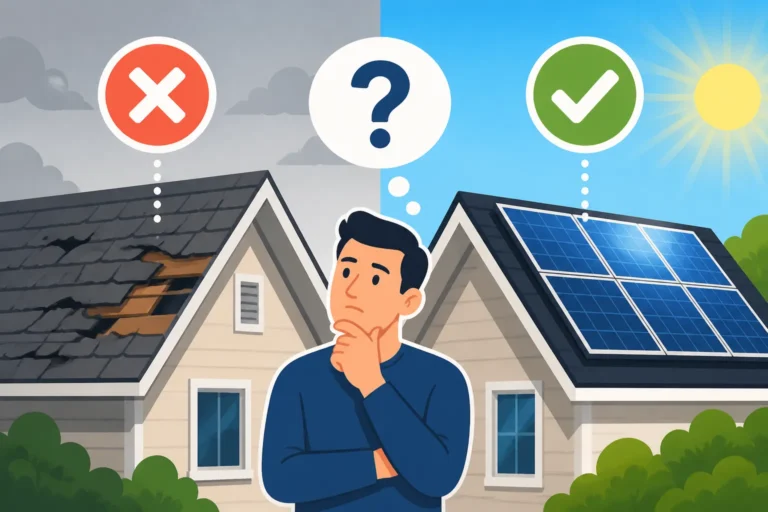
Think about it this way: if your roof is already 15 years old and only has an estimated 5-10 years of life left, it's almost always a better financial decision to replace the roof before solar installation. Many solar companies will even recommend or require it if your roof is nearing the end of its life, as they want their installation to be secure and problem-free for the long haul. A fresh roof provides a clean slate, ensuring that both your roof and your solar panels will have a synchronized lifespan, giving you maximum peace of mind. If you're pondering this dilemma, our guide on "Do I Need a New Roof Before Solar?" might offer even more insights.
Roof Material Matters
Not all roof materials are created equal when it comes to hosting solar panels. While most common materials are perfectly suitable, some require specialized mounting techniques, which can sometimes add to the installation cost or complexity. Asphalt shingles, for example, are the most common roof type in the U.S. and are generally straightforward to work with. Installers typically use flashing and lag bolts to secure the racking system directly into the roof rafters, ensuring a watertight seal.
Tile roofs, such as clay or concrete, present a different challenge. Installers often need to carefully lift or remove individual tiles, install a specialized flashing system, and then replace or cut the tiles around the mounts. This can be a more labor-intensive process and requires experienced installers to prevent breakage. Metal roofs, especially standing seam metal roofs, are often ideal for solar because the clamps can attach directly to the seams without penetrating the roof surface, minimizing the risk of leaks. Wood shake roofs or older slate roofs might require extra precautions due to their fragility or irregularity. Understanding what roof materials are compatible with solar can help you set realistic expectations for your project.
Structural Integrity Assessment
Beyond the surface material and age, the underlying structure of your roof is paramount. Can it physically bear the additional weight of solar panels, mounting hardware, and potentially snow load? While solar panels themselves aren't excessively heavy, a typical system adds about 3-5 pounds per square foot to your roof. This might not sound like much, but over the entire surface area of your array, it adds up. Most modern homes are built to current structural codes and can easily handle this extra load. However, if you live in an older home, or one with known structural issues, a structural assessment is a non-negotiable step.
A qualified solar installer will typically include a preliminary structural review as part of their site survey. They'll examine your attic space, rafters, and overall roof condition for any signs of sagging, water damage, or rot. If there are concerns, they might recommend a more in-depth assessment by a licensed structural engineer. Addressing any structural weaknesses before installation is critical to prevent future damage to your home and ensure the safety and longevity of your solar system. Ignoring potential structural problems could lead to significant repair costs down the road, far outweighing the initial savings from solar.
Optimizing for Sunlight: Angle, Direction, and Shade
You've got a sturdy roof, great! But solar panels need sun, and lots of it. The direction your roof faces, its tilt, and the presence of any shade are arguably the most impactful factors in determining how much electricity your system will produce. This section is all about maximizing your panels' sun exposure to get the best return on your investment.
Ideal Roof Direction and Pitch
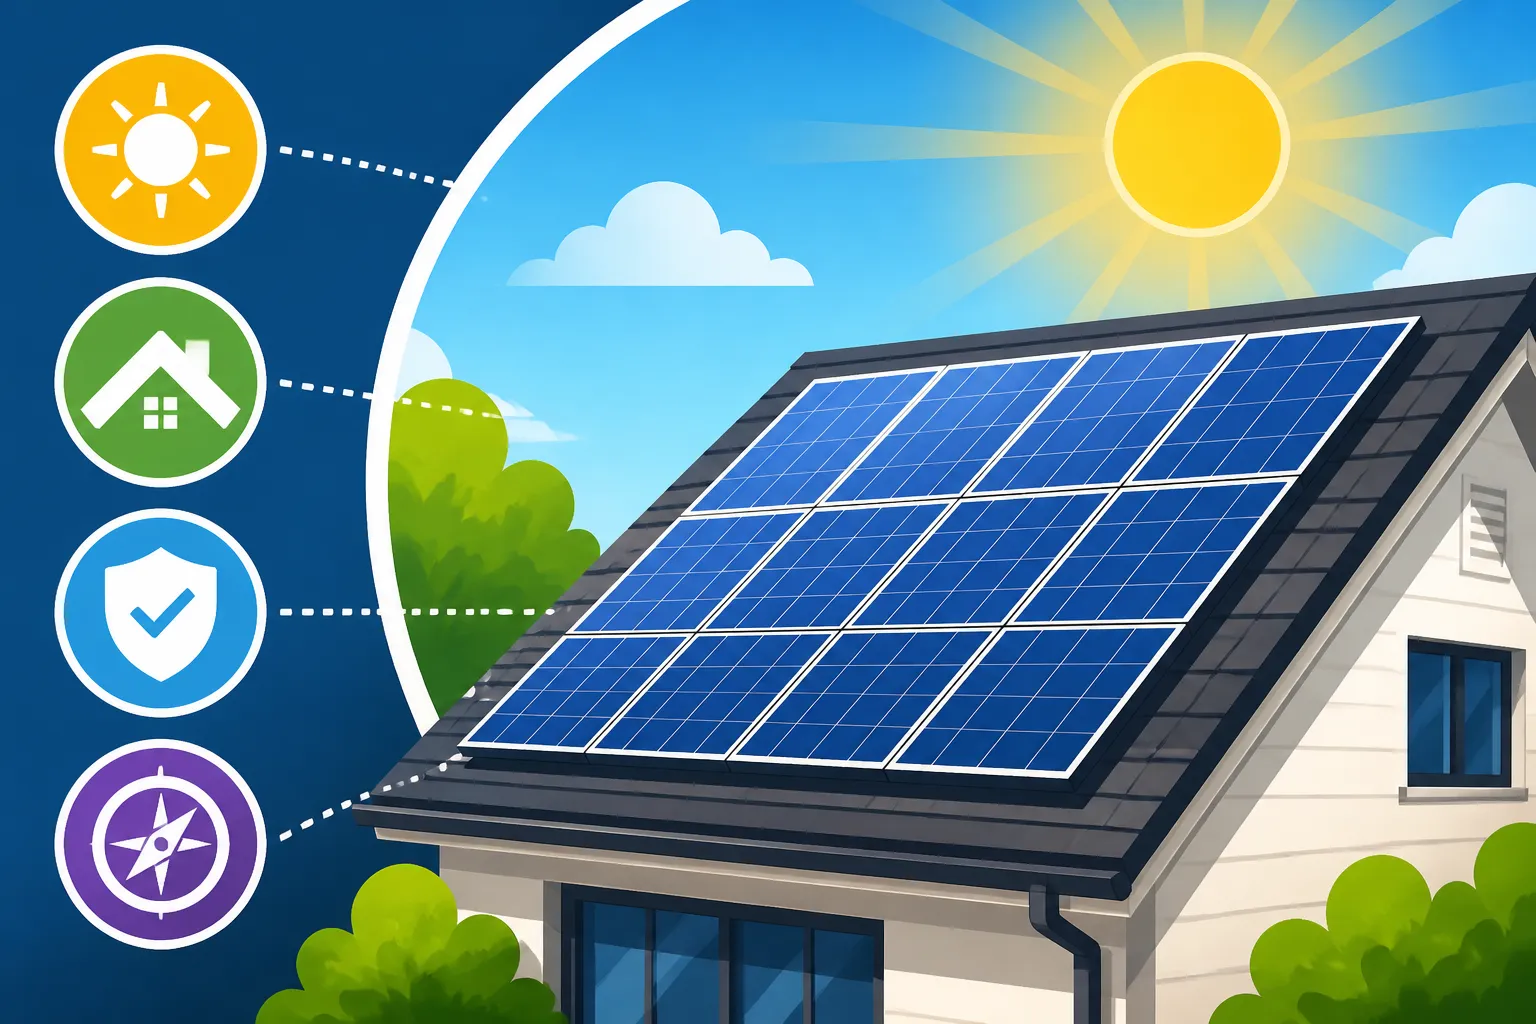
When it comes to solar energy production, direction is everything. In the Northern Hemisphere, a south-facing roof is generally considered the absolute best for solar panels. This orientation allows panels to receive direct sunlight for the longest duration throughout the day, maximizing energy generation. South-facing roofs capture the sun's rays most efficiently from morning to late afternoon. However, don't despair if your roof isn't perfectly south-facing! Southeast and southwest-facing roofs are also excellent candidates, offering very strong production, often within 10-20% of a true south-facing array. East-facing panels will produce more in the morning, while west-facing panels will generate more in the afternoon, which can actually be beneficial if your household uses more electricity in the late afternoon/early evening. North-facing roofs are generally the least ideal for solar in the Northern Hemisphere due to minimal direct sunlight exposure, but even they can sometimes be viable with enough pitch and depending on your location's latitude.
The "pitch" or angle of your roof also plays a significant role. The ideal pitch for solar panels often aligns with your geographic latitude to optimize for year-round sun exposure. For example, in the continental U.S., a roof pitch between 30 and 45 degrees is typically optimal. Pitches that are too flat or too steep can reduce efficiency, though modern mounting systems can often adjust panel angles to compensate somewhat. Your installer will use specialized software to model the sun's path and recommend the best placement and tilt for your specific roof. Our article, "Is a South-Facing Roof Best for Solar?" delves deeper into this topic.
The Impact of Shading
Even a perfectly south-facing roof with an ideal pitch can be a poor candidate for solar if it's heavily shaded. Shade is the archenemy of solar production. Just a small amount of shade on a single panel can significantly reduce the output of an entire string of panels in a traditional string inverter system. This is because panels in a string are connected in series, and the overall output is limited by the weakest link – the shaded panel. Imagine a garden hose with a kink in it; the water flow is restricted for the entire length.
Common culprits for shading include large trees, neighboring buildings, dormers, chimneys, and even utility poles. Before moving forward, a professional solar designer will conduct a detailed shade analysis, often using sophisticated tools that map out obstructions throughout the year. They'll look at seasonal changes in sunlight, especially during winter when the sun is lower in the sky and shadows are longer. If shading is unavoidable in certain areas, modern technology like microinverters or power optimizers can help mitigate the impact. These devices allow each panel to operate independently, so if one panel is shaded, it doesn't drag down the performance of the entire system. Understanding "How Does Roof Shading Affect Solar?" is crucial for an accurate production estimate.
Maximizing Solar Production
To truly maximize your solar production, it's a combination of strategic panel placement and smart technology. Once your installer has assessed your roof's direction, pitch, and shading, they'll design a system that optimizes these factors. Sometimes this means strategically pruning trees, though this isn't always feasible or desirable. In other cases, it might mean choosing a smaller, more efficient system that fits only on the unshaded portions of your roof, rather than trying to cover every square inch.
High-efficiency panels, while sometimes more expensive upfront, can generate more electricity from a smaller footprint, which is incredibly useful if your usable roof space is limited. Brands like Maxeon (SunPower) or REC are known for their high-efficiency modules. Additionally, selecting the right inverter technology, whether it's string inverters with optimizers or individual microinverters like those from Enphase, will play a huge role in how well your system performs under varying conditions, including partial shading. A well-designed system will consider these elements holistically to ensure you're getting the most bang for your buck, turning every ray of sunshine into usable electricity for your home.
Space Requirements and Panel Layout
So, your roof is structurally sound and gets great sun. Now comes the fun part: figuring out how many panels can actually fit and where they'll go. It’s not just about covering the roof; there are specific requirements for spacing, fire safety, and aesthetics that will influence the final design.
How Much Roof Space Do Solar Panels Need?
The amount of roof space you need depends directly on your electricity consumption and the wattage of the solar panels you choose. An average residential solar panel is roughly 65 inches by 40 inches (about 18 square feet) and typically produces between 350 to 450 watts of power. To get a rough estimate, a 6 kW (kilowatt) system, which is common for an average American home, might require 15-20 panels, taking up approximately 270-360 square feet of roof space. This doesn't include the necessary setbacks from edges or other obstructions.
Your solar installer will start by looking at your past electricity bills (ideally 12 months' worth) to understand your average daily and monthly energy usage. Then, they’ll factor in your roof’s sun exposure and panel efficiency to determine the optimal system size needed to offset your consumption. Sometimes, homeowners realize they can't quite offset 100% of their usage due to space constraints, but even offsetting 70-80% can lead to substantial savings. Knowing "How Many Solar Panels Do I Need for My Home?" is the first step in sizing your system correctly.
Obstructions and Setbacks
It’s rare to find a roof that’s a completely blank canvas. Chimneys, vents, skylights, dormers, and even satellite dishes are common obstructions that impact panel placement. Solar panels need to be installed in clear, unshaded areas, and installers must work around these features. Furthermore, fire safety codes often mandate specific setbacks—clearance areas—from the edges of your roof and ridge lines. These codes, which can vary by local jurisdiction and even within different fire departments, are designed to give firefighters clear access paths if they need to work on your roof during an emergency.
Typically, these setbacks might require 3 feet of clear space around the edges of your roof, especially near valleys and ridges, to prevent fire spread and allow personnel to move safely. These regulations significantly impact the usable square footage of your roof for solar panels. A good solar designer will meticulously measure these areas and factor them into your system design, ensuring both safety and compliance. This is where the expertise of a professional installer really shines, as they know the local codes like the back of their hand.
Aesthetic Considerations
Let's be real, nobody wants their home to look like an industrial power plant. Aesthetics are a genuine concern for many homeowners, and rightly so. The visual impact of solar panels can be a major factor in the decision-making process. Modern solar panels are generally sleek and low-profile, and installers strive to arrange them in an orderly and visually pleasing manner. Often, panels are installed in uniform rows or blocks, following the lines of the roof to create a clean look.
Some homeowners opt for "all-black" panels (monocrystalline panels with black backsheets and frames) that blend more seamlessly with dark roof shingles. Conduit, the electrical piping that runs from the panels to your inverter and main electrical panel, can also be routed discreetly, often through the attic or along less visible parts of the house. During the design phase, your installer should provide you with a detailed rendering of what the panels will look like on your roof. Don't hesitate to ask for adjustments if you have specific aesthetic preferences. After all, you're going to be looking at these panels for decades, so you want to love how they look!
Protecting Your Roof: Installation Methods and Potential Risks
One of the biggest anxieties homeowners have about solar is the thought of putting holes in their roof. It's a valid concern! However, professional solar installers employ techniques specifically designed to ensure your roof remains watertight and protected. Understanding these methods and potential risks can help ease your mind.
Secure Mounting Techniques
Solar panels don't just sit on your roof; they are securely anchored using a racking system. The most common method involves attaching aluminum rails to your roof structure, usually directly into the rafters or trusses beneath the roofing material. For asphalt shingle roofs, installers typically use lag bolts or screws that penetrate the shingles and decking, securing into the underlying wood. To ensure watertightness, specialized metal flashing is installed beneath and around each penetration point. This flashing is designed to divert water around the bolt, preventing leaks. The flashing is sealed with a high-grade sealant, creating multiple layers of protection.
For tile roofs, as mentioned, special tile hooks or replacement tiles with integrated flashing are often used. Standing seam metal roofs are typically the easiest, as clamps can be used to attach directly to the raised seams, avoiding any roof penetations whatsoever. Experienced installers know precisely where to drill, how to apply sealants, and how to layer flashing to maintain your roof's integrity. They follow strict industry best practices and local building codes to ensure a safe and durable installation. Our guide, "How Are Solar Panels Installed? Step by Step", offers an in-depth look at this process.
Preventing Leaks and Damage
The fear of roof leaks after solar installation is widespread, but with a reputable installer, the risk is incredibly low. Modern installation techniques and materials are designed specifically to prevent water intrusion. The key is in the multi-layered approach: proper drilling, robust flashing, and high-quality sealants work together to create a watertight seal at every penetration point. Furthermore, many solar companies offer comprehensive workmanship warranties that cover roof penetrations for a significant period, often 10 years or more. This gives homeowners peace of mind, knowing that if a leak were to occur due to their installation, the company would be responsible for the repair.
Beyond leaks, some homeowners worry about potential damage to shingles during installation. While it's true that foot traffic during installation can cause minor wear, professional installers are trained to work carefully and minimize impact. They use soft-soled shoes, distribute their weight, and avoid unnecessary scuffing. If your roof is already very old or fragile, this risk might increase, which circles back to the importance of assessing your roof's age and material before installation. Our post, "Do Solar Panels Cause Roof Leaks?", can provide further assurance.
Warranty Implications
Before installing solar, it's a good idea to review your existing roof warranty. Some older roof warranties might contain clauses that could be voided by penetrations or modifications to the roof, even for solar installation. However, this is becoming less common as solar becomes mainstream. Most reputable solar installers will use certified methods that are recognized by roofing manufacturers and will often offer their own workmanship warranty to back their work.
It's crucial to clarify this with both your roofing manufacturer (if your roof is new) and your chosen solar installer. A good installer like those found through platforms like Modernize will be transparent about their warranties and how they interact with your existing roof warranty. They might even offer an integrated warranty that covers both the solar system and any potential roof-related issues stemming from the installation. Always get warranty details in writing, ensuring you understand what's covered, for how long, and by whom. This protects your investment and provides clarity should any issues arise in the future.
The Pre-Installation Roof Check-Up and Maintenance
Think of your roof as the unsung hero of your solar system. Just like you wouldn't build a house on a shaky foundation, you shouldn't put solar panels on a roof that isn't in tip-top shape. A thorough pre-installation check-up is paramount, and ongoing maintenance ensures everything works harmoniously.
When to Consider a New Roof Before Solar
This is a dilemma many homeowners face, and it's a really important one. As we touched on earlier, if your roof has fewer than 10-15 years of life left, seriously consider replacing it before going solar. The cost of a roof replacement averages between $5,000 and $15,000, depending on size, material, and location. While this might seem like a large upfront expense, the cost of removing and reinstalling solar panels to replace an aging roof later can easily be $2,000 to $5,000, not to mention the hassle and temporary loss of solar production.
Doing both at the same time is often the most cost-effective and least disruptive approach. Some homeowners even find that combining the projects allows for better financing options or may even be eligible for certain incentives. For instance, if you live in a state like Maryland, ensuring your roof is ready before investing in a system that can take advantage of incentives like Maryland Solar Incentives & SREC Guide makes practical sense. Discuss your roof's age and condition candidly with your solar consultant. They can often help you weigh the pros and cons and even connect you with roofing professionals if needed.
Essential Roof Maintenance Post-Installation
Once your solar panels are installed, your roof largely becomes a set-it-and-forget-it kind of setup, but a little vigilance goes a long way. The good news is that solar panels actually act as a protective layer, shielding your shingles from harsh UV rays, rain, and hail, which can extend the life of the roof underneath them. However, you still need to keep an eye out for potential issues.
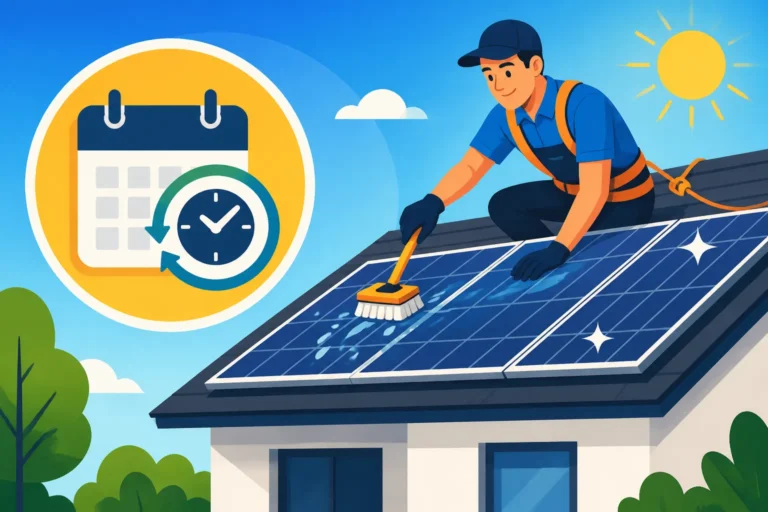
Routine maintenance should include periodic visual inspections from the ground to check for any loose panels, wiring issues, or excessive debris accumulation. While panels are largely self-cleaning with rain, a build-up of leaves, dust, or bird droppings can slightly reduce efficiency. If you notice a significant drop in production on your monitoring app, it might be time for a professional cleaning. It's generally not recommended to clean panels yourself unless you have the proper safety equipment and knowledge. Our article, "Solar Panel Maintenance & Cleaning", offers a full breakdown. Remember, your roof is still there, just beneath a high-tech blanket, so don't completely forget about it!
Finding a Qualified Solar Installer
Choosing the right solar installer is perhaps the single most important decision you'll make when going solar. A reputable, experienced installer will conduct a thorough assessment of your roof, understand all the structural and material considerations, and design a system that is safe, efficient, and compliant with all local codes. They won't cut corners on flashing, sealing, or wiring. They'll also be transparent about costs, warranties, and the entire installation process, from initial site survey to getting Permission to Operate (PTO).
Look for installers with strong local references, proper licensing, and certifications (like NABCEP). Don't be afraid to ask for multiple quotes and compare them not just on price, but on the quality of equipment, warranty offerings, and customer service. Platforms like Modernize can help connect you with vetted installers in your area, taking some of the guesswork out of the selection process. A reliable installer will be your partner throughout this journey, ensuring your roof and your solar panels are perfectly matched for years of clean energy production. Understanding "How to Choose a Solar Installer" can save you a lot of grief.
Navigating Local Regulations and Homeowner Association Rules
Getting solar panels isn't just about what's structurally possible; it's also about what's legally and aesthetically permissible in your area. Local governments and homeowner associations (HOAs) often have specific rules that can impact your solar project, and understanding them early can prevent frustrating delays or even costly redesigns.
Permitting and Building Codes
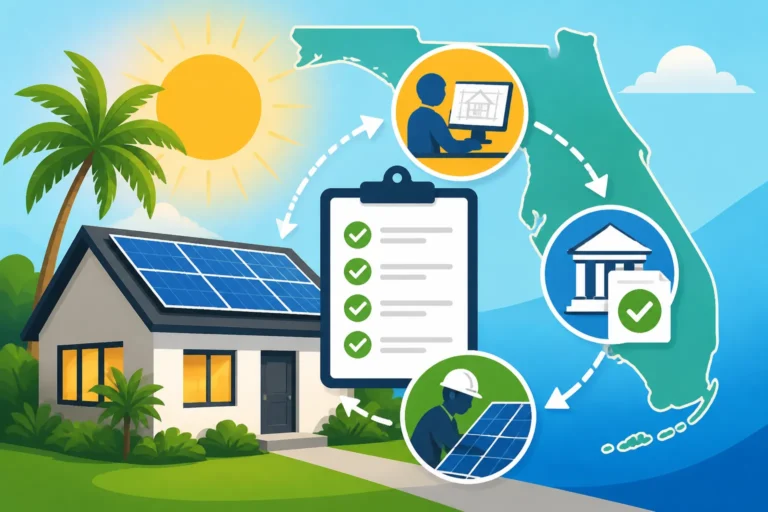
Before any solar panels can be installed, you'll need to secure various permits from your local city or county building department. This isn't just red tape; these permits ensure that your solar installation adheres to strict safety and structural standards. The permitting process typically involves submitting detailed plans of your proposed system, including electrical schematics, structural calculations for roof loading, and a site plan showing panel placement. The local authorities will review these plans to ensure they comply with national electrical codes (NEC), local building codes, and fire safety regulations.
This is another area where a professional solar installer earns their keep. They are usually well-versed in the local permitting requirements and will handle the entire process on your behalf, from preparing the necessary documentation to coordinating inspections. Trying to navigate this complex landscape yourself can be incredibly time-consuming and fraught with potential errors, leading to delays. Once the installation is complete and has passed final inspections, the utility company will grant you "Permission to Operate (PTO) Explained", allowing you to finally turn on your system and start generating power.
HOA Restrictions and Design Guidelines
If your home is part of a Homeowner Association (HOA), you likely have another layer of bureaucracy to contend with. Many HOAs have specific rules regarding exterior home modifications, including solar panel installations. These rules can range from reasonable aesthetic guidelines (e.g., panels shouldn't be visible from the street) to overly restrictive mandates that effectively block solar altogether. The good news is that in many states, "solar access laws" or "solar rights laws" have been enacted to prevent HOAs from unreasonably prohibiting solar installations. These laws vary by state but generally state that HOAs cannot forbid solar panels outright, though they can still enforce reasonable aesthetic requirements that don't significantly increase costs or reduce efficiency.
It's absolutely critical to check with your HOA before you sign any solar contracts. Obtain a copy of their Covenants, Conditions, and Restrictions (CC&Rs) and specifically look for clauses related to solar energy systems. Your solar installer should also be familiar with local HOA regulations and can help you navigate the approval process, including preparing architectural review applications if necessary. A smooth HOA approval process prevents headaches down the line.
Historic District Considerations
Living in a historic district offers charm and character, but it can also introduce additional layers of complexity for solar installations. Historic preservation commissions or architectural review boards often have stringent guidelines designed to maintain the historical integrity and appearance of the neighborhood. This can mean restrictions on where panels can be placed, their visibility from public rights-of-way, and even the type of mounting hardware used. Some historic districts might prefer ground-mounted systems over rooftop ones to preserve the original roofline.
While solar access laws typically protect homeowners' rights to install solar, historic district regulations can sometimes present a challenge. It's not uncommon for homeowners in these areas to require additional approvals or even seek variances. Again, an experienced local solar installer, especially one with a track record in historic areas, will be invaluable. They can help design a system that respects the architectural guidelines while still providing effective solar production. Transparency and early communication with all relevant authorities are key to a successful project in a historic district.
Alternative Solar Solutions for Challenging Roofs
What if, despite your best efforts, your roof just isn't a good fit for solar? Perhaps it's too old, too shaded, or too small, or maybe HOA rules are simply too restrictive. Don't throw in the towel just yet! There are several excellent alternative solutions that allow you to tap into the benefits of solar energy without putting panels directly on your home's roof.
Ground-Mount Solar Systems
If your property has available land that gets good sun exposure, a ground-mount solar system can be a fantastic alternative to rooftop panels. Ground mounts offer several advantages: they can be oriented at the perfect angle and direction for optimal sun capture, regardless of your roof's orientation. They are also easier to access for cleaning and maintenance, and there's no concern about roof integrity or warranty issues. Furthermore, you can often install a larger system on the ground than your roof might allow, potentially offsetting 100% or more of your electricity usage.
However, ground-mount systems do have their own considerations. They require sufficient open space, away from shading trees or buildings. The installation itself often involves more extensive trenching for electrical conduits and might require a concrete foundation or heavy-duty anchoring, which can increase installation costs compared to a standard rooftop system. Your property also needs to have suitable soil conditions. But for homes with large yards, flat roofs, or heavily shaded rooftops, ground-mount solar can be a highly effective and aesthetically pleasing solution. Our article, "Ground-Mount vs Roof-Mount Solar", offers a detailed comparison.
Community Solar Options
For many homeowners, owning their own rooftop or ground-mounted solar system isn't feasible due to living in an apartment, having too much roof shade, or simply not wanting the responsibility of maintenance. Enter community solar! This increasingly popular option allows multiple subscribers to benefit from a single, large-scale solar farm located elsewhere, typically within their utility service territory. You subscribe to a portion of the solar farm's output, and in return, you receive credits on your monthly utility bill for the electricity generated by your share of the project.
Community solar programs democratize access to solar energy, making it available to renters, condo owners, and those with unsuitable roofs. There's no installation on your property, no maintenance, and often no upfront costs. You get to support renewable energy and save money on your electricity bill without any of the direct roof considerations. Availability varies by state and utility, so check if "Community Solar: How It Works & Who Qualifies" is an option in your area. This is an excellent choice for those who want to go green and save money, but whose homes aren't ideal for traditional solar.
Carports and Other Structures
Think creatively! Solar panels don't only have to go on your home's roof. Many homeowners with challenging roofs find success by installing solar panels on other structures on their property, such as carports, garages, pergolas, or even sheds. A solar carport, for example, not only generates clean electricity but also provides shade and protection for your vehicles, offering a dual benefit. These structures can often be oriented more optimally for sunlight than your home's roof, and they might have fewer architectural or HOA restrictions.
Similar to ground mounts, installing on existing or purpose-built structures requires careful planning. You'll need to ensure the chosen structure has the structural integrity to support the panels, and you'll still need to factor in electrical trenching and interconnection. However, the flexibility offered by these alternative locations can often turn a seemingly impossible solar project into a successful one. It's all about finding the best unshaded, structurally sound surface on your property. This can be a fantastic way to go solar when your main roof just isn't cutting it.
Your Roof and Solar: A Partnership for the Future
Ultimately, your roof and your solar panels are going to be partners for a very long time, ideally 25 years or more. Choosing a solar system isn't just about picking panels; it's about making sure the canvas you're painting on—your roof—is ready for its starring role. A little proactive planning and a thorough assessment can save you a world of headaches and ensure your solar investment pays dividends for decades.
Long-Term Performance and Protection
When you invest in solar, you're looking for long-term performance and reliable savings. This longevity heavily relies on the health of your roof. A sturdy, well-maintained roof, paired with a professionally installed solar system, creates a resilient energy generation hub for your home. The panels themselves are built to withstand harsh weather, from hail to heavy winds, and their presence can even offer an additional layer of protection to your roofing material underneath.
Over the 25 to 30 years that your solar panels will be diligently producing electricity, your roof will continue its vital job of sheltering your home. Ensuring the two are compatible from day one means you won't have to worry about premature roof repairs disrupting your solar production or incurring extra costs. This synergy is what makes a well-planned solar installation not just an energy upgrade, but a smart home improvement that enhances both value and functionality.
Increasing Home Value with Solar
It's no secret that solar panels can significantly increase your home's value, but this benefit is amplified when the installation is done right and your roof is in prime condition. Potential buyers are often wary of homes with old roofs or questionable solar installations. A new, solar-ready roof with a modern, efficient solar system acts as a major selling point. It signals to buyers that they are acquiring a home with lower utility bills, a reduced carbon footprint, and minimal future maintenance concerns for both the roof and the solar array.
Studies consistently show that homes with owned solar panels sell for more and often faster than comparable non-solar homes. The value added can often be substantial, sometimes even exceeding the initial investment, depending on your local market, system size, and energy savings. However, a roof in need of repair or a poorly installed system could detract from this value. This is why paying attention to all the roof considerations upfront is not just about avoiding problems, but actively maximizing the positive financial impact of your solar investment.
Embracing Energy Independence
Ultimately, the goal of going solar is often about achieving a degree of energy independence. It's about taking control of your electricity bills, mitigating rising utility rates, and contributing to a cleaner environment. All these benefits hinge on a successful, durable solar installation, which begins and ends with your roof. From its age and material to its orientation and structural integrity, every roof consideration plays a part in your journey towards a more sustainable and cost-effective future.
Don't let the technical details intimidate you. Armed with this knowledge, and with the guidance of experienced professionals like those found through Modernize, you can confidently assess your roof's readiness and make informed decisions. Whether your roof is perfectly suited or you need to explore alternatives, there's likely a solar solution for you. The peace of mind that comes from knowing your home is generating its own clean power, day after day, year after year, is truly invaluable.
| Roof Material Type | Solar Compatibility | Key Considerations | Average Lifespan (Years) |
|---|---|---|---|
| Asphalt Shingle | Excellent | Most common, easy to install mounts, check age before installing. | 15-30 |
| Standing Seam Metal | Excellent | Clamp-on mounts avoid penetrations, highly durable, ideal for solar. | 30-50+ |
| Concrete Tile | Good | Requires specialized tile mounts or flashing, careful handling to avoid breakage, can increase labor costs. | 40-75 |
| Clay Tile (Spanish) | Good | Similar to concrete tile, requires very careful handling, often more delicate. | 50-100+ |
| Wood Shake/Shingle | Fair to Poor | Fragile, irregular surface, can be difficult to seal, often requires careful assessment or replacement. | 20-40 |
| Slate | Poor | Very heavy, extremely brittle, highly specialized and expensive installation, often recommended to avoid. | 75-150+ |
| Flat/Low-Slope (TPO, PVC) | Excellent | Requires ballasted or tilted racking systems that typically don't penetrate, can maximize angle. | 15-30 |
Disclaimer
The information provided in this article is for general informational purposes only and does not constitute professional advice. While we strive to provide accurate and up-to-date information, solar technology, incentives, regulations, and costs can change rapidly. Always consult with a qualified solar installer, structural engineer, and tax professional to assess your specific situation and ensure compliance with all local codes and requirements.