Solar Installation Process in Hawaii
Thinking about going solar in Hawaii can feel like navigating a maze. With the highest electricity prices in the nation, the sunshine pouring down on our islands makes solar an incredibly attractive option, but the actual process, from finding an installer to getting your system up and running, often feels shrouded in mystery. This guide aims to clear up that confusion, walking you through each step of the solar installation process in Hawaii, so you know exactly what to expect.
Starting Your Solar Journey: Initial Consultations and Design
The very first step on your path to harnessing Hawaii's abundant sunshine is often the most exciting: exploring the possibilities for your home. This initial phase is all about discovery, assessment, and designing a system that fits your unique energy needs and property. It’s where your solar dreams start to take a concrete shape.
Understanding Your Energy Needs and Goals
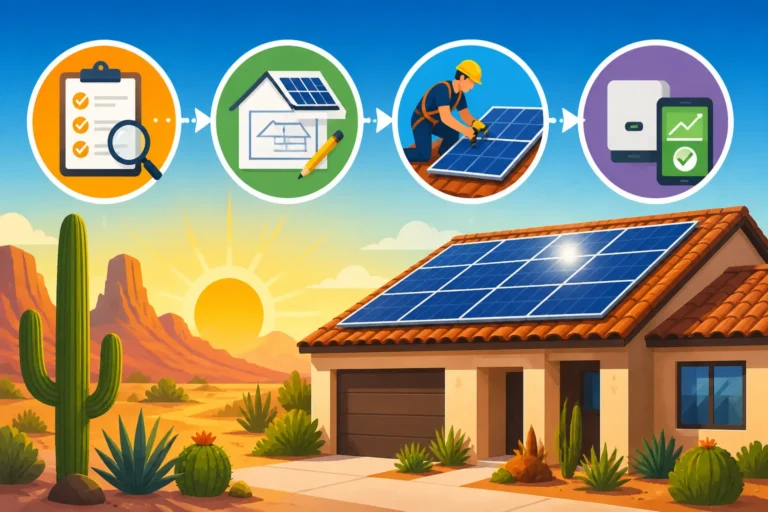
Before any panels are even considered, a reputable solar installer will sit down with you to truly understand your household's electricity consumption. They'll likely ask for your past utility bills, usually for the last 12 months, to get a clear picture of your energy usage patterns. This isn't just about how much electricity you use, but when you use it. Do you blast the AC during the day? Are you a night owl with many electronics running? This information is crucial for designing a system that effectively offsets your current grid usage and potentially eliminates your electric bill. This is also the time to discuss your goals – are you looking to simply reduce your bill, achieve energy independence, or perhaps add a Solar Battery Cost: Full Breakdown for backup power during outages? Your answers will guide the design.
For instance, a family in Ewa Beach with high daytime AC use due to the intense afternoon sun might need a larger system or one optimized for peak afternoon production, potentially with a battery to store excess energy. On the other hand, someone in Hilo, where rain can be more frequent, might prioritize panels with excellent low-light performance. This initial conversation is paramount, and it’s a great opportunity to ask your own questions and gauge the installer's expertise and customer service. Starting your journey by comparing options from pre-vetted installers through a platform like Modernize can help you find companies that prioritize this thorough assessment.
Site Assessment and System Design
Once your energy profile is understood, the next critical step is a detailed site assessment. This isn't just a quick glance at your roof; it's a comprehensive evaluation of your property's solar potential. An expert will visit your home to inspect your roof's condition, angle, and available space. They'll look for any shading from trees or nearby buildings throughout the day and year, which can significantly impact your system's efficiency. They also check your home's electrical panel to ensure it can handle the new solar setup and assess access points for installation. Roof Considerations for Solar Panels are a big part of this, as the structural integrity and age of your roof are critical factors. If your roof is nearing the end of its life, it might be more cost-effective to replace it before installing solar.
Following the site assessment, the engineering and design team will get to work. They'll use sophisticated software to model your home's solar production, taking into account sun paths, shading, and the specific characteristics of your roof. This leads to a customized system design, detailing the number and type of solar panels, their placement, and the inverter technology (like microinverters or a string inverter) best suited for your home. You'll receive a proposal outlining the system size (e.g., How Much Does a 6 kW Solar System Cost?), estimated energy production, projected savings, and the total cost. This is also where you'll typically learn about the warranties offered on the equipment and labor.
Navigating Hawaii's Permitting and Interconnection Requirements
Once your solar system is designed and you've agreed on a plan, the real bureaucratic legwork begins. This phase can often feel like the slowest part of the entire process, but it's absolutely crucial for ensuring your system is safe, compliant, and legally connected to the grid. Hawaii has specific regulations that must be followed, so patience is key here.
Local Permitting Process
Every solar installation in Hawaii, whether you're in Honolulu, Maui, Kauai, or the Big Island, requires a permit from your local county's building department. This is to ensure the system meets local safety codes and structural requirements. The solar installer is usually responsible for preparing and submitting all necessary plans and documentation, including electrical diagrams, structural blueprints, and site plans. This can be a complex and time-consuming process, as each county might have slightly different requirements and review timelines.
For example, the City and County of Honolulu Department of Planning and Permitting might have different digital submission requirements than the County of Maui Department of Public Works. Your installer will manage these specifics, but it's good to be aware that this can take anywhere from a few weeks to several months, depending on the complexity of your system and the current workload of the permitting office. They will follow up on the application, respond to any requests for additional information, and keep you updated on the status. This phase is largely out of your hands, but choosing an installer with deep local experience can significantly streamline the process.
Utility Interconnection Agreements
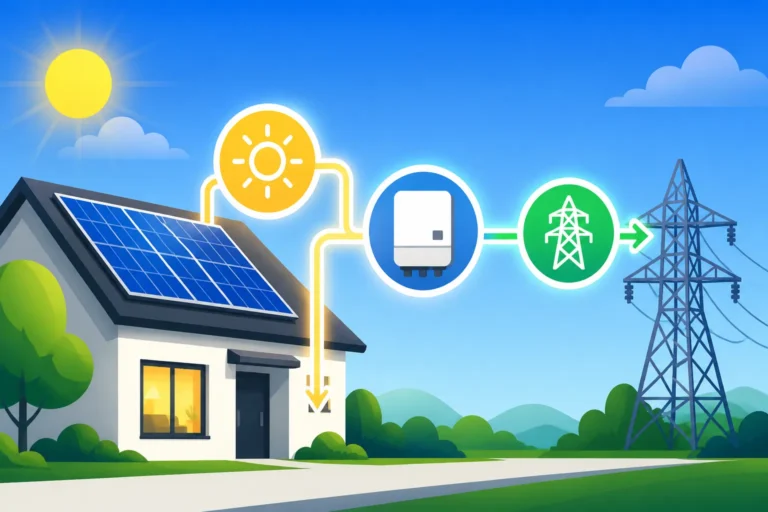
Beyond local permits, you need permission from your electric utility to connect your solar system to the grid. In Hawaii, this primarily means Hawaiian Electric (HECO) and its subsidiaries, Maui Electric (MECO) and Hawaii Electric Light Company (HELCO). Solar Permitting & Interconnection (PTO) Explained is a critical step, as it dictates how your excess solar energy is handled. Hawaii has transitioned from traditional net metering to programs like Net Energy Metering (NEM) Plus and the Smart Export Program. These programs dictate how you are credited for the electricity your solar panels send back to the grid.
Your installer will submit an interconnection application to Hawaiian Electric on your behalf. This application includes details about your system design, expected output, and safety features. The utility reviews this to ensure grid stability and safety. Once approved, you'll sign an interconnection agreement with HECO, formally allowing your system to operate and be compensated for excess generation. This approval process, much like permitting, can take several weeks or even a few months. It's important to understand the specifics of your utility's program, as it directly impacts your long-term savings. For instance, in some cases, adding a battery might become more financially attractive to maximize self-consumption under current Hawaiian Electric programs.
Installation and Activation: Bringing Your System to Life
After the seemingly endless waiting game of permits and approvals, this is where you finally see tangible progress. The installation phase is typically the quickest part of the entire solar journey, followed by the eagerly anticipated moment your system goes live.
The Installation Process
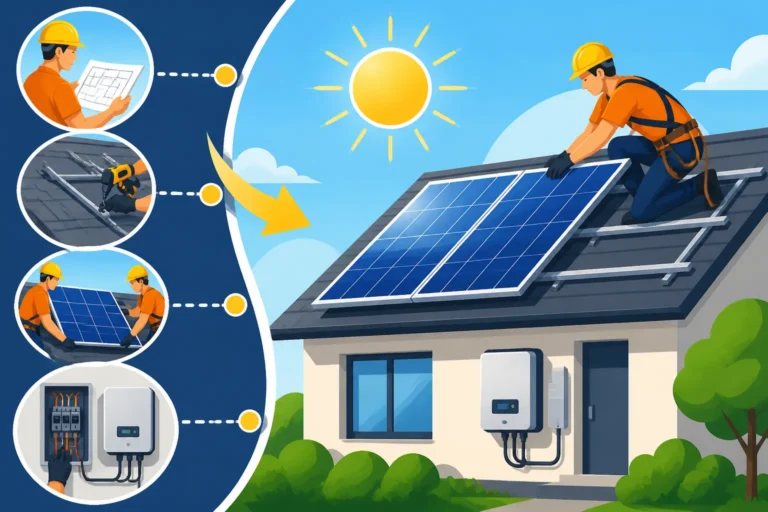
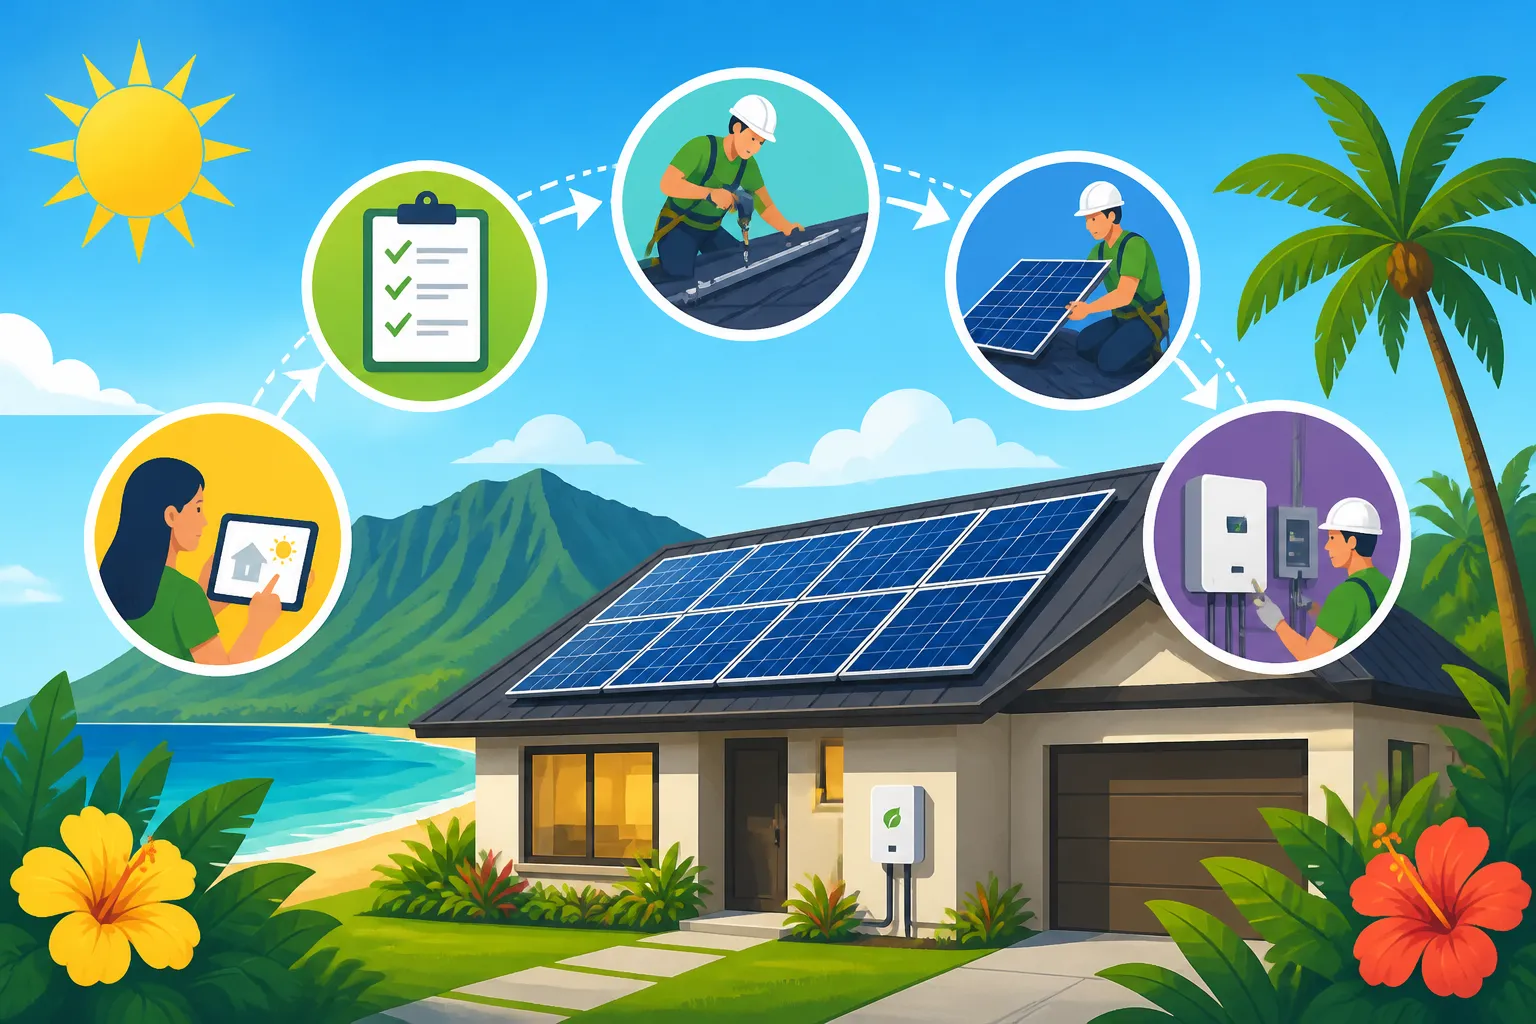
Once all permits and interconnection agreements are in hand, your installer will schedule the physical installation. The actual on-site work typically takes just a few days, depending on the size and complexity of your system. Here’s a general rundown of what happens:
- Mounting System Installation: The crew will first install racking on your roof. These aluminum rails are securely attached to your roof rafters, ensuring the panels are firmly anchored and can withstand Hawaii's strong winds.
- Solar Panel Placement: The solar panels are then carefully hoisted onto the roof and secured to the racking. The crew will ensure optimal placement and orientation based on the approved design.
- Electrical Wiring: Electricians will connect the panels to inverters (either microinverters attached to each panel or a central string inverter) and then wire the system to your home's main electrical panel. This involves running conduits, which are protective tubes for the wiring, from the roof down to your utility meter and electrical service panel.
- Battery Installation (if applicable): If you're adding a Solar Battery Incentives in 2026 system, like a Tesla Powerwall or Enphase IQ Battery, it will be installed in a designated location, typically on an exterior wall or in a garage, and integrated with your solar and home's electrical system.
- New Utility Meter: In many cases, Hawaiian Electric will need to install a new bi-directional meter (or upgrade an existing one) that can measure both electricity flowing into your home from the grid and electricity flowing out from your solar panels to the grid.
The installation crew will work diligently, often starting early to avoid the hottest parts of the day. They should always prioritize safety and communicate any unexpected issues or adjustments. For a more detailed look at the full process, you can explore guides like Solar Installation Timeline: What to Expect.
Final Inspection and Permission to Operate (PTO)
After the physical installation is complete, there are a couple more crucial steps before you can flip the switch.
- Building Department Inspection: Your local county building department will send an inspector to review the installation to ensure it meets all local building and electrical codes. They'll check the structural integrity, wiring, grounding, and overall safety of the system. This inspection must pass before your system can be legally activated.
- Utility Inspection and Permission to Operate (PTO): Once the county inspection is passed, Hawaiian Electric will conduct its final inspection. They check that the system is safely interconnected to their grid and meets their specific requirements. Once everything is deemed compliant, HECO will issue a "Permission to Operate" (PTO) notice. This is the green light you’ve been waiting for! Without PTO, operating your system is often not permitted and can even lead to penalties or delays in receiving credits for your excess generation. Understanding What Is Permission to Operate (PTO)? is key to knowing you're truly ready to go solar.
Only after receiving PTO can your installer (or you, following their instructions) finally turn on your system. At this point, your home will officially be powered by the Hawaiian sun, and you'll start seeing those electricity bill reductions.
Life with Solar: Monitoring, Maintenance, and Maximizing Savings
Getting your solar system turned on is a huge milestone, but your journey with solar doesn't end there. To truly maximize your investment and ensure long-term performance, a little attention goes a long way.
Monitoring Your System's Performance
Modern solar systems come with sophisticated monitoring capabilities, usually accessible through a mobile app or online portal. This technology allows you to track your system's real-time energy production, historical data, and often your home's energy consumption. You can see exactly how much electricity your panels are generating hour by hour, day by day, and month by month.
This monitoring is incredibly valuable for several reasons:
- Verification of Savings: You can directly correlate your system's production with the reduction in your utility bills, proving the financial benefits.
- Troubleshooting: If there's an issue – say, a panel isn't producing as much as it should – the monitoring system can alert you or your installer, allowing for quick diagnosis and repair.
- Behavior Adjustment: Seeing your energy usage patterns can help you make smart choices, like running heavy appliances during peak solar production hours to maximize self-consumption, especially in Hawaii where export credits might differ from full retail rates.
- Peace of Mind: Knowing your system is operating efficiently provides confidence in your investment.
Your installer should provide a comprehensive walkthrough of the monitoring system and how to interpret its data. If you have questions about performance, don't hesitate to reach out to your installer for clarification or support.
Maintenance and Warranties
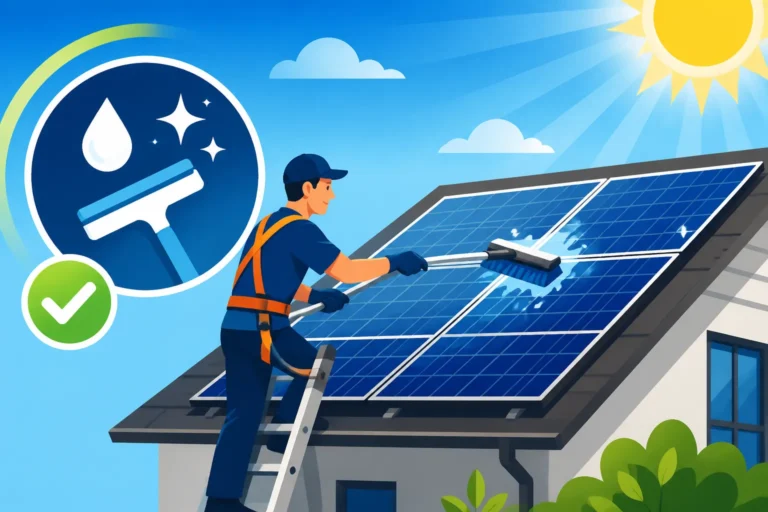
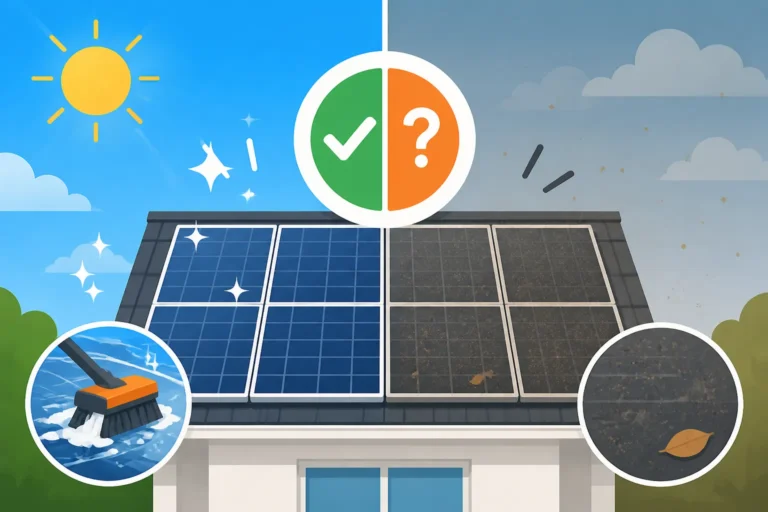
Compared to many home systems, solar panels require relatively little maintenance, which is one of their major benefits. However, a few simple practices can help ensure their longevity and efficiency. Solar Panel Maintenance & Cleaning typically involves occasional cleaning to remove dust, salt spray (especially near the coast), or bird droppings that can accumulate on the panel surface and reduce efficiency. In Hawaii, rain often does a good job of natural cleaning, but a gentle rinse with a hose a couple of times a year can be beneficial. Avoid harsh chemicals or abrasive brushes.
Regular inspections by a professional are also recommended, perhaps every few years, to check wiring, connections, and overall system health. Your solar system will come with several warranties:
- Product Warranty: Covers the panels themselves against manufacturing defects, usually for 10-25 years.
- Performance Warranty: Guarantees a certain level of power output over time, typically ensuring panels will still produce 80-85% of their original capacity after 25 years.
- Inverter Warranty: Covers the inverter(s), usually for 10-12 years for string inverters and 20-25 years for microinverters.
- Workmanship Warranty: Provided by your installer, covering the installation quality, often for 10 years or more.
Understanding these warranties is crucial. For example, if a panel stops producing due to a manufacturing defect within its warranty period, the manufacturer will replace it. If the issue is with the installation, your installer is responsible. Choosing an installer with a solid local track record and good reviews, perhaps through a resource like Modernize, is important for reliable warranty support. For a comprehensive overview of what to expect once your system is energized, check out What Happens After Solar Is Installed?.
The Hawaiian Solar Landscape: Unique Considerations
Hawaii's unique environment and energy policies bring both challenges and unparalleled advantages to residential solar. Understanding these specific factors can help you make the most informed decisions for your home.
High Electricity Costs and Renewable Energy Mandates
One of the biggest drivers for solar adoption in Hawaii is the extremely high cost of electricity. Hawaiians pay significantly more for their power than residents in any other U.S. state, making the financial payback for solar often quicker and more substantial. This economic incentive, combined with the state's ambitious goal of achieving 100% clean energy by 2045, creates a very supportive environment for solar energy. These factors mean that even with shifts in incentive programs, solar remains a compelling investment here.
Because of these mandates, state and local governments, along with utilities, continue to explore and implement programs that encourage solar adoption, though the specifics can evolve. It’s always a good idea to research current State Solar Incentives: Complete 2026 Guide that might be available to Hawaii residents, including potential utility rebates or special financing options.
Weather Resilience and Local Expertise
While Hawaii boasts abundant sunshine, it also experiences tropical storms and hurricanes. Therefore, the resilience and robust installation of your solar system are paramount. Installers in Hawaii are highly familiar with local building codes designed to withstand high winds and heavy rainfall. They use specialized mounting hardware and techniques to ensure your panels are securely fastened and can endure the elements.
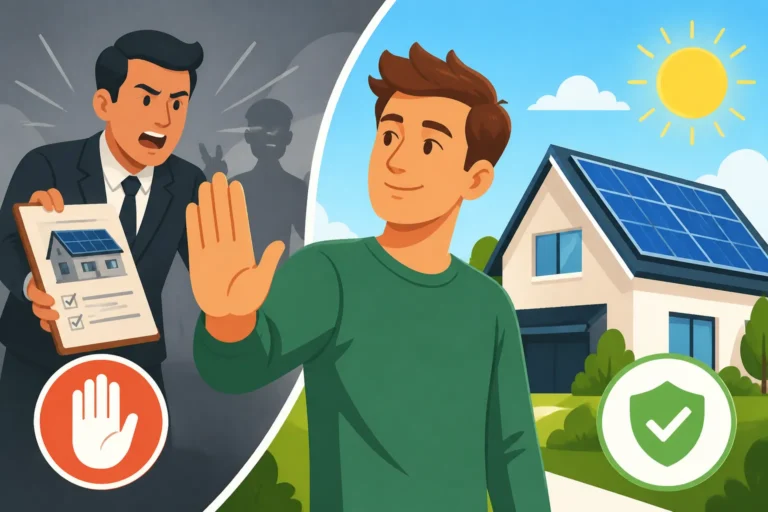
When selecting an installer, prioritize those with proven experience specifically in Hawaii, who understand the unique environmental challenges and regulatory landscape. They should be able to discuss the specific components they use for hurricane resistance and provide references from other local homeowners. While comparing your options, working with a service like Modernize can connect you with local professionals who are well-versed in these specific Hawaiian requirements, helping you avoid potential pitfalls down the line.
| Installation Stage | Typical Duration (Hawaii) | Key Tasks | Responsible Party |
|---|---|---|---|
| Initial Consultation & Design | 1-3 Weeks | Energy audit, site assessment, system sizing, proposal generation | Homeowner & Installer |
| Permitting Process | 4-12 Weeks (or more) | Prepare and submit building permits to county; secure structural and electrical approvals | Installer |
| Utility Interconnection | 4-8 Weeks (concurrent) | Submit interconnection application to Hawaiian Electric; secure agreement for grid connection | Installer |
| Equipment Procurement | 2-6 Weeks (concurrent) | Order and receive solar panels, inverters, racking, battery (if applicable) | Installer |
| Physical Installation | 2-5 Days | Mount racking, install panels, wire electrical components, install battery (if applicable) | Installer Crew |
| Final Inspections | 1-3 Weeks | County building inspection, Hawaiian Electric safety inspection | County & Utility |
| Permission to Operate (PTO) | 1 Day | Receive official notice from Hawaiian Electric to activate the system | Hawaiian Electric |
| System Activation | Immediate after PTO | Turn on the system, begin generating electricity | Installer / Homeowner |
Final Thoughts on Going Solar in Hawaii
The solar installation process in Hawaii, while involving several distinct stages, is a well-trodden path for many homeowners. From the initial excitement of seeing your custom design to the satisfaction of watching your meter spin backward, each step moves you closer to energy independence. The journey requires patience, especially with permitting and utility approvals, but the long-term benefits of reduced electricity bills and contributing to Hawaii's clean energy future are immensely rewarding. By understanding each phase and partnering with experienced local professionals, you can navigate the process confidently and successfully bring the power of the sun to your island home.
Disclaimer
Please note that this guide provides general information about the solar installation process in Hawaii. Specific timelines, requirements, and available incentives can vary based on your exact location, utility provider (Hawaiian Electric, Maui Electric, HELCO), local county regulations, and prevailing state energy policies. It is always recommended to consult with multiple qualified local solar installers and your utility company for the most accurate and up-to-date information pertaining to your specific project.