Solar Installation Process in Michigan
Deciding to go solar in Michigan is a fantastic step towards energy independence and saving money, but let's be honest, the process itself can feel a bit like trying to navigate the Mackinac Bridge during a snowstorm – complex and a little intimidating. You're probably wondering what actually happens from that first consultation to the moment your panels start generating power. This guide is here to demystate the entire solar installation process in Michigan, giving you a clear, step-by-step roadmap so you know exactly what to expect.
Initial Steps: From Curiosity to Concrete Plans
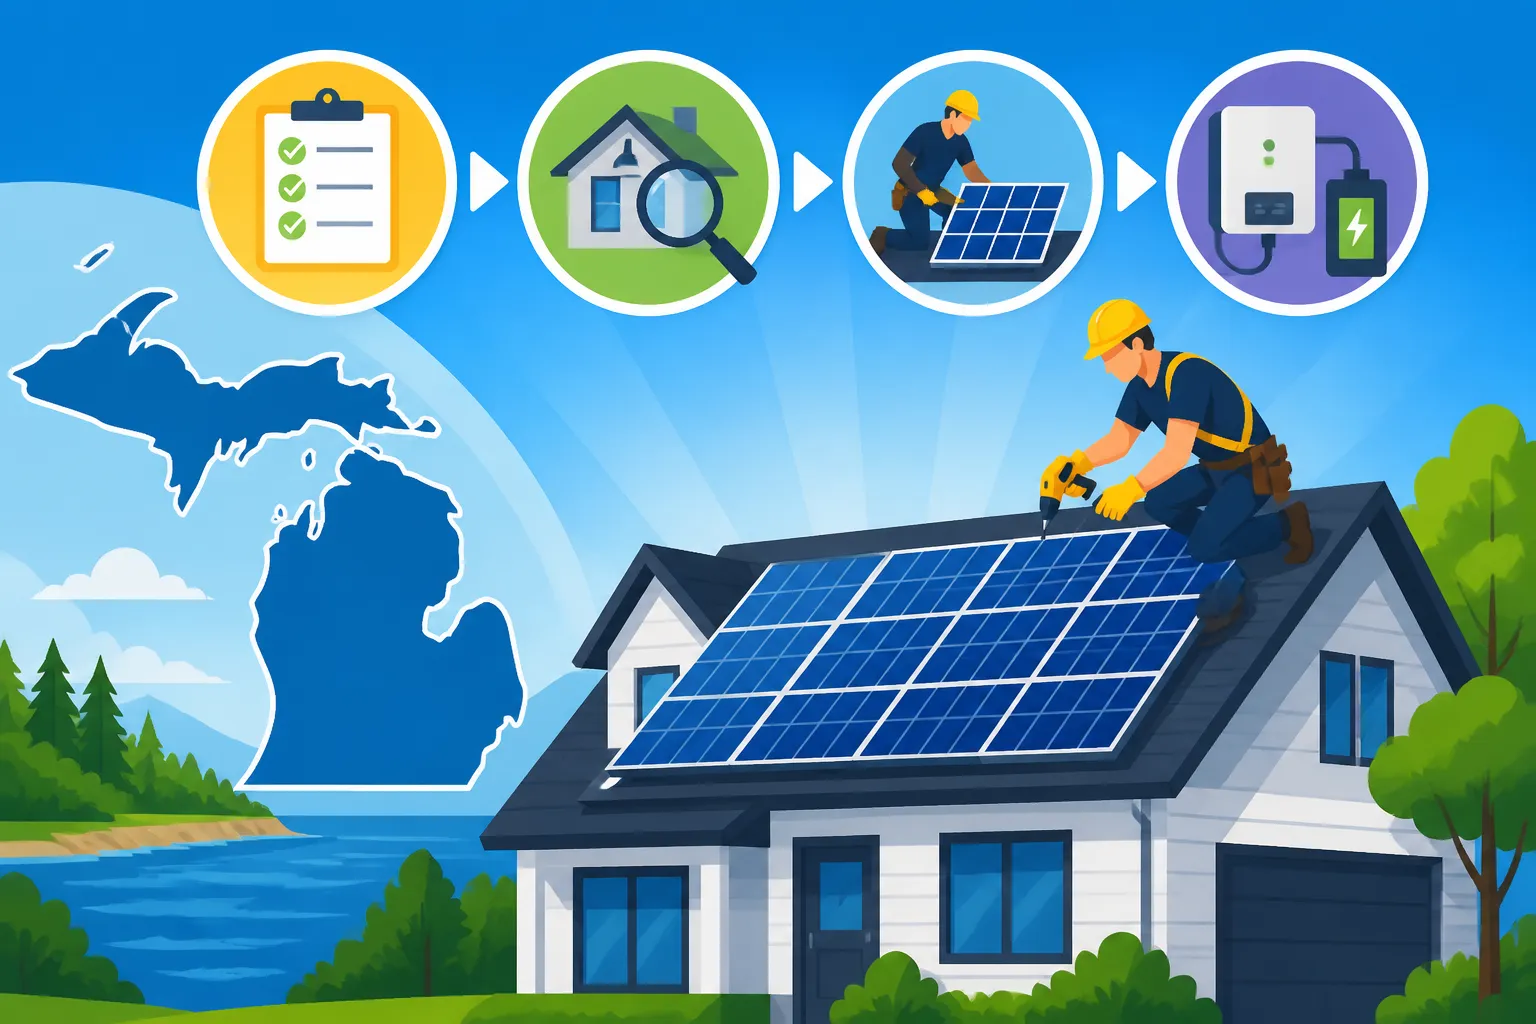
Before a single panel is even considered for your Michigan home, there's a crucial foundational phase that sets the stage for your entire solar journey. This isn't just about picking panels; it's about understanding your needs, ensuring your home is a good candidate, and getting all the ducks in a row with local authorities.
Your First Consultation and Site Assessment
It all starts with curiosity, right? You've heard about the benefits, maybe seen a neighbor's array, and now you're thinking, "Could this work for my house?" That's when you reach out to a solar provider. Many Michigan homeowners start by getting quotes through services like Modernize, which connect you with reputable local installers who can walk you through the specifics.
During this initial phase, a solar consultant will likely engage in a detailed discussion about your current electricity usage. They’ll look at your past utility bills, ideally for a full year, to understand your energy consumption patterns. This isn't just about a quick glance; it's a deep dive into how much power you use during different seasons, peak hours, and overall. After this, they'll schedule a site assessment. This is where the magic really begins. A technician will visit your property to evaluate several critical factors. They'll examine your roof's condition, age, and structural integrity. A healthy roof is paramount, because those panels are going to be up there for decades! They’ll also assess the roof's pitch and orientation (south-facing is often ideal, but east/west can work too), as well as any potential shading issues from trees, chimneys, or neighboring buildings. They'll also check your electrical panel to ensure it can handle the new solar system. This detailed survey helps the installer craft a system that's perfectly tailored to your home and energy needs.
System Design and Proposal Development
Once the site assessment is complete and your energy usage is thoroughly analyzed, the solar design team gets to work. This is where your dream of solar power starts to take a tangible form. They'll use sophisticated software to design a system that maximizes energy production while fitting aesthetically with your home. This includes determining the optimal number and placement of solar panels, selecting the right type of inverter (microinverters or string inverters, each with its own advantages), and mapping out the electrical connections.
You'll then receive a comprehensive proposal. This document isn't just a price tag; it's a blueprint of your future energy system. It should detail the system size (in kilowatts), the estimated annual energy production, the specific models of panels and inverters being used, the total cost, and a breakdown of financing options if you're not paying cash. It's also where your potential savings and estimated payback period will be outlined. This is the time to ask every question under the sun – no pun intended! Understand the warranties offered, both for the equipment and the installation itself. You should know exactly what you're getting and how it will perform. Comparing different quotes can be really helpful here, ensuring you find the best value and the most reputable company.
Navigating Permits and Approvals
Ah, the paperwork phase. This is often cited as one of the most frustrating aspects of going solar, and for good reason. Permitting processes vary wildly depending on where you live in Michigan. While the state encourages renewable energy, local municipalities, townships, and even homeowner associations (HOAs) often have their own specific requirements. Your solar installer should be well-versed in these local nuances, handling most, if not all, of the permit applications on your behalf.
This usually involves submitting detailed engineering plans, electrical schematics, and structural analyses to your city or county's building department. They'll review these documents to ensure your proposed system complies with all local building codes, electrical codes, and zoning ordinances. For instance, residents in Grand Rapids might have slightly different regulations than those in Ann Arbor or Detroit. This stage can take anywhere from a few weeks to a couple of months, depending on the efficiency of your local permitting office. It’s a waiting game, but a necessary one to ensure your system is installed safely and legally. During this period, your installer will also typically begin the interconnection agreement process with your utility company, such as DTE Energy or Consumers Energy, which is essential for getting your system connected to the grid and enabling important programs like net metering.
The Physical Installation: Bringing Solar to Life
Once all the plans are approved and permits are in hand, the real fun begins: the actual installation of your solar energy system. This is where you’ll see the transformation happen on your roof!
Pre-Installation Preparations and Material Delivery
Before the installation crew arrives, there might be a few minor preparations you need to make around your home. Your installer will usually advise you on clearing any obstacles around your electrical panel or in the path to your roof access. On the scheduled installation day, you can expect a delivery of all the necessary components: the solar panels themselves, mounting racks, inverters, wiring, and other electrical equipment.
The installation team will arrive, typically a crew of experienced solar technicians. They'll begin by setting up safety equipment, such as ladders, scaffolding, and safety harnesses, ensuring that the work environment is secure for everyone involved. They will also outline the work area and perhaps protect sensitive landscaping if necessary. Communication is key here; a good installation team will keep you informed about what they're doing and answer any questions you might have about the process. The sheer volume of equipment arriving might seem daunting, but it's all carefully organized and managed by the crew to ensure a smooth workflow.
Roof Mounting and Panel Placement
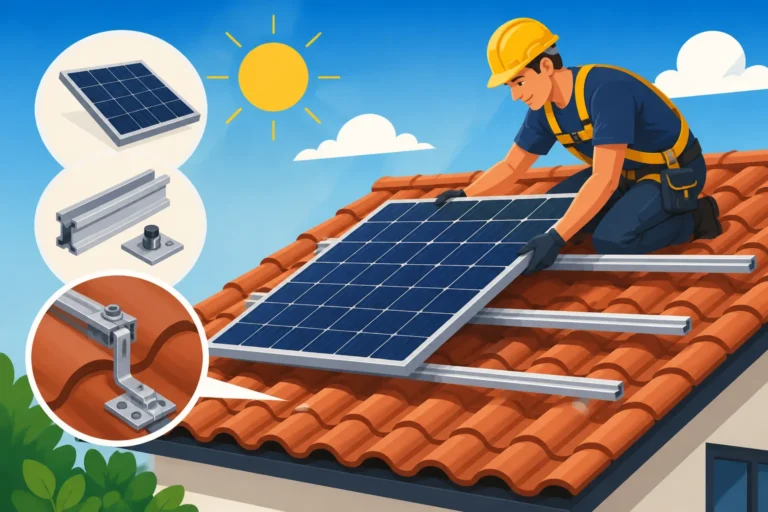
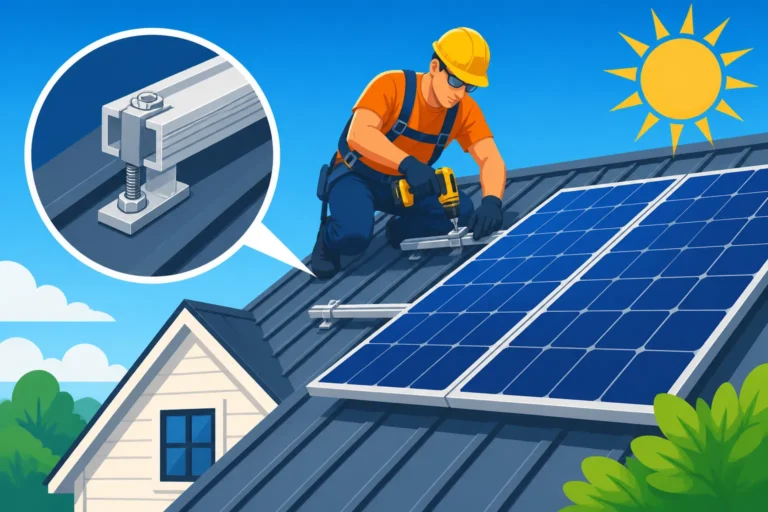
The next crucial step involves preparing your roof and securely mounting the solar panel racking system. This phase often involves drilling small holes into your roof rafters to attach the mounting hardware. Rest assured, reputable installers use watertight flashing and sealants around these penetration points to prevent leaks, giving you peace of mind that your roof remains protected. They are highly trained to ensure the integrity of your roof.
Once the racking is securely in place, the solar panels are carefully lifted onto the roof and bolted to the racks. This is where the precision of the design plans really comes into play, ensuring each panel is perfectly aligned to capture maximum sunlight. Depending on your system's design, wiring will be run from the panels to either a central string inverter or individual microinverters located beneath each panel. For those interested in deeper dives, articles like Microinverter vs String Inverter: Pros and Cons can provide more insight into the differences and benefits of each inverter type. This stage requires meticulous attention to detail and expertise to ensure everything is mechanically sound and ready for electrical integration.
Electrical Connections and System Integration
With the panels and mounting hardware in place, the focus shifts to the electrical work. This is a highly specialized part of the installation that should only be performed by licensed electricians. They will connect the wiring from your solar panels to your inverter(s), which convert the direct current (DC) electricity generated by the panels into alternating current (AC) electricity that your home can use.
From the inverter, the AC power is then routed through a dedicated circuit breaker in your home's main electrical panel. This connection allows the solar-generated electricity to power your home’s appliances and lights. Any excess electricity your panels produce will typically be sent back to the grid, often earning you credits through your utility's net metering program. The electrical team will also install any necessary disconnect switches, safety mechanisms, and a production meter to track how much electricity your system is generating. This intricate electrical integration is vital for the safe and efficient operation of your solar power system, ensuring it seamlessly works with your existing home electrical infrastructure.
Getting Your System Online: Inspections and Interconnection
You're almost there! The physical installation is done, but your system isn't live yet. There are a few more critical steps to ensure everything is up to code and officially connected to the grid.
Local Authority Inspections
After the solar system is physically installed and all electrical connections are made, your local permitting office will schedule a final inspection. This isn't just a formality; it's a critical step to ensure that the entire installation—from the structural mounting on your roof to the electrical wiring in your attic and main service panel—meets all current building and electrical codes. An inspector will verify that the work adheres to the approved plans and that all safety protocols have been followed.
This inspection is designed to protect you, the homeowner, by ensuring the system is safe and compliant. They'll look for things like proper grounding, secure panel attachment, correct wiring, and accessibility of disconnects. If any issues are found, the installer will be required to correct them before the system can pass inspection. Once the inspection is passed, your local jurisdiction will issue a final approval or sign off on your permit, which is a key piece of documentation required for the next step: utility interconnection. Understanding the intricacies of this stage is part of the broader permitting process.
Utility Interconnection and Permission to Operate (PTO)
Once your system passes the local inspection, the final hurdle is getting the green light from your utility company. In Michigan, this means utilities like DTE Energy or Consumers Energy. Your installer will submit the necessary documentation, including proof of local inspection approval, to the utility. The utility will then review these documents and may send out a technician to inspect the system themselves and, most importantly, install or reconfigure your electric meter.
This new meter is often a "net meter" or a "bi-directional meter," capable of measuring both the electricity you draw from the grid and the excess electricity your solar panels send back to it. Once the utility completes their review and meter upgrade, they will issue you a crucial document: Permission to Operate (PTO). This is the official notification that you are cleared to turn your system on and begin generating electricity. Before receiving PTO, you should absolutely not activate your system, as it can cause safety issues or violate your agreement with the utility. The process from initial application to PTO can take several weeks, but once you have it, the feeling of flipping that switch is truly rewarding. Many homeowners look forward to this moment to finally start taking advantage of net metering and reducing their reliance on traditional energy sources.
System Activation and Monitoring
The day you receive your PTO is exciting! This is when your solar installer will typically come back for a brief visit to officially "flip the switch" and activate your system. They'll ensure everything is running smoothly and may give you a quick tutorial on how to monitor your system's performance.
Most modern solar systems come with sophisticated monitoring software, often accessible through a mobile app or a web portal. This allows you to track your real-time electricity production, see how much energy you're consuming, and understand your overall energy savings. Brands like Enphase and SolarEdge, common choices for inverters, offer user-friendly platforms that provide detailed insights into your system's performance. You can often see how much power each individual panel is generating, identify any potential issues, or simply enjoy watching your carbon footprint shrink. This monitoring capability is fantastic for peace of mind and for optimizing your energy habits, helping you truly understand how much you save with solar panels.
Life with Solar: Post-Installation Considerations
Congratulations, your Michigan home is now powered by the sun! But the journey doesn't end the moment your system goes live. There are a few things to keep in mind to ensure your solar investment continues to perform optimally for decades to come.
Understanding Your New Energy Bill
One of the first things you'll notice after your system is activated is a change in your electricity bill. How much it changes, and in what way, largely depends on your utility's specific net metering or solar buyback program in Michigan. For example, DTE Energy and Consumers Energy in Michigan offer varying programs that credit you for the excess electricity you send back to the grid. Some programs provide full retail rate credits, while others might offer a lower "avoided-cost rate."
It's common for solar homeowners to still receive a utility bill, even with a fully operational system. This bill might include fixed charges (like customer service fees or connection charges) that apply regardless of how much electricity you generate. Additionally, if your system doesn't generate 100% of your energy needs, you'll still pay for the power you draw from the grid. However, your energy consumption charges should be significantly reduced, if not eliminated, during sunny months. Over time, you'll learn to interpret your new bill, seeing the balance between the energy you produce and the energy you consume. If you're wondering how these changes impact your overall financial picture, exploring topics like Solar Payback Period in Michigan can provide helpful context.
Monitoring Performance and Troubleshooting
While solar systems are largely maintenance-free, actively monitoring your system's performance is a smart practice. As mentioned, most systems come with monitoring apps that show you how much electricity your panels are producing each day, week, and month. Regular checks of this data can help you quickly identify any dips in production that might signal an issue.
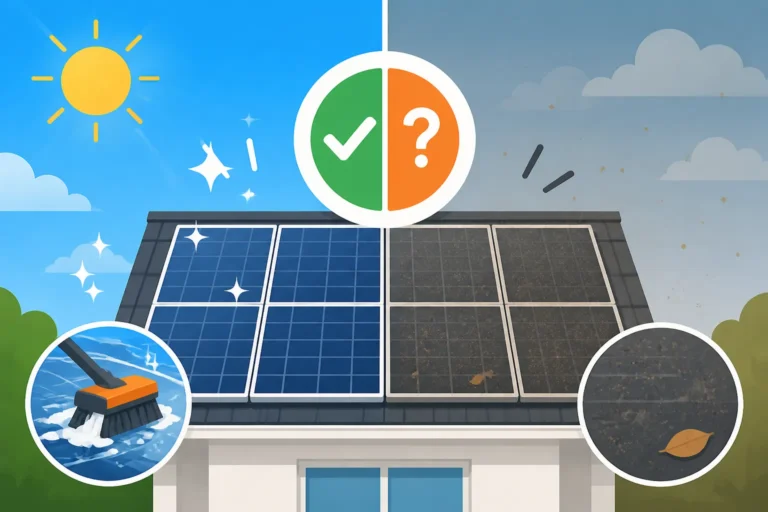
For instance, if you suddenly see a significant drop in output on a clear, sunny day, it could indicate a problem with an inverter, a dirty panel, or even a system component malfunction. While major troubleshooting and repairs should always be left to certified professionals, knowing when to call your installer is crucial. Your solar warranty will typically cover equipment failures and performance guarantees, so understanding its terms is important. Simple issues, like heavy pollen or dust accumulation, can sometimes be resolved with light cleaning, though many homeowners find that natural rainfall is sufficient to keep panels clean in Michigan's climate. For more comprehensive insights into upkeep, checking out articles on Solar Panel Maintenance & Cleaning can be very useful.
Maintenance and Warranties
Speaking of maintenance, the good news is that solar panels require very little. Most manufacturers design panels to withstand harsh weather conditions, including Michigan's snowy winters and hot summers. Occasional cleaning might be beneficial, especially after long dry spells or if bird droppings are an issue, but often rain does the trick. It's usually not recommended to climb on your roof yourself; if cleaning is needed, a professional service is best.
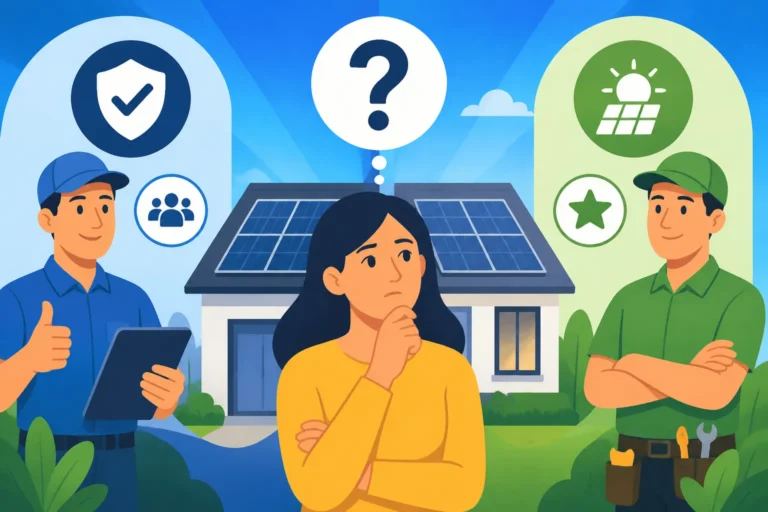
The real backbone of your long-term solar investment lies in its warranties. You'll typically have several: a product warranty (covering defects in the panels themselves, often 25 years), a performance warranty (guaranteeing a certain percentage of power output over time, also usually 25 years), and an installer workmanship warranty (covering the quality of the installation, typically 10 years or more). Understanding these warranties is essential. If a component fails or your system isn't performing as promised, these warranties are your protection. Choosing a reputable installer that provides strong warranties and has a solid track record, perhaps by checking references or reviews through services like Modernize, is a critical part of ensuring your system's longevity and your peace of mind.
Disclaimer
Please note that this guide provides general information about the solar installation process. Specific timelines, permitting requirements, utility interconnection rules, and available incentives can vary significantly based on your exact location within Michigan, your chosen installer, and prevailing regulations. Always consult with qualified local solar professionals and your utility company for the most accurate and up-to-date information for your specific project.