Solar Installation Process in California
Embarking on the journey to power your home with solar in California can feel like navigating a complex maze, especially with all the rules and regulations specific to the Golden State. It's easy to get overwhelmed by the sheer amount of information, from understanding permits to deciphering utility policies. This guide is here to demystify the entire solar installation process in California, breaking it down into manageable steps so you know exactly what to expect from start to finish.
Initial Steps: Getting Started with Solar in the Golden State
The dream of going solar often begins with a spark of interest – maybe it’s a desire to lower those ever-increasing electricity bills, a commitment to environmental sustainability, or simply wanting energy independence. But turning that dream into a reality involves several crucial preliminary steps that lay the groundwork for a successful installation in California. This isn't just about slapping some panels on your roof; it's about a well-thought-out plan tailored to your home and local regulations.
Researching and Getting Multiple Quotes
The very first thing you'll want to do is gather information and start talking to professionals. This isn't the time to jump on the first enticing offer that comes your way. California has a vibrant solar market, which means there's a wide range of installers, technologies, and pricing models out there. You’ll want to understand the different types of solar panels, inverter options (like microinverters versus string inverters), and how they might perform on your specific roof.
When you're ready to start getting quotes, consider reaching out to several solar companies. Many homeowners find it helpful to use services like Modernize, which can connect you with pre-screened, reputable solar installers in your area. This helps streamline the process of finding companies that serve your specific California city, whether you're in San Diego, Los Angeles, San Jose, or Sacramento. Getting multiple quotes allows you to compare not just prices, but also equipment choices, warranty terms, and estimated production. Don't be shy about asking questions and making sure you understand every line item in the proposals. You might be surprised at how much variety there is, and how important it is to compare apples to apples when evaluating bids.
Site Assessment and System Design
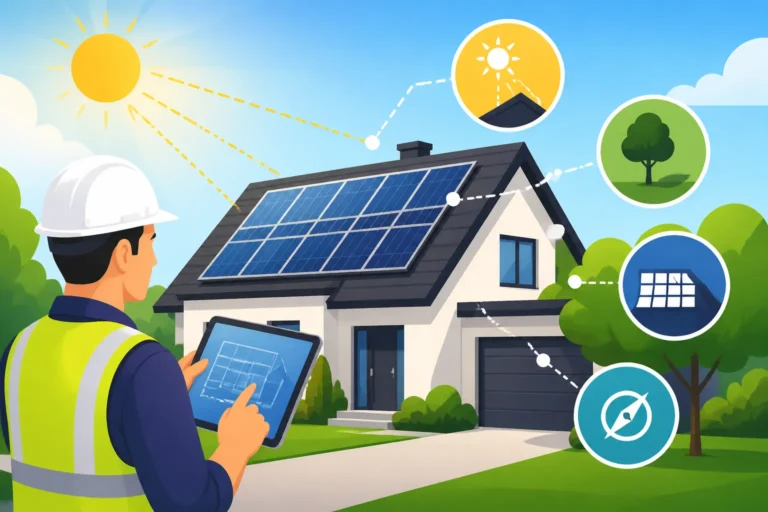
Once you've narrowed down your choices or decided on an installer, the next critical step is the site assessment. This isn't just a quick look at your roof; it's a detailed evaluation by the solar company's experts. They'll come to your property to examine everything from your roof's condition and angle to any potential shading from trees or neighboring buildings. They'll also check your electrical panel to ensure it can handle the new solar system and determine if any upgrades are needed. In a state like California, with its diverse climates and home styles, a thorough site assessment is paramount.
The information gathered during the site assessment is then used to design a custom solar system for your home. This design will take into account your energy usage patterns (they'll often ask for a year's worth of electricity bills), the available roof space, and the solar panels' efficiency. The goal is to design a system that maximizes energy production while fitting aesthetically and structurally on your home. This stage is where your system size (e.g., 6 kW, 8 kW, or 10 kW) is finalized, impacting your overall Solar Panel Cost by System Size kW and potential savings. A well-designed system ensures you get the most out of your investment, especially given California's unique solar landscape.
The Paperwork Jungle: Permitting and Interconnection in California
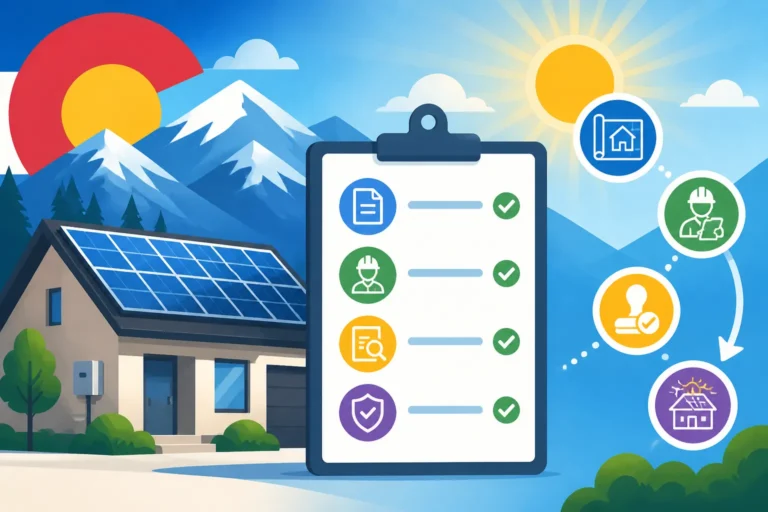
Ah, the paperwork! This is often where homeowners feel the most frustration, and for good reason. The process of getting your solar system approved in California involves navigating both local municipal permits and utility company interconnection agreements. It's a complex, multi-layered dance, but understanding the steps can alleviate a lot of stress.
Navigating Local Building Permits
Before a single solar panel can be installed, your solar project needs a green light from your local city or county building department. This involves submitting detailed architectural and electrical plans that show how the solar system will be integrated into your home. The permit application process can vary significantly depending on where you live in California. For example, the requirements in the City of San Francisco might be different from those in a smaller town in the Central Valley.
Your solar installer typically handles this entire process for you. They'll prepare all the necessary drawings, engineering calculations, and forms, then submit them to the relevant authorities. The building department reviews these plans to ensure they comply with local building codes, structural requirements, and electrical safety standards. This can involve checks for roof integrity, fire safety access (especially important in California's wildfire-prone areas), and proper wiring. The time it takes to secure these permits can range from a few weeks to several months, depending on the efficiency of your local permitting office and the complexity of your design. Delays here are not uncommon, so patience is definitely a virtue.
Utility Interconnection and NEM 3.0 Considerations
Parallel to the local permitting process, your solar installer will also initiate the interconnection application with your utility company. This is the formal request to connect your new solar system to the electrical grid. In California, the three main investor-owned utilities are Pacific Gas and Electric (PG&E), Southern California Edison (SCE), and San Diego Gas & Electric (SDG&E), each with their own specific forms and review procedures. Understanding Solar Permitting & Interconnection PTO Explained is crucial here.
The biggest game-changer in California recently has been the transition to What Is NEM 3.0 California Net Billing?. This new net metering policy significantly alters how solar homeowners are compensated for the excess electricity their panels send back to the grid. Unlike previous policies like NEM 2.0, NEM 3.0 offers a lower export credit rate for that surplus energy, making solar batteries much more financially attractive. This means your interconnection application will also specify how your system interacts with NEM 3.0. Your installer will guide you through this, but it's important for you, as the homeowner, to understand the implications for your savings and how your utility bills will look post-solar. This shift is a prime example of why getting up-to-date information on California Net Metering Rules in 2026 is so vital before committing to solar.
Installation Day and Beyond: Bringing Your Solar to Life
After the initial planning and the sometimes-tedious paperwork phase, the most exciting part begins: the physical installation of your solar panels! This is when you truly start to see your solar dream take shape. But the journey doesn't end when the last panel is bolted down; there are a few more critical steps before your system is fully operational.
The Physical Installation Process
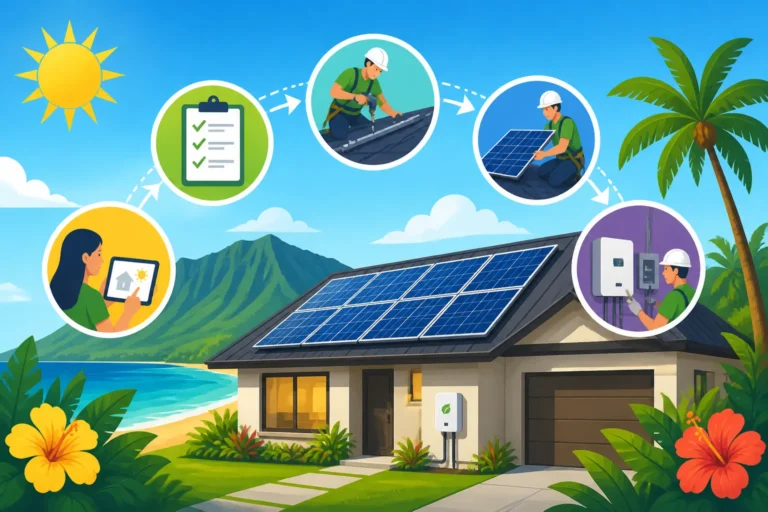
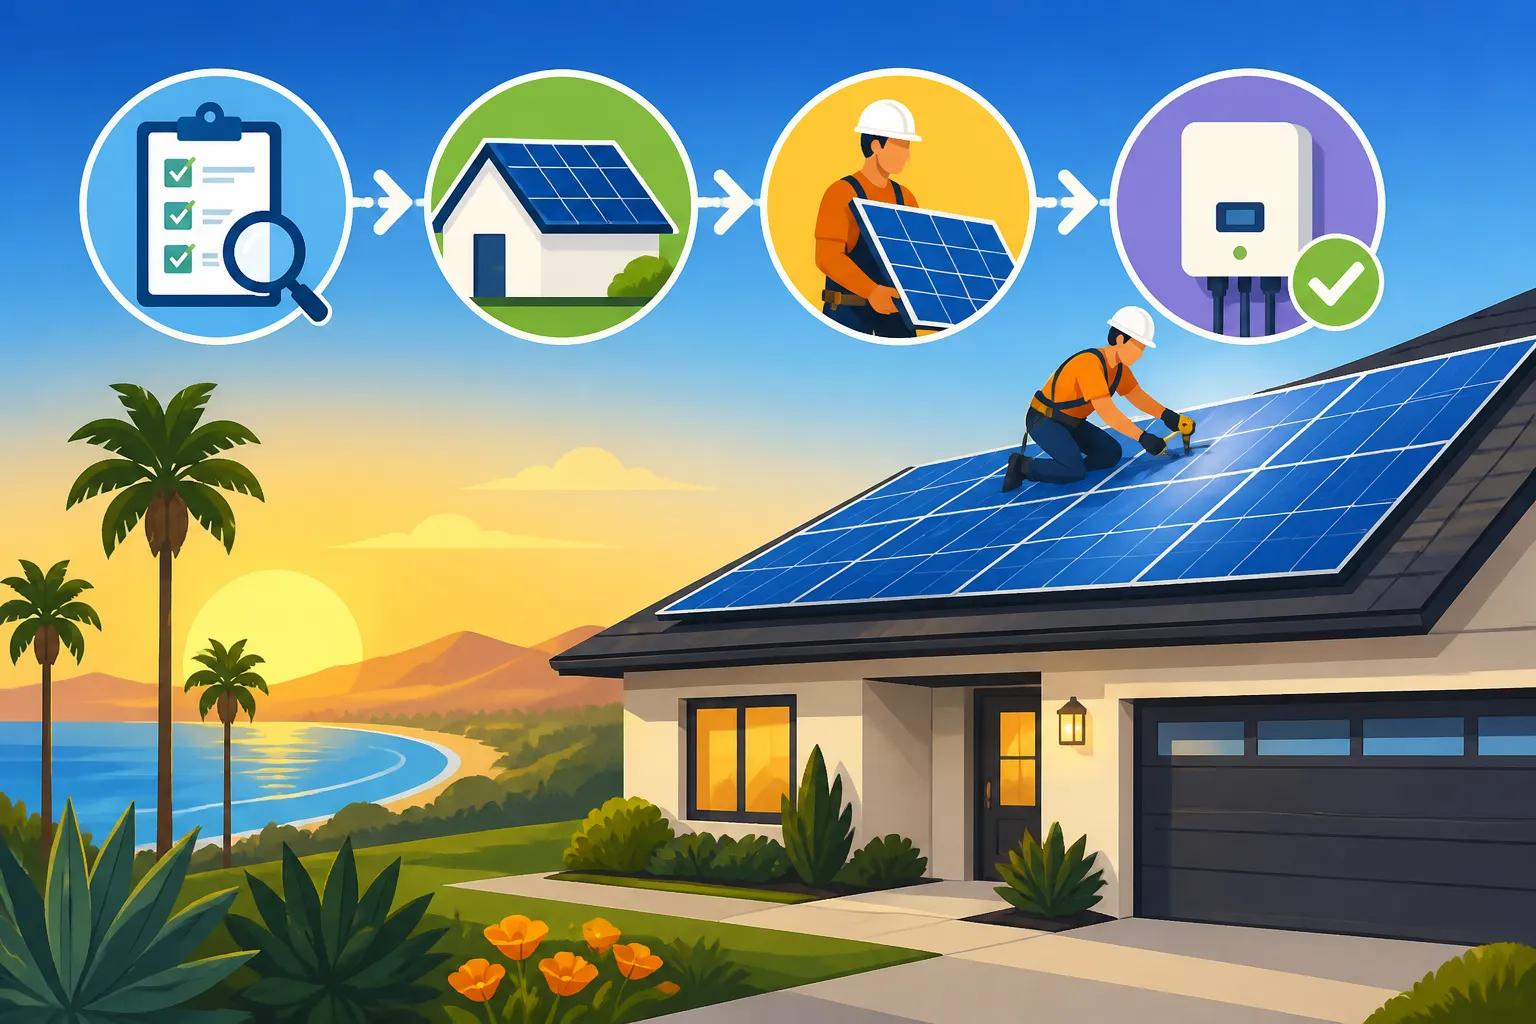
Once all permits and approvals are in hand, your solar installer will schedule the installation. For a typical residential system, the actual physical installation usually takes between one to three days, though this can vary based on system size and roof complexity. The process generally involves several key steps:
- Mounting System Installation: First, the crew will install the racking system onto your roof. This involves attaching rails directly to your roof's rafters, often requiring the drilling of small holes which are then sealed to prevent leaks. Rest assured, reputable installers are experts at this and take great care to protect your roof's integrity. If you're wondering about your roof's suitability, check out Can My Roof Hold Solar Panels?.
- Panel Placement: Next, the solar panels themselves are carefully lifted onto the roof and secured to the racking system. This is where you really start to see your home transform!
- Electrical Wiring: Electricians will then connect the panels to an inverter (or microinverters located under each panel), which converts the DC electricity generated by the panels into usable AC electricity for your home. This wiring runs down from your roof to your main electrical panel.
- Battery Installation (if applicable): If you've opted for a solar battery storage system – which, as we discussed, is becoming increasingly common and beneficial under California's NEM 3.0 – the battery unit will be installed, typically in your garage or on an exterior wall, and connected to your electrical system. This enhances your Solar Plus Battery Cost and energy independence.
Your chosen installer, like those you might find through Modernize, will coordinate all the necessary crew members, from roofers to electricians, to ensure a smooth and efficient installation.
Final Inspections and Permission to Operate
After the physical installation is complete, there are still a couple of hurdles to clear before you can flip the switch and start generating your own power.
- City/County Inspection: The local building department, the same entity that issued your initial permit, will send an inspector to your property. Their job is to ensure that the installed solar system strictly adheres to the approved plans and meets all local building, electrical, and safety codes. They'll check the structural integrity, wiring, grounding, and overall workmanship. If everything looks good, they'll sign off on the installation.
- Utility Interconnection and PTO: The final step, and arguably the most anticipated by homeowners, is receiving Permission to Operate (PTO) from your utility company. Once the city inspection is passed, your installer will notify the utility. The utility then performs its own final check, usually remotely, to confirm that your system is safely connected to their grid and that your new net meter (which measures both electricity flowing into and out of your home) is properly installed and communicating.
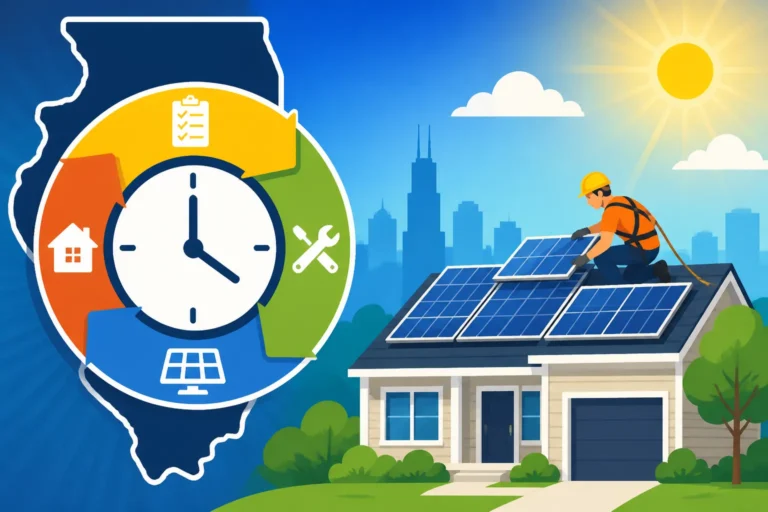
Only after you receive the official PTO letter or email from your utility can you legally turn on your solar system. Flipping it on before PTO can lead to penalties or delays. While the average Solar Installation Timeline What to Expect can range from 2-4 months, these final inspection and PTO steps often account for a significant portion of that time.
Post-Installation: What to Expect from Your California Solar System
Congratulations! You've navigated the entire process, and your solar panels are now actively harnessing the abundant California sunshine to power your home. But what happens after the big switch is flipped? Understanding the ongoing aspects of owning a solar system is just as important as knowing the installation steps.
Monitoring Your System's Performance
One of the best parts of modern solar systems is the ability to monitor their performance in real-time. Most solar installations come with an online monitoring portal or a mobile app, often provided by the inverter manufacturer (like Enphase or SolarEdge) or the installer. This tool allows you to:
- Track Daily Production: See exactly how much electricity your panels are generating hour by hour, day by day.
- Monitor Energy Consumption: If you have consumption monitoring installed, you can also see how much electricity your home is using, helping you understand your energy habits.
- Identify Issues: The monitoring system will alert you if there are any performance anomalies or if a panel isn't producing as expected, allowing for prompt troubleshooting.
- Track Savings: Over time, you can often see estimates of your cumulative energy savings and environmental impact.
In a state like California, where electricity rates can be high and net metering policies are evolving, closely monitoring your system ensures you're maximizing your self-consumption and understanding your bill credits under NEM 3.0. This proactive approach helps you confirm your Solar ROI & 25-Year Savings Breakdown.
Maintenance, Warranties, and Ongoing Support
While solar panel systems are generally low-maintenance, they're not entirely hands-off. Here's what to keep in mind:
- Cleaning: California can get dusty, especially in areas prone to wildfires or strong winds. Over time, a layer of dust, pollen, or even bird droppings can accumulate on your panels, reducing their efficiency. While rain often provides a natural rinse, occasional cleaning might be beneficial, particularly during long dry spells. Your installer or a local service company can advise on professional cleaning, or you can often do it yourself with a hose and soft brush from the ground if safe to do so.
- Inspections: It's a good idea to have your system periodically inspected, perhaps every few years, to check for any loose wiring, rodent damage, or wear and tear on components.
- Warranties: Your solar system will come with several warranties:
- Product Warranty: Covers the solar panels themselves against manufacturing defects, typically for 10-25 years.
- Performance Warranty: Guarantees that the panels will produce a certain percentage of their rated power output over time (e.g., 80% after 25 years), accounting for natural degradation.
- Inverter Warranty: Covers the inverter(s), usually for 10-25 years depending on the type.
- Workmanship Warranty: Provided by your installer, covering the installation quality and labor, typically for 5-10 years or more. This is why choosing a reputable installer through platforms like Modernize is so important.
Should you encounter any issues, your installer is your first point of contact for troubleshooting and warranty claims. They provide the ongoing support to ensure your system continues to perform optimally for decades to come, helping you realize the long-term benefits and confirm Is Solar Worth It in California in 2026?.
| Installation Stage | Typical Duration (California) | Key Activities | Responsible Party (Primary) |
|---|---|---|---|
| Initial Consultation | 1-2 Weeks | Research, gather quotes, energy usage analysis, preliminary design | Homeowner/Installer |
| Site Assessment | 1 Day | On-site evaluation of roof, electrical, shading; detailed system design | Installer |
| Permitting & Design | 4-12 Weeks (variable) | Engineering plans, submission to local building department, utility interconnection application | Installer |
| Equipment Procurement | 2-4 Weeks | Ordering and delivery of panels, inverters, racking, battery (if applicable) | Installer |
| Physical Installation | 1-3 Days | Mounting racking, installing panels, electrical wiring, inverter installation, battery installation | Installer |
| Inspections | 1-3 Weeks | City/county building inspection, utility review | Local Authority/Utility |
| Permission to Operate | 1-2 Weeks | Final approval from utility to energize system | Utility |
| Total Project Time | 2-6 Months (average) | From initial contact to system activation (highly dependent on local permitting and utility processing times) | Homeowner/Installer/Utility |
It's worth noting that these timelines are averages, and specific projects can fall outside these ranges due to various factors like local authority backlogs, specific utility requirements, or unexpected design challenges. However, working with an experienced California solar installer will help keep the process as smooth and efficient as possible.
Disclaimer
The information provided in this guide is for general informational purposes only and does not constitute professional advice. Solar policies, incentives, and regulations, especially in California, are subject to change. Always consult with qualified solar professionals, tax advisors, and your local utility provider for advice tailored to your specific situation.