What Are the Steps to Going Solar?
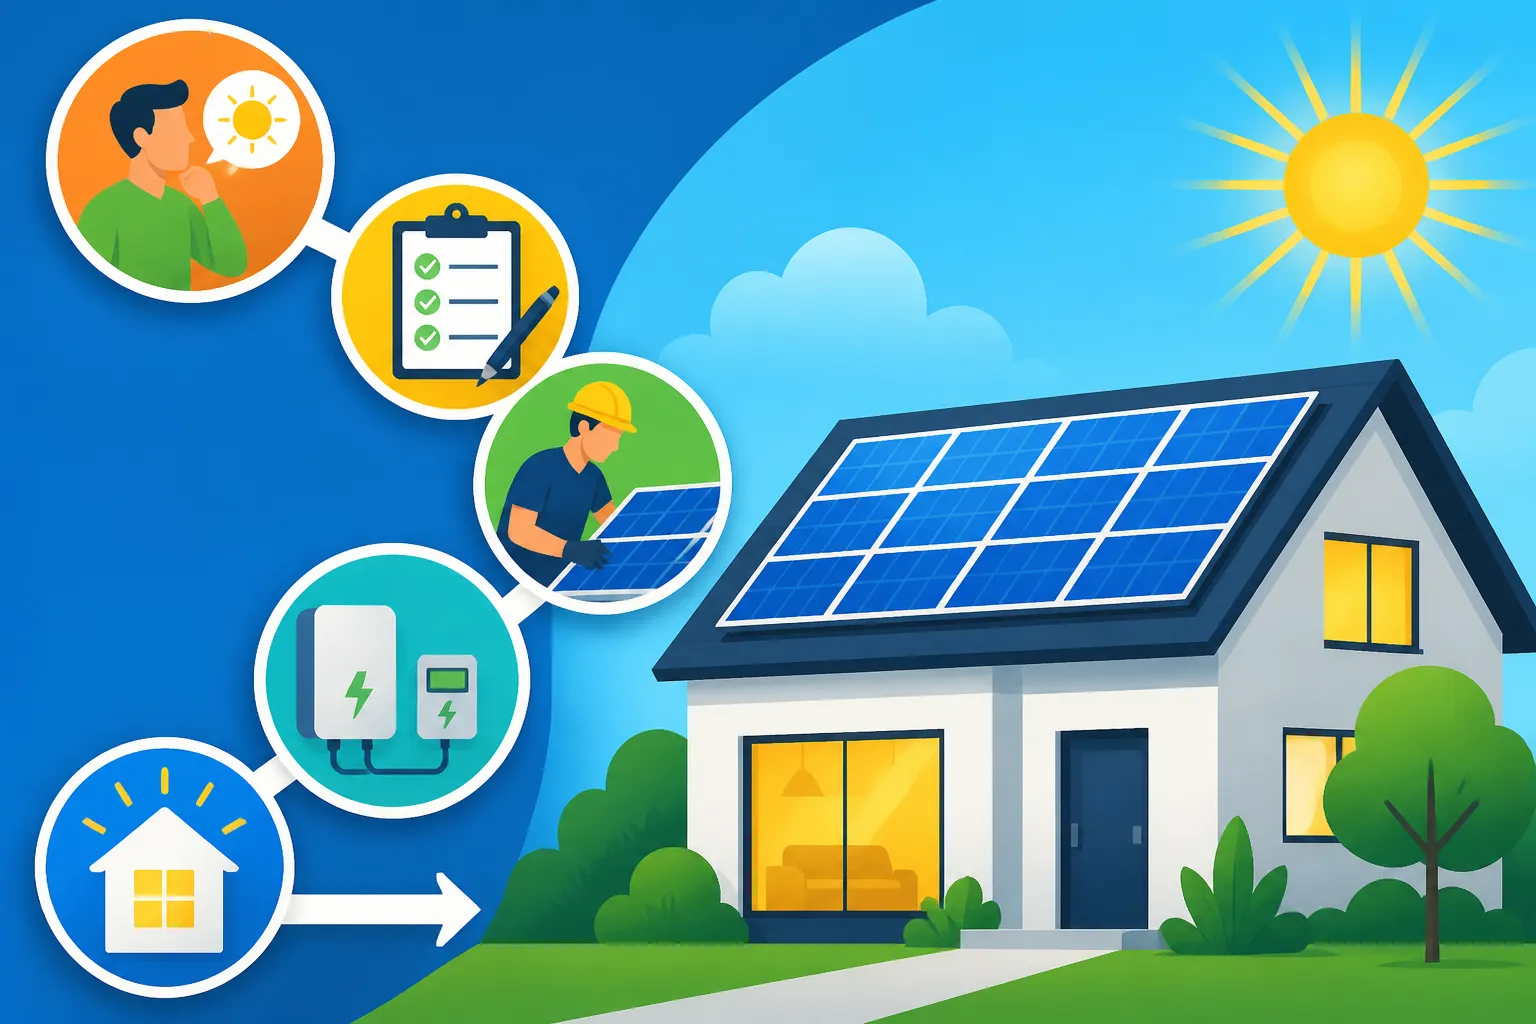
Thinking about going solar can feel like a monumental undertaking, a complex maze of decisions from understanding your electricity bill to figuring out if your roof is even suitable. It's completely normal to feel overwhelmed by the sheer number of steps involved. This comprehensive guide will demystify the entire process, breaking down exactly what happens from your first thought about solar to the exciting moment your system goes live, helping you navigate each stage with confidence.
Initial Exploration and Feasibility Assessment
Before you even start thinking about panel types or inverter brands, the first crucial step is to understand your own home's suitability and your energy needs. This foundational stage is all about gathering information and getting a realistic picture of what solar could mean for you. It helps temper expectations and ensures you're making an informed decision, not just jumping on a trend.
Understanding Your Energy Consumption
The very first thing you need to know is how much electricity you actually use. Grab your past 12 months of electricity bills. Don't just look at the total cost; dig into the kilowatt-hour (kWh) usage. You'll likely see seasonal fluctuations – higher usage in summer for AC, or winter for heating, depending on your climate and heating source. This historical data is vital because it directly dictates the size of the solar system you'll need. A system that's too small won't offset enough of your bill, while one that's too large might not be economical, especially in states with less favorable net metering policies.
For example, if you live in Phoenix, Arizona, you might see massive spikes in summer due to air conditioning. Knowing this, a solar designer can propose a system that adequately covers those peak months. Without this data, you're essentially guessing, which can lead to disappointment later. Many solar installers will ask for these bills as part of their initial assessment, so having them ready streamlines the process significantly.
Evaluating Your Home's Solar Potential
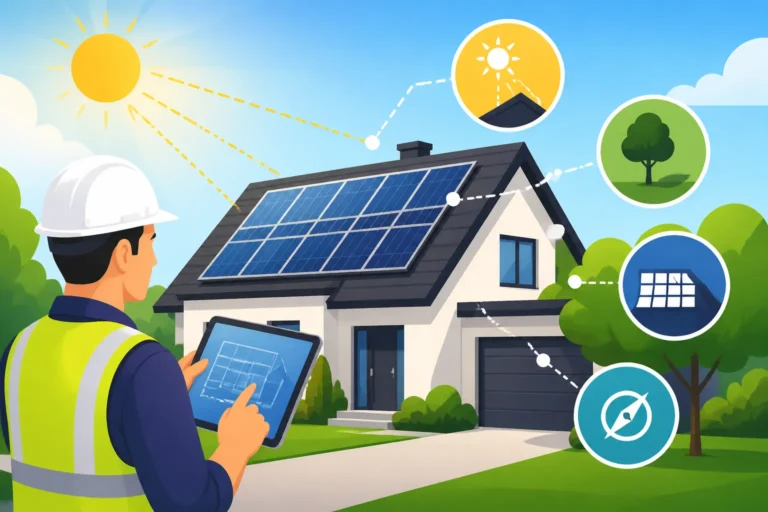
Next up, it’s time to look at your roof – literally and figuratively. Not all roofs are created equal when it comes to solar. You'll want to consider several factors: the direction your roof faces, its angle or pitch, and any shading from trees or nearby buildings. A south-facing roof is generally ideal in the Northern Hemisphere for maximum sun exposure, but east and west-facing roofs can also be highly productive, especially with modern panel technology and system design.
The condition and age of your roof are also paramount. Solar panels are a long-term investment, typically lasting 25-30 years. If your roof is nearing the end of its lifespan, it almost always makes sense to replace it before installing solar panels. This avoids the costly and complicated process of removing and reinstalling panels just a few years down the line. A qualified solar professional will conduct a site survey to assess these factors, sometimes using drone technology and satellite imagery to get precise measurements and shading analysis, helping you determine if your roof can hold solar panels.
Researching Incentives and Financing
One of the biggest factors that makes solar panels more accessible is the range of financial incentives available. While the federal solar tax credit remains a significant driver for many homeowners, understanding local and state programs can truly sweeten the deal. You’ll want to research State Solar Incentives: Complete 2026 Guide as well as local utility rebates. These can vary wildly from state to state and even city to city.
For example, California has gone through significant changes with NEM 3.0, impacting how much homeowners save on their electricity bills by exporting excess power. Meanwhile, states like New York and Massachusetts offer robust state-specific programs. Beyond incentives, consider how you’ll pay for your system. Options include cash purchase, solar loans, or third-party ownership models like solar leases or Power Purchase Agreements (PPAs). Each has its own set of pros and cons regarding upfront cost, long-term savings, and system ownership.
Getting Quotes and Choosing an Installer
Once you have a clearer picture of your energy needs and home’s solar potential, it’s time to dive into the market. This stage requires a bit of diligence and critical thinking, as the quality of your installation and your long-term satisfaction heavily depend on choosing the right partner.
Obtaining Multiple Solar Quotes
This is perhaps one of the most important steps: don't settle for the first quote you get. Just like any major home improvement project, comparing proposals from several different solar companies is essential. Each company might offer slightly different equipment, financing options, or warranty packages. By gathering multiple quotes, you get a broader understanding of market pricing and can identify who offers the best value for your specific needs. It also gives you leverage in negotiations.
Using platforms like Modernize can significantly streamline this process. They connect you with pre-vetted local installers, allowing you to quickly receive and compare multiple bids without having to individually seek out and contact each company. This is a huge time-saver and helps ensure you’re considering a diverse set of reputable options for your project. Remember to ask for a detailed breakdown of costs, including equipment, labor, permitting fees, and estimated savings.
Vetting Solar Installers and Understanding Contracts
Choosing an installer isn't just about the price; it's about trust and reliability. You're entering a long-term relationship with this company, particularly concerning warranties and potential future maintenance. Always check an installer's credentials, reviews, and how long they've been in business. Look for certifications like those from the North American Board of Certified Energy Practitioners (NABCEP). Ask about their experience with systems similar to yours and their local reputation.
When it comes to contracts, read every line carefully. Don't be afraid to ask questions about anything you don't understand. Pay close attention to system size, estimated production, equipment brands (panels, inverters, batteries), warranties (product, performance, and workmanship), and the installation timeline. Some contracts might include clauses about tree removal, roof repairs, or other unexpected costs, so it’s crucial to know exactly what’s covered and what isn’t. Understanding Solar Panel Warranties Explained can help you discern a good offer from a less favorable one.
Design, Permitting, and Installation
After signing on the dotted line, the tangible work begins. This phase involves a detailed engineering process, navigating local bureaucracy, and finally, the exciting day your panels are physically installed.
Site Survey and System Design
Once you’ve chosen your installer, they’ll conduct a thorough site survey. This often involves a physical visit to your home to take precise measurements of your roof, assess its structural integrity, identify any potential shading issues in real-time, and confirm electrical panel capacity. They might use specialized tools or even drones for this. This detailed information is then used by engineers to create a customized solar system design tailored specifically to your home’s energy needs and unique characteristics.
The design phase considers factors like panel placement to maximize sunlight capture, the optimal inverter solution (e.g., microinverters versus a string inverter setup), and where the electrical conduits will run. This plan will typically show you exactly how many panels will be installed, their layout, and the expected energy production. This is usually presented to you for final approval before moving forward, ensuring you're happy with the aesthetic and technical aspects.
Navigating Permits and Approvals
This is often cited as the slowest part of the entire solar process, and for good reason! Before any physical installation can begin, your solar system design needs to be approved by your local municipality (city or county) and, in many cases, your Homeowners Association (HOA). This involves submitting detailed plans, engineering schematics, and other paperwork for review. The permitting process ensures that your solar installation complies with all local building codes, electrical codes, and safety regulations.
The timeline for permit approval can vary widely, from a few weeks in some jurisdictions to several months in others, depending on the efficiency of local departments. Your solar installer, especially a well-established company like Modernize, will typically handle all the permit applications on your behalf, leveraging their experience to navigate the specific requirements of your area. They understand the nuances of the local permitting process and can help ensure all necessary documentation is submitted correctly and efficiently, minimizing potential delays. You might also want to look into Solar Permit & Interconnection (PTO) Explained for a deeper dive.
The Installation Day
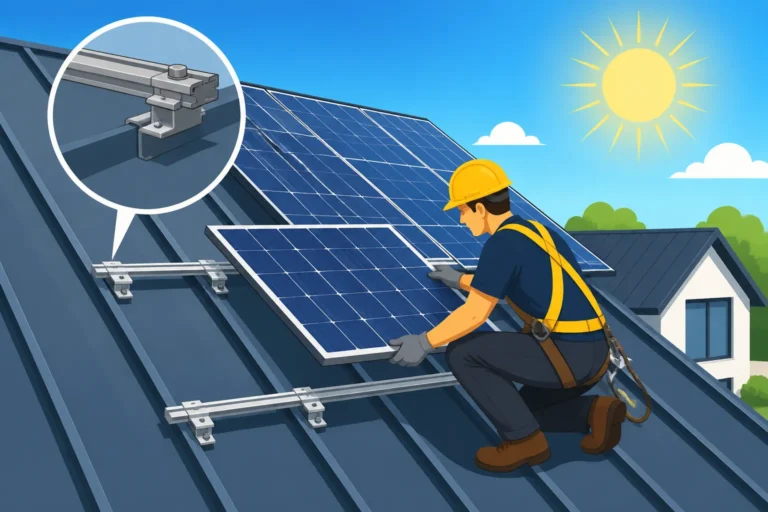
With all approvals in hand, it’s finally time for installation! This is usually the quickest part of the entire journey, often taking just one to three days, depending on the size and complexity of your system. A crew of certified solar technicians will arrive at your home to mount the racking system onto your roof, meticulously install each solar panel, and then connect them to the inverters and your home's electrical system.
The work also includes running necessary wiring and installing any additional components like optimizers or batteries, if applicable. While the crew works, you might experience temporary power interruptions as they connect the new solar system to your main electrical panel. Reputable installers prioritize safety and cleanliness, ensuring the job site is secure and tidy throughout the process. It’s an exciting time, as you start to see your dream of clean energy come to life on your rooftop!
Final Steps: Inspection, Interconnection, and Activation
You're almost there! Once the physical installation is complete, a few critical steps remain to ensure your system is safe, compliant, and ready to generate electricity.
The Inspection Process
After the installation crew finishes their work, your local jurisdiction will conduct a final inspection. This inspection is to verify that the solar system was installed according to the approved plans and meets all local building and electrical codes. An inspector will check the wiring, mounting, safety mechanisms, and overall adherence to regulations. This step is crucial for ensuring the safety and proper functioning of your system.
It's not uncommon for minor adjustments or corrections to be requested during this inspection. Your solar installer will typically handle any follow-up work required to pass the inspection. Think of this as the final quality control check before your system gets the official green light. Passing this inspection is a major milestone, as it's a prerequisite for the next, equally important step.
Utility Interconnection and Permission to Operate (PTO)
Once your system passes the municipal inspection, your solar installer will submit the necessary paperwork to your utility company to request interconnection. Interconnection is the process of officially connecting your solar panel system to the local electricity grid. This is also where agreements like net metering come into play, allowing you to send excess electricity back to the grid and receive credits.
The utility company will then typically perform its own inspection or review of the documentation to ensure the system meets their specific standards and safety requirements. Once they are satisfied, they will issue what’s called "Permission to Operate" (PTO). This is the golden ticket! Without PTO, your system cannot legally be turned on and connected to the grid. It’s important to understand that you should never activate your solar system before receiving PTO, as it could pose safety risks and violate utility regulations. The timeline for PTO can vary, sometimes taking a few weeks, depending on the utility company's processing times. You can learn more about What Is Permission to Operate (PTO)? in our detailed guide.
System Activation and Monitoring
The moment you've been waiting for! Once you receive PTO from your utility company, your solar installer will often be on hand to flip the switch and officially activate your system. This is when your solar panels start generating electricity and sending power to your home and, if you're producing more than you consume, back to the grid. Many homeowners find this to be an incredibly satisfying moment, realizing their investment has finally come online.
Most modern solar systems come with a monitoring system, often accessible through a smartphone app or a web portal. This allows you to track your system's performance in real-time, see how much electricity you're generating, and often monitor your home's consumption. This visibility helps you understand your savings and identify any potential issues early on. Now, you can sit back, relax, and enjoy watching your meter spin backward (or at least slow down considerably!) as you harness the power of the sun.
Solar Installation Process Checklist
| Step | Description | Estimated Timeframe |
|---|---|---|
| 1. Initial Consultation | Discuss energy needs, get preliminary cost estimates. | 1-2 hours |
| 2. Site Survey | Detailed assessment of roof, electrical system, shading. | 1-3 weeks (after initial consultation) |
| 3. System Design | Engineering team designs custom solar array. | 1-2 weeks |
| 4. Contract & Financing | Review proposals, sign agreements, secure financing. | 1-3 weeks |
| 5. Permitting & Approvals | Installer submits plans to city/county/HOA for approval. | 2-12 weeks (varies significantly) |
| 6. Equipment Ordering | Panels, inverters, racking, and other components ordered. | 1-4 weeks (often concurrent with permitting) |
| 7. Installation | Physical mounting of panels, wiring, electrical connections. | 1-3 days |
| 8. Local Inspections | City/county inspector verifies code compliance. | 1-2 weeks (after installation) |
| 9. Utility Interconnection (PTO) | Installer notifies utility, utility grants Permission to Operate. | 2-8 weeks (after local inspection) |
| 10. System Activation & Monitoring | System turned on, monitoring portal activated. | Immediate (after PTO) |
Disclaimer
Please note that the information provided in this guide is for general informational purposes only and does not constitute professional advice. Solar policies, incentives, costs, and installation processes can vary significantly based on your specific location, utility company, and local regulations. Always consult with qualified solar professionals and financial advisors for personalized recommendations tailored to your individual circumstances.