How to Install Solar Panels on a Standing Seam Metal Roof
If you're a homeowner with a beautiful, durable standing seam metal roof, you might have dreamt of going solar, only to feel overwhelmed by how to actually get those panels up there without damaging your prized roof. It's a valid concern, as these roofs require a specialized approach to maintain their integrity and weatherproofing. This guide is here to demystify the process, walking you through the unique benefits and precise installation methods for putting solar panels on a standing seam metal roof, ensuring a successful and long-lasting energy solution.
Understanding Standing Seam Metal Roofs for Solar
Standing seam metal roofs are a fantastic investment for any home, known for their longevity and resilience. When it comes to solar, they offer some unique advantages, but also demand a particular installation methodology that differs significantly from asphalt shingles or tile. Understanding these nuances is crucial before you even start looking at solar panels.
Advantages of Standing Seam for Solar
One of the biggest reasons standing seam metal roofs are so well-suited for solar is their incredible durability. These roofs can last 50 to 70 years, often outliving several generations of asphalt shingle roofs. This long lifespan is perfectly aligned with the 25-30 year lifespan of most modern solar panel systems. You won't find yourself in the frustrating position of needing a new roof only a decade into your solar investment, which is a common concern for homes with traditional roofing materials. The robust nature of metal also means it can easily bear the weight of solar panels without stress.
Beyond durability, the design itself offers benefits. The "standing seams" create natural pathways for water to drain, which means snow and ice tend to shed more easily compared to flat surfaces. This can be a huge plus for solar production in colder climates. Furthermore, the smooth, hard surface generally means less debris accumulation, reducing the need for frequent Solar Panel Maintenance & Cleaning. The inherent strength also allows for a non-penetrating mounting method, which is the golden standard for solar on these roofs, preserving the roof's warranty and preventing potential leaks.
Key Considerations Before Installation
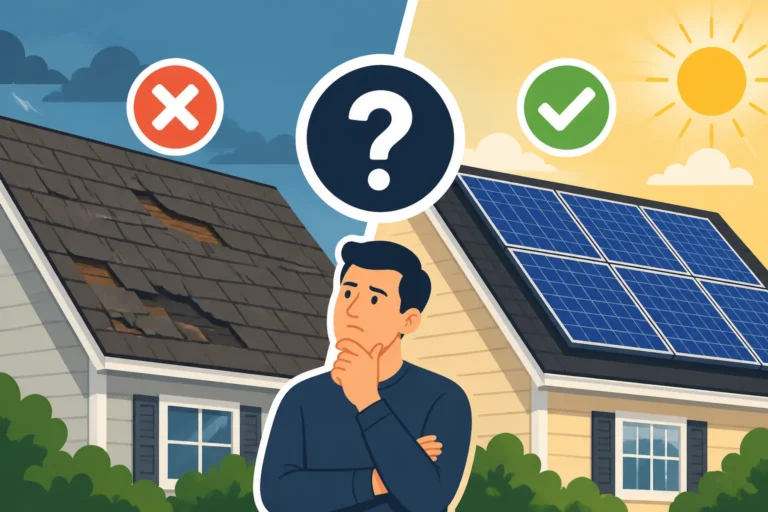
Before embarking on your solar journey with a standing seam roof, there are a few important details to iron out. First, ensure your roof's condition is truly top-notch. While standing seam roofs are incredibly durable, even they can suffer damage from extreme weather or improper installation. An initial inspection by a qualified roofing professional or solar installer specializing in metal roofs is always a wise first step. They can identify any existing issues that need addressing before solar panels are added. If you're wondering Do I Need a New Roof Before Solar?, the answer is usually no with a well-maintained standing seam roof, but it’s always worth checking.
Secondly, consider the orientation and pitch of your roof. While a south-facing roof is often ideal for maximum solar production, modern panels and inverter technologies can still perform exceptionally well on east or west-facing slopes. Shading from nearby trees or other structures is another factor to assess, as even partial shading can significantly impact output. Finally, it's essential to understand the local permitting and interconnection requirements. Each municipality and utility has its own set of rules, and navigating this process can be complex. Consulting with a reputable solar installer, perhaps found through platforms like Modernize, can help streamline this administrative hurdle. They often have experience with Solar Permitting & Interconnection (PTO) Explained in your specific area.
Specialized Mounting Systems for Standing Seam Roofs
This is where the magic happens for standing seam metal roofs – the mounting system. Unlike other roof types that require drilling directly into the rafters, standing seam roofs utilize a brilliant non-penetrating clamping method that preserves the roof's integrity.
The "No-Penetration" Principle
The fundamental principle behind installing solar on a standing seam metal roof is simple: no holes. Puncturing a metal roof, even with proper sealing, introduces potential points of failure, risking leaks and often voiding the manufacturer's warranty on the roof itself. Standing seam metal roofs are designed to expand and contract with temperature changes, and rigid penetrations can hinder this natural movement, leading to stress and damage over time. The "no-penetration" approach safeguards your roof's inherent durability and longevity, ensuring that your solar investment doesn't inadvertently compromise your primary home protection. This is a huge selling point and why many consider these roofs ideal for solar.
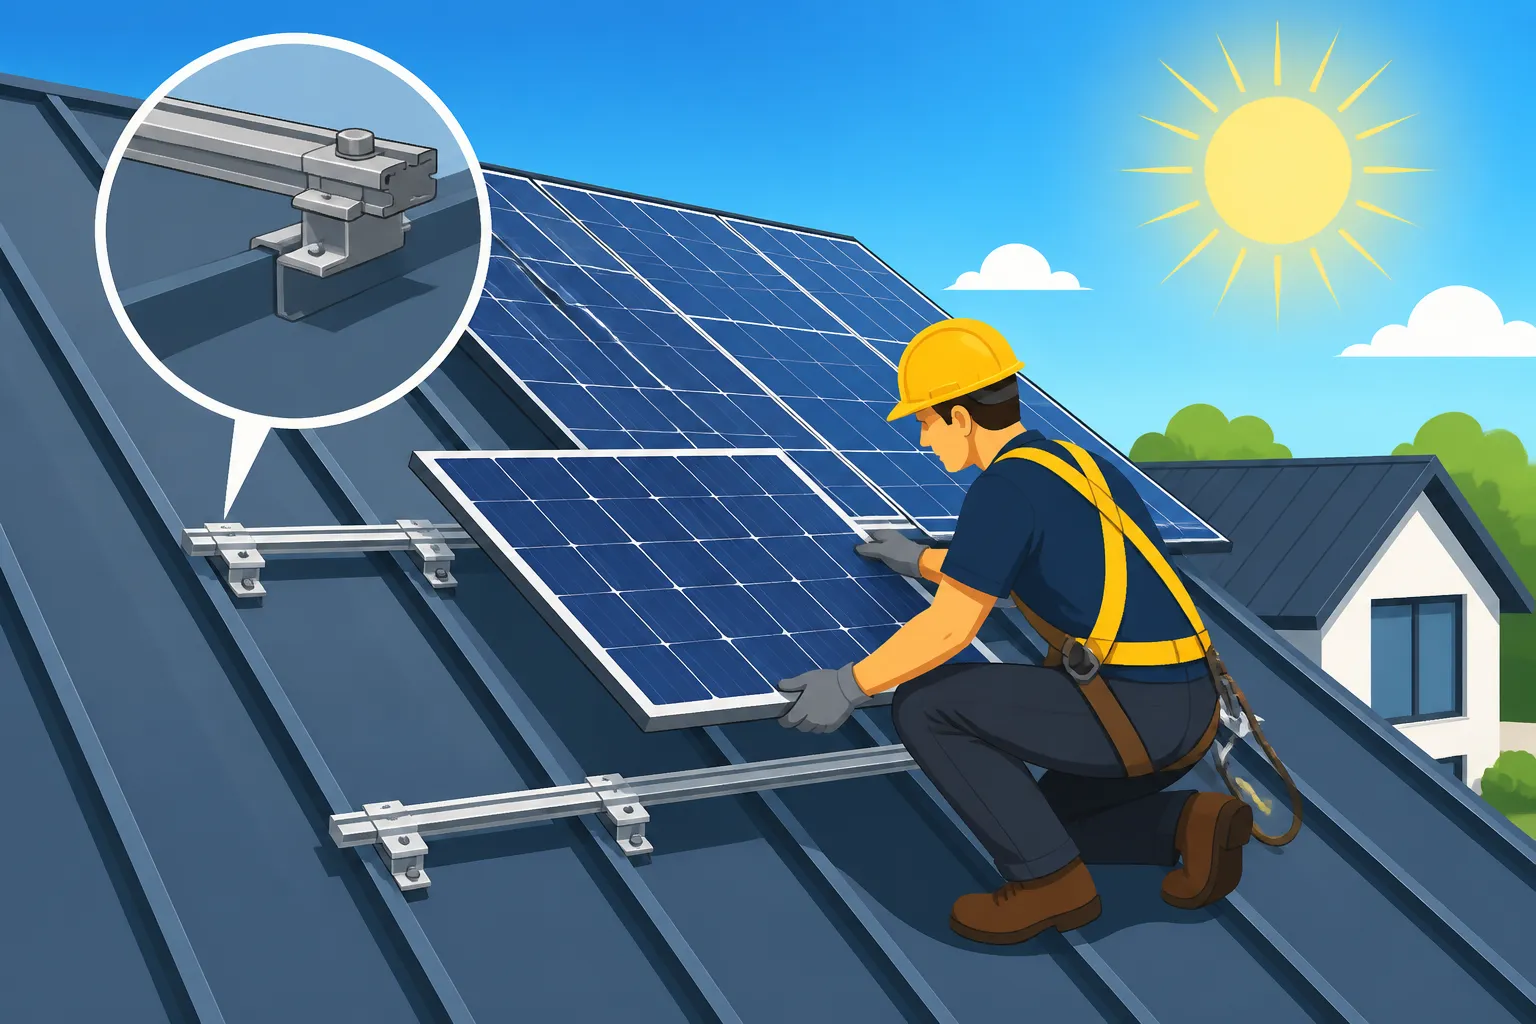
Instead of drilling, specialized clamps are used. These clamps grab onto the raised seams of the metal panels. This method ensures that the roof's waterproofing remains intact and its thermal movement is unimpeded. It's a smart, elegant solution that honors the unique construction of a standing seam roof, making solar integration seamless and secure.
Clamping Technology and Materials
The clamps are the heroes of a standing seam solar installation. They are specifically engineered to securely fasten to the vertical ribs or "seams" of the roof panels without any drilling, piercing, or damage. Leading manufacturers like S-5! have perfected this technology, offering a wide array of clamps designed to fit various seam profiles, from double-fold to bulb-shaped seams. These clamps typically consist of high-grade aluminum or stainless steel, materials chosen for their strength, corrosion resistance, and compatibility with the metal roof itself, preventing galvanic corrosion.
Each clamp is designed with a specific holding strength, rated to withstand significant uplift and lateral forces, ensuring your solar array stays put through high winds and heavy snow loads. The clamps also feature set screws that tighten directly onto the seam, creating a secure attachment point. It's not a one-size-fits-all solution; an experienced installer will carefully select the appropriate clamp profile for your specific roof system, ensuring a perfect, tight fit that won't scratch or mar the roof's surface. Understanding How Are Solar Panels Attached to a Roof? is particularly relevant here, as it's distinctly different from other roofing types.
Compatible Rail Systems
Once the clamps are securely fastened to the standing seams, the next step is to attach the rail system. These rails are the structural backbone that the solar panels themselves will rest upon. For standing seam roofs, the clamps often feature an integrated connection point (like a bolt or a channel) to which standard aluminum solar rails are then fastened. These rails run parallel to the roof's ridge or eaves, providing a level and stable platform for the solar panels.
There are various rail systems available, including those from companies like IronRidge and Unirac, which offer robust, lightweight aluminum rails that are compatible with S-5! clamps. Some newer systems even offer "rail-less" solutions where the clamps directly support the panels, reducing material and installation time. The choice of rail system often depends on the specific project's needs, including panel size, roof dimensions, and local wind/snow load requirements. Regardless of the specific system, the key is that it integrates seamlessly and securely with the non-penetrating clamps, ensuring the entire array is robust and reliable for decades to come.
Step-by-Step Installation Process
While the "no-penetration" method is genius, the actual installation of solar panels on a standing seam metal roof still requires careful planning, precision, and adherence to safety protocols. It's certainly not a DIY project for the faint of heart, given the unique challenges and specialized components involved.
Pre-Installation Planning and Design
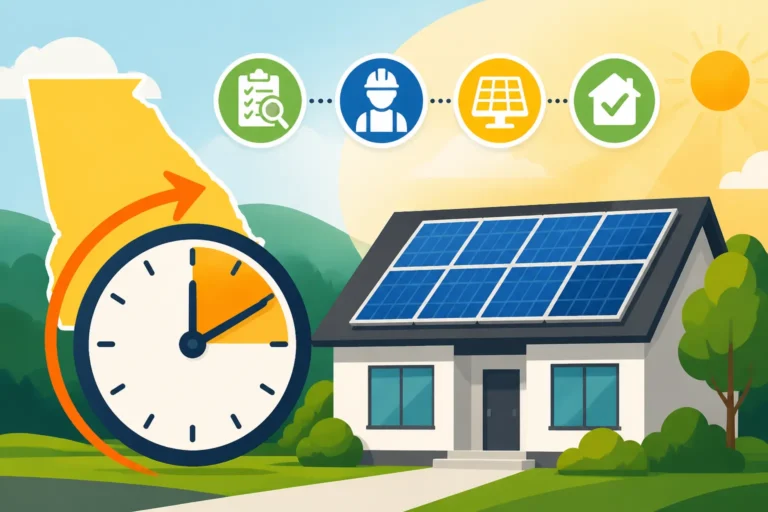
Before any physical work begins, the groundwork for your solar system is laid in the planning and design phase. This starts with a detailed site assessment, often including aerial imagery and on-site visits to measure the roof, analyze shading patterns, and evaluate the electrical infrastructure. The installer will also confirm your roof's specific standing seam profile to ensure they order the correct type of clamps. During this phase, they'll determine How Many Solar Panels Do I Need for My Home? based on your energy consumption and the roof's solar potential. This is also when crucial decisions are made about the system's size, inverter type (string inverters, microinverters, or power optimizers), and the layout of the panels to maximize energy production while adhering to building codes and aesthetic preferences.
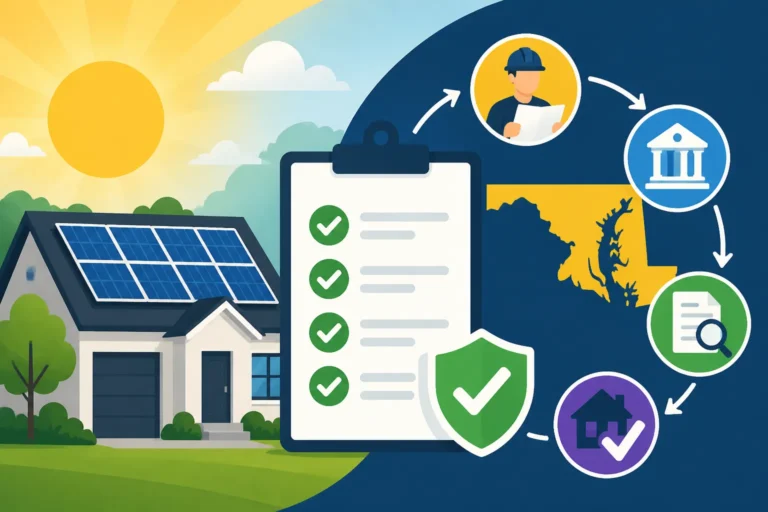
Permitting is a significant part of this stage. Your installer will handle the necessary applications with your local building department and utility company, which can often feel like a maze of paperwork and regulations. This can impact your overall Solar Installation Timeline: What to Expect. A thorough design ensures that the system is optimized for your specific home and location, laying the foundation for an efficient and long-lasting solar solution. A good installer, possibly one found through Modernize, will walk you through every detail, ensuring you understand the proposed system and its benefits.
Mounting System Installation
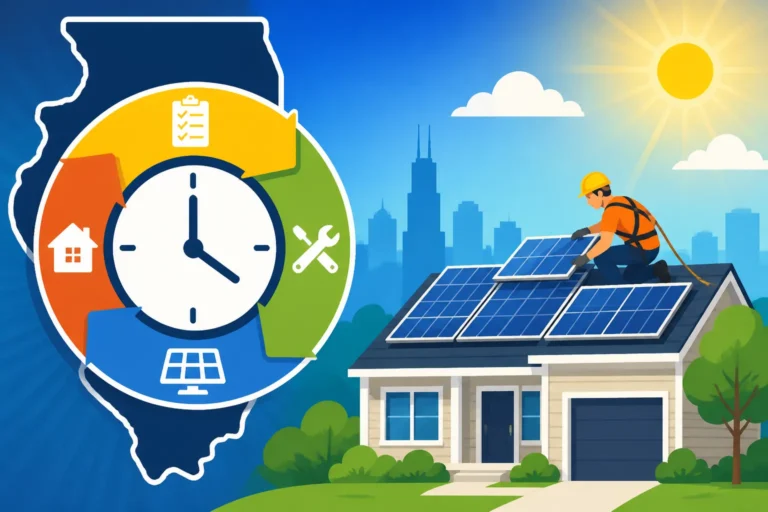
Once the design is finalized and permits are in hand, the physical installation begins. The first critical step is precisely measuring and marking the locations on the standing seams where the clamps will be attached. This requires meticulous attention to detail to ensure that the array is perfectly aligned and aesthetically pleasing. Each specialized clamp is then carefully positioned onto the standing seam and tightened to the manufacturer's specifications. This step is crucial; improper tightening can lead to a loose array or even damage to the seams.
After all the clamps are secured, the mounting rails are attached to the clamps. These rails are typically lightweight aluminum, designed to be strong enough to support the panels but also easy to work with on the roof. The rails are cut to length and fastened to the clamps, creating a robust, level grid across the roof surface. Depending on the system, ground wires are also often run along the rails and secured to ensure proper electrical grounding of the entire array, a critical safety measure. This entire process is performed without ever drilling into the metal roof itself, preserving its weather resistance and warranty.
Panel and Wiring Installation
With the mounting rails firmly in place, it's time to bring the solar panels up to the roof. Each panel is carefully lifted and secured onto the rail system using specialized module clamps. These clamps hold the panels firmly in place, often with a simple bolt-and-nut mechanism, ensuring they are flush and secure. During this stage, the electrical work truly begins. If using microinverters (like those from Enphase) or power optimizers (like SolarEdge), these are usually installed directly underneath each panel or in close proximity, optimizing the performance of individual panels and managing shading issues more effectively.
The panels are then wired together, typically in "strings" or individually, depending on the inverter technology. DC (direct current) wiring runs from the panels to a central inverter if using a string inverter system, or AC (alternating current) wiring runs from the microinverters to an AC combiner box. All wiring is carefully managed, secured, and routed to prevent damage from weather or roof movement. This cabling will run down to your electrical service panel, where it connects to the main utility grid, transforming the sun's energy into usable electricity for your home. Once everything is wired, initial tests are performed to ensure all connections are sound and the system is producing power as expected, leading to the final utility inspection and Permission to Operate (PTO).
Ensuring Durability and Warranty Protection
Investing in solar for your standing seam metal roof means you're looking for a long-term solution. Ensuring the durability of your system and understanding your warranties is paramount to protecting that investment for decades.
Maximizing Longevity of Your Solar System
The beauty of combining solar panels with a standing seam metal roof lies in their synergistic longevity. Both systems are designed to last for a very long time, but maximizing that lifespan requires a bit of foresight and ongoing care. Firstly, choosing high-quality components from reputable manufacturers is non-negotiable. Look for solar panels with excellent Solar Panel Warranties Explained that offer a 25-year performance warranty, ensuring they'll produce power efficiently for decades. Similarly, inverters should come with substantial warranties, as they are often the most common component to need replacement over a system's life.
Regular, albeit minimal, maintenance can also contribute significantly. While standing seam roofs naturally shed debris, occasional visual inspections from the ground can help identify any unusual accumulation or potential issues with the clamps or wiring. Keeping an eye on your system's performance data, typically accessible through a monitoring app, can quickly flag any dips in production that might indicate a problem. Lastly, ensuring your initial installation is done by certified professionals experienced with metal roofs is crucial. They understand the specific requirements for long-term durability, from proper clamp selection to secure wiring practices.
Manufacturer Warranties and What to Look For
When you invest in solar, you're not just buying equipment; you're buying peace of mind, largely backed by warranties. It's essential to understand the different types of warranties you'll receive. Primarily, there are three categories:
- Product Warranty (Solar Panels): This covers manufacturing defects and material failures of the solar panels themselves. Most reputable brands offer a 10-12 year product warranty, but some premium brands like Maxeon (SunPower) and REC Solar offer longer ones, sometimes up to 25 or 40 years.
- Performance Warranty (Solar Panels): This guarantees that your panels will produce a certain percentage of their rated power output over time. Typically, panels are guaranteed to produce at least 80-85% of their original output by year 25. This addresses How Long Do Solar Panels Last? from a performance perspective.
- Inverter Warranty: Inverters, whether string, microinverters, or optimizers, usually come with a separate warranty. Microinverters often have longer warranties (25 years from Enphase) than string inverters (10-12 years from SolarEdge), reflecting their different technologies and lifespans.
- Workmanship/Installation Warranty: This is provided by your solar installer and covers the quality of their labor and installation. It's incredibly important, especially for specialized roofs like standing seam. A strong workmanship warranty (typically 10-25 years) indicates confidence in their installation practices.
When reviewing quotes, don't just compare upfront costs. Dive deep into the warranties. A slightly higher initial investment in equipment with superior warranties can save you significant money and headaches down the road. Always choose an installer with a strong track record and robust warranty offerings, as recommended by resources like Modernize, to protect your investment for its full projected lifespan.
| Aspect | Traditional Roof Mount (e.g., Asphalt Shingle) | Standing Seam Metal Roof Mount |
|---|---|---|
| Mounting Method | Penetrates roof decking & rafters | Clamps onto standing seams (no penetration) |
| Primary Fasteners | Lag bolts, flashing, sealants | Specialized metal clamps (e.g., S-5!) |
| Roof Integrity Risk | Potential for leaks if seals fail | Minimal to no risk of leaks (no penetrations) |
| Roof Warranty Impact | Can sometimes affect roof warranty | Preserves roof warranty |
| Installation Complexity | Moderate | Moderate to High (requires specialized clamps & expertise) |
| Long-Term Durability | Dependent on roof material lifespan | Aligns with 50-70 year roof lifespan |
| Cost | Generally standard | Potentially slightly higher for specialized hardware |
Disclaimer
The information provided in this article is intended for general guidance and informational purposes only, and does not constitute professional advice. While we strive to offer accurate and up-to-date content, solar energy solutions and incentive programs are subject to change and vary significantly by location, property type, and individual circumstances. We recommend consulting with a qualified solar professional or licensed contractor for personalized advice and to ensure compliance with all local codes and regulations.