How to Install Solar Panels on a Flat Roof
Installing solar panels on a flat roof might seem straightforward at first glance – no tricky angles or awkward pitches to contend with, right? But if you’ve ever considered it, you quickly realize there are unique challenges, from making sure the roof can handle the extra weight to designing a system that performs well without creating new headaches. This guide will walk you through everything you need to know about navigating the specifics of solar panel installation on a flat roof, ensuring a successful and efficient setup.
Understanding the Unique Challenges of Flat Roof Solar Installation
Homeowners with flat roofs often look at their expansive, seemingly unused space and think, "Perfect for solar!" And they're right, it can be perfect. However, unlike sloped roofs, flat roofs come with their own distinct set of hurdles that need careful consideration during the planning and installation phases. It's not just about slapping panels up there; it's about smart engineering and understanding your roof's specific characteristics.
Drainage and Water Runoff Concerns
One of the biggest misconceptions about flat roofs is that they are, well, flat. In reality, most flat roofs have a slight pitch, typically around 1/4 inch per foot, designed to ensure proper water drainage. This subtle slope is crucial for preventing standing water, which can lead to leaks, mold, and structural damage over time. When you introduce solar panels and their mounting systems, you're potentially disrupting this delicate balance.
If not properly designed, a solar array can create new dams or obstructions, causing water to pool around the base of the mounts or under the panels themselves. Imagine a heavy rainstorm in Florida or a significant snowmelt in the Northeast – that water has to go somewhere. Installers must carefully plan the layout to maintain existing drainage pathways and, in some cases, even enhance them. This often involves elevating the racking system sufficiently and ensuring panels don't create new depressions where water can collect. The goal is to keep your roof dry and happy for decades to come, especially with all that valuable equipment sitting on top.
Weight Distribution and Structural Integrity
Another critical challenge for flat roofs is handling the added weight. Solar panels, along with their racking and any ballasting materials, can add a substantial load to your roof. While many newer commercial buildings with flat roofs are built to accommodate significant weight, residential flat roofs might not always be designed with this in mind. It's not just the total weight, but also how that weight is distributed.
Unlike a sloped roof where the weight of panels is often spread out and partially supported by the roof's underlying structure, a flat roof system, particularly a ballasted one, concentrates weight at specific points. This means a thorough structural assessment by a qualified engineer is non-negotiable. They will evaluate your roof's existing structure, framing, and materials to determine its current load-bearing capacity. Reinforcement might be necessary in older homes or if the desired system size is particularly large. Ignoring this step could lead to sagging, cracking, or even catastrophic roof failure, which is the last thing anyone wants when trying to save on electricity. Many solar companies, like those found through Modernize, will coordinate this assessment for you as part of their comprehensive service.
Key Considerations for Flat Roof Solar System Design
Once you understand the inherent challenges, the next step is to design a system that works with your flat roof, not against it. This isn't a one-size-fits-all situation; every roof, every home, and every homeowner's energy needs are different. The beauty of flat roofs, however, is the flexibility they offer in system design, allowing for optimized performance that might not be possible on a fixed-pitch roof.
Ballasted vs. Penetrating Mount Systems
When it comes to securing solar panels on a flat roof, you generally have two main approaches: ballasted or penetrating mounts. Each has its own set of advantages and disadvantages, and the best choice for your home will depend on several factors, including your roof's age, material, structural capacity, and local wind codes.
Ballasted Systems rely on weight (typically concrete blocks or pavers) to hold the solar array in place, rather than physically attaching it to the roof structure. The big appeal here is that they require no roof penetrations. This means no drilling, which significantly reduces the risk of leaks down the road. They can also be quicker to install and potentially easier to remove if future roof repairs are needed. However, this comes with a trade-off: all that ballast adds considerable weight to your roof, requiring a robust structural assessment. They also tend to have a larger "footprint" to properly distribute the weight and ensure stability against wind uplift, which means you might fit fewer panels on your roof.
Penetrating Systems, as the name suggests, involve drilling through the roof membrane into the underlying structural supports (joists or purlins). These mounts are then flashed and sealed to prevent water intrusion. While the idea of holes in your roof can be daunting, when installed correctly by experienced professionals, the risk of leaks is minimal. The main advantages are a much lighter load on the roof and superior wind resistance, as the panels are physically anchored. This can be a great option for roofs with limited structural capacity or in areas prone to high winds. However, they are more labor-intensive to install and if you need a new roof down the line, the panels will have to be completely uninstalled and reinstalled, adding to the cost of Roof replacement cost before solar.
Here's a quick comparison:
| Feature | Ballasted Mounting System | Penetrating Mounting System |
|---|---|---|
| Roof Penetrations | None (or very few for grounding/wiring) | Required (drilled into roof structure) |
| Added Weight | Significant (due to ballast materials like concrete) | Minimal (panels & racking only, no ballast) |
| Wind Resistance | Relies on weight; can be vulnerable in very high winds | Excellent (physically anchored to structure) |
| Leak Risk | Very low if designed correctly | Low if installed by professionals with proper flashing |
| Installation Speed | Generally faster | More labor-intensive due to drilling and sealing |
| Roof Repairs/Replacement | Easier to temporarily move panels | Requires full uninstallation and reinstallation of panels |
| Footprint | Requires more space per panel for weight distribution | More compact, allowing for denser panel layouts |
Tilt Angle and Row Spacing for Optimal Performance
This is where flat roofs truly shine in terms of solar optimization. Unlike sloped roofs that dictate a fixed tilt angle based on the roof's pitch, flat roofs allow installers to choose the optimal tilt angle for your solar panels. This means you can maximize energy production for specific times of the year, or year-round, depending on your energy usage patterns and location. For example, in many northern latitudes, a steeper tilt might be chosen to maximize winter production when the sun is lower in the sky.
However, tilting panels creates another design challenge: inter-row shading. If the rows of panels are too close together, the leading edge of one row will cast a shadow on the row behind it, especially during morning and late afternoon hours. This significantly reduces overall system efficiency. Therefore, careful calculations are made to determine the ideal spacing between rows, balancing maximum panel density with minimal shading. This often means less of your flat roof can be covered with panels than you might initially think, but the panels that are installed will perform at their peak. It's a precise balance that a skilled solar designer will work out to ensure your system provides the best possible Solar ROI & 25-Year Savings Breakdown.
Wind Loading and Building Codes
Wind is a major factor for any rooftop solar installation, but especially so on flat roofs. The elevated, tilted panels on a flat surface act like sails, creating significant uplift forces. This is why understanding wind loading and adhering strictly to local building codes is paramount. Installers must perform detailed calculations based on your home's location, height, and specific roof characteristics to determine the potential wind forces the system will experience.
For ballasted systems, these calculations dictate the exact amount and placement of ballast needed to keep the panels securely on the roof even during hurricane-force winds. For penetrating systems, it determines the type and number of attachments required. Failing to account for wind loading correctly can lead to panels detaching from your roof during severe weather, causing significant damage to your home and the solar array itself. Reputable solar installers often use sophisticated software and engineering expertise to ensure compliance with stringent codes, often requiring specific wind tunnel certifications for their racking systems. Many states and municipalities have specific requirements; for example, coastal areas like parts of Florida or Texas will have much stricter wind uplift requirements than inland regions.
The Step-by-Step Installation Process on a Flat Roof
Even with the unique challenges, the overall journey to getting solar on your flat roof follows a similar path to any other installation. It's a methodical process that, when handled by experienced professionals, ensures safety, efficiency, and optimal performance. Understanding these steps can help you feel more confident and prepared throughout your solar journey. For a general overview, you might want to read our article on How Are Solar Panels Installed Step by Step.
Initial Assessment and System Design
Before any actual construction begins, there's a crucial phase of assessment and design. This is where your chosen solar provider, like one you might find through Modernize, gathers all the necessary information to create a system tailored to your home. First, they'll typically perform a comprehensive site visit to evaluate your roof's condition, orientation, and any potential shading issues from nearby trees or structures. This also includes a detailed energy audit of your home to understand your electricity consumption patterns and determine How Many Solar Panels Do I Need for My Home.
Perhaps most critically for flat roofs, a structural engineer will conduct a thorough analysis to confirm your roof can safely support the additional weight of the solar array, factoring in the chosen mounting system (ballasted or penetrating). They'll look at the framing, deck material, and overall integrity. Based on all this data, the solar design team will create a customized layout, specifying the number and type of panels, the optimal tilt angle and spacing, and the appropriate racking system. This design also includes the electrical schematics. Once the design is finalized, it moves on to the permitting stage, where local municipal approvals and sometimes HOA approvals are secured before construction can begin. This often involves detailed drawings and engineering stamps.
Mounting System Installation and Panel Placement
With permits in hand, the physical work can start. The first step on installation day is typically to prepare the roof surface. This means a thorough cleaning to remove any debris, leaves, or dirt, and addressing any minor repairs that might be needed. If a penetrating system is being installed, any necessary flashing or waterproofing layers are put down.
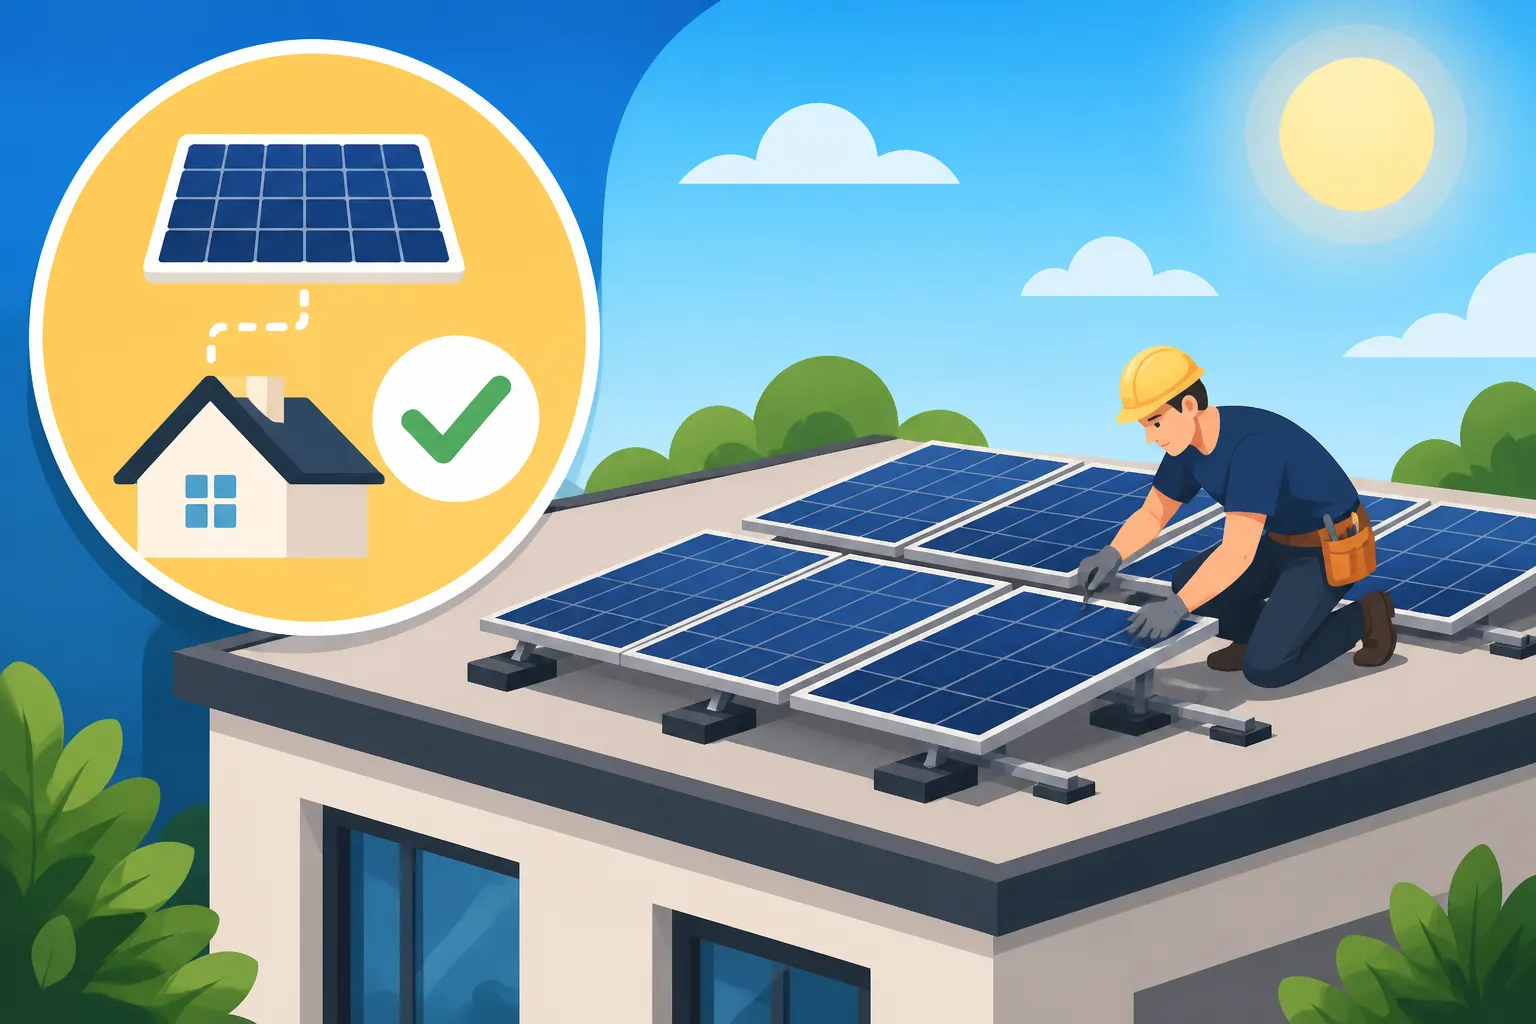
Next comes the laying out and assembly of the racking system. This is the skeleton that will support your solar panels. For ballasted systems, the racking components are assembled on the roof, and then ballast blocks (like pre-cast concrete) are placed into trays or secured within the framework. For penetrating systems, the mounting feet are precisely positioned, drilled into the structural members, and then meticulously sealed with weather-tight flashing and sealants to prevent any water intrusion. Brands like Unirac and IronRidge are common choices for robust racking solutions. Once the racking is secure and level, the solar panels themselves are carefully lifted onto the roof and clamped into place on the rails, ensuring they adhere to the designed tilt and spacing to prevent inter-row shading.
Electrical Wiring, Inverter Installation, and Grid Connection
With the panels securely in place, the electrical work commences. This involves connecting the individual solar panels to each other and then to the inverters, which convert the direct current (DC) electricity produced by the panels into alternating current (AC) electricity that your home and the grid use. Depending on your system design, you might have microinverters installed directly under each panel or a central string inverter mounted near your main electrical panel. To learn more, check out our guide on Solar Inverters String vs Microinverter vs Optimizer.
Conduit and wiring are carefully run across the roof and down the side of your home, always keeping safety and aesthetic considerations in mind. All wiring must be protected from the elements and secured according to electrical codes. Safety disconnects are installed, and the system is connected to your home's main electrical panel. Once all the electrical connections are complete and tested, the final steps involve inspections by local building authorities and the utility company. This utility inspection grants what's known as Permission to Operate (PTO), signaling that your system is officially ready to be energized and start sending clean energy into your home and the grid.
Maintenance and Long-Term Considerations for Flat Roof Solar
Getting your solar panels installed is just the beginning of your journey toward energy independence. Like any significant home upgrade, a solar energy system benefits from a bit of care and attention to ensure it continues to operate efficiently for its full lifespan. For flat roofs, there are some particular nuances to keep in mind regarding maintenance and how the system interacts with the longevity of your roof itself. For general care, you can refer to our article on Solar Panel Maintenance & Cleaning.
Routine Cleaning and Debris Management
While solar panels are generally low-maintenance, flat roofs often present unique challenges when it comes to keeping them clean. Unlike pitched roofs where rain can more effectively wash away dirt and debris, flat roofs, with their slight incline and often higher parapet walls, can accumulate more leaves, dust, bird droppings, and even standing water. This debris can settle on panels, creating "hot spots" and reducing efficiency. Even worse, if leaves or other organic matter collect around the edges of the panels, it can interfere with proper drainage, potentially leading to localized pooling.
Regular visual inspections are a good idea, especially after windy storms or heavy rainfall. You might find yourself needing to clear leaves from around the array more frequently than someone with a sloped roof. While many systems self-clean with rain, some homeowners in drier climates or those with significant tree coverage choose to rinse their panels a few times a year. Always use a gentle hose and avoid abrasive cleaners or high-pressure washers, which can damage the panels or void warranties. If you notice persistent dirt or significant bird droppings affecting performance, a professional cleaning service might be a worthwhile investment.
Monitoring Performance and Addressing Potential Issues
Modern solar energy systems come equipped with sophisticated monitoring tools that allow you to track your system's performance in real-time. Whether it's an app on your phone for systems like Enphase Enlighten or SolarEdge monitoring, or a web portal, these tools are invaluable for flat roof owners. They can help you quickly identify any drops in production that might indicate a problem.
For example, if you see a sudden, unexplained dip in power generation on a sunny day, it could signal a shading issue, a malfunctioning inverter, or perhaps just a buildup of debris on one section of your array. These monitoring systems often provide alerts for technical issues, taking the guesswork out of troubleshooting. If you notice something unusual, don't hesitate to contact your installer or a qualified solar technician. They can diagnose the problem, whether it's an issue with wiring, an inverter, or simply something external like an unexpected obstruction that needs to be cleared. Proactive monitoring helps ensure your investment continues to pay off by catching small problems before they become big, expensive ones.
Roof Longevity and Future Repairs
One of the most significant long-term considerations for flat roof solar is the lifespan of your roof itself. Most quality solar panels come with performance warranties extending 20-25 years, while inverters typically last 10-15 years. However, the lifespan of a flat roof membrane (like TPO, EPDM, or modified bitumen) can vary widely, often between 15-30 years, depending on the material, installation quality, and climate.
It's crucial that your solar system outlives your roof, or at least that their lifecycles are aligned. If your flat roof is nearing the end of its serviceable life when you're considering solar, it's almost always a better financial decision to replace or re-cover the roof before installing solar panels. Removing and reinstalling a solar array for a new roof can be a surprisingly costly and complex process. This is why installers often recommend addressing Roof Age When to Replace Before Solar during the initial assessment. Planning ahead for potential roof repairs or replacement can save you significant headaches and expenses down the line, ensuring your solar system continues to provide clean energy without interruption.
Disclaimer
Please remember that this article provides general information and recommendations. The specifics of solar panel installation, including permitting, system design, and applicable incentives, can vary significantly based on your exact location, local regulations, utility policies, and the unique characteristics of your home and roof. Always consult with a qualified and reputable local solar professional for personalized advice and detailed assessments.