Solar Installation Process in Texas
Thinking about going solar in Texas? It’s a fantastic decision that can save you a bundle on electricity bills and boost your home's value. However, the journey from "I want solar" to "I'm generating my own power" can sometimes feel a bit like navigating a maze, especially with all the different rules and steps involved. This comprehensive guide will walk you through the entire solar installation process in the Lone Star State, demystifying each stage so you know exactly what to expect.
Initial Steps in Your Texas Solar Journey
Before a single panel is even considered for your roof, there's a crucial groundwork phase that sets the stage for a successful solar installation. This is where you gather information, assess your home's potential, and start making those big decisions.
Understanding Your Energy Needs and Solar Potential
The very first thing you need to do is get a clear picture of your household’s electricity consumption. Dig out those old electricity bills – at least 12 months' worth is ideal. Why so many? Because your energy usage fluctuates wildly throughout the year, especially in Texas with its scorching summers and occasional winter freezes. An average will give your potential solar installer a realistic understanding of how much power you need to offset. You'll likely see a significant spike in usage during those hot months when the AC is running constantly in places like Houston or Dallas.
Beyond your historical usage, consider future plans. Are you thinking about buying an electric vehicle? Adding a pool? Renovating to include more high-power appliances? These changes will dramatically increase your electricity demand, and you'll want your solar system sized accordingly from the get-go. Many homeowners regret not accounting for future needs, finding themselves wanting to add more panels just a few years down the line, which can be a more complex and costly endeavor.
Finding a Reputable Texas Solar Installer
Choosing the right solar installer is arguably the most critical step in the entire process. This isn't just about price; it's about finding a reliable partner who understands the nuances of the Texas market, local regulations, and utility interconnection standards. You’ll want someone with a strong track record, proper licensing, and excellent customer reviews. Start by seeking out companies that are local to your area, whether you're in the sprawling DFW metroplex or closer to Austin's green hills. Local installers often have a better grasp of city-specific permitting requirements and relationships with the local utility companies.
Don't be afraid to cast a wide net and get multiple quotes. Websites like Modernize can be a helpful starting point, connecting you with several pre-screened installers in your region. Comparing at least three to five quotes will give you a good benchmark for pricing, equipment options, and warranty offerings. Look for installers who provide detailed proposals, explaining not just the cost but also the specific equipment they plan to use (panels, inverters, batteries), estimated energy production, and the expected payback period. This is also the time to ask about their experience with various roof types – for instance, installing solar panels on a metal roof is different from an asphalt shingle roof. You'll want to choose an installer who has expertise with your specific home.
Site Assessment and System Design
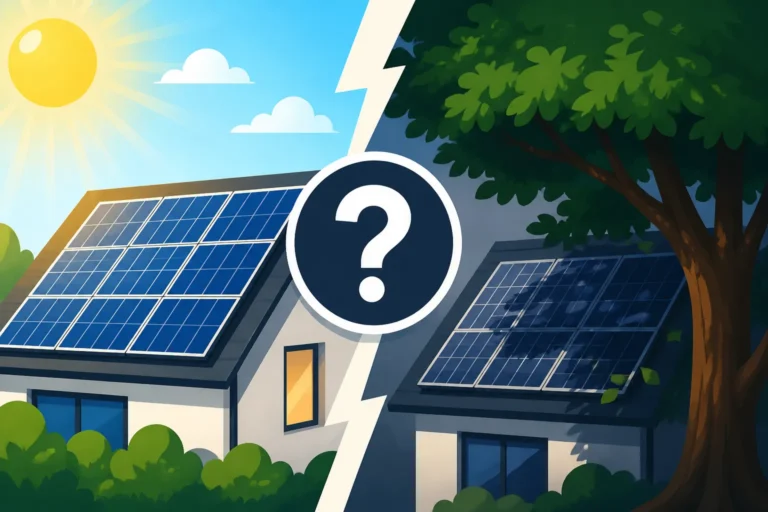
Once you’ve narrowed down your choices and picked an installer, the next exciting phase is the professional site assessment. This isn’t just a quick look at your roof; it's a comprehensive evaluation by solar technicians and engineers. They'll visit your home to take precise measurements of your roof, including its dimensions, pitch, and orientation. Crucially, they'll assess any shading issues from trees, chimneys, or neighboring buildings throughout the day and across seasons. Even a small amount of consistent shade can significantly reduce a solar panel's efficiency.
They'll also inspect your electrical panel to ensure it can handle the new solar system and identify where the inverter and other components will be located. Your roof's structural integrity and age will be evaluated to make sure it's robust enough for the panels, which can add a significant amount of weight. If your roof is nearing the end of its lifespan, your installer might recommend replacing it before installing solar, as taking panels off and putting them back on for a new roof can add unexpected costs. After the site assessment, the engineering team will finalize a custom system design tailored to your home’s energy needs, roof characteristics, and local sunlight availability. This design will typically include the number and type of solar panels, the inverter system (string inverters or microinverters), and if you're adding one, the capacity of your solar battery.
Navigating Permits, Approvals, and Financing
Once you have a solid system design, the next hurdle is getting all the necessary paperwork in order. This phase can often feel like the slowest part of the process, but it's absolutely essential to ensure your system is safe, legal, and connected to the grid.
Local Permitting and Homeowners Association Approvals
Ah, the joys of paperwork! In Texas, while electricity is largely deregulated, solar installations still require permits from your local municipality. This means that if you live in Fort Worth, the process might differ slightly from someone living in El Paso. Your chosen installer will typically handle this on your behalf, submitting detailed plans, structural drawings, and electrical schematics to your city or county building department. This ensures that your system adheres to local building codes, electrical codes, and safety regulations. The review process can take anywhere from a few weeks to a couple of months, depending on the workload of your local permitting office.
If you live in a community with a Homeowners Association (HOA), there’s an additional layer of approval. Many HOAs have specific rules regarding exterior home modifications, including solar panels. Thankfully, Texas has laws that generally prevent HOAs from outright prohibiting solar installations, but they can enforce reasonable aesthetic guidelines (e.g., panel placement that isn't visible from the street, specific mounting methods). Your installer should be familiar with these common HOA requirements and help you prepare the necessary applications to ensure a smooth approval process. Ignoring HOA rules can lead to significant headaches and even legal battles down the line, so it's best to address this early.
Utility Interconnection Agreement
After local permits are secured, the next crucial step is getting approval from your utility company to connect your solar system to their grid. This is known as the interconnection agreement. In Texas, depending on your location, you might be dealing with a utility like Oncor, CenterPoint Energy, Texas New-Mexico Power, or a municipal utility like CPS Energy in San Antonio or Austin Energy. Each utility has its own specific set of requirements, application forms, and timelines.
The interconnection agreement outlines the terms under which your solar system will operate and interact with the grid, including details about net metering or net billing. For instance, understanding Net Metering Explained How It Works by State is crucial here, as it dictates how you get credited for excess electricity you send back to the grid. While Texas doesn't have a statewide net metering mandate, many individual utilities offer some form of buyback program, though these can vary widely. Your installer will submit the application on your behalf, which involves providing technical specifications of your system. Once approved, you'll eventually get a new "net meter" installed by the utility to accurately measure both the electricity you draw from the grid and the excess you send back.
Understanding Solar Financing Options
For most homeowners, financing is a big part of going solar. Few people pay for a system entirely out of pocket, and there are several paths you can take. Understanding these options early helps you budget and maximize your savings.
| Financing Option | Description | Pros | Cons |
|---|---|---|---|
| Cash Purchase | You pay the full upfront cost of the system. | Maximum long-term savings; no interest payments; full ownership benefits. | High upfront cost; ties up capital. |
| Solar Loan | You take out a loan (often secured by your home or the solar system itself) to cover the cost. Monthly payments are made over a fixed term (e.g., 10-20 years). | Immediate ownership; access to incentives; lower upfront cost than cash. | Interest payments add to total cost; loan approval required; potential dealer fees. |
| Solar Lease | You pay a fixed monthly fee to a solar company to "rent" the panels on your roof. The company owns the system and is responsible for maintenance. | No upfront cost; predictable monthly payments; maintenance handled by provider. | No ownership; less direct savings; may complicate home sale; no access to most incentives. |
| Power Purchase Agreement (PPA) | Similar to a lease, but you pay for the electricity generated by the panels at a fixed rate per kilowatt-hour (kWh), often lower than utility rates. The solar company owns and maintains the system. | No upfront cost; predictable energy costs; maintenance handled by provider; generally lower monthly bills than grid power. | No ownership; less direct savings; contract terms can be complex; rate escalators may apply. |
Most homeowners in Texas opt for solar loans, allowing them to take full advantage of any available incentives. It's really important to compare your loan options carefully, looking at interest rates, terms, and any hidden fees. Some installers offer attractive promotional rates through their preferred lenders, but it's always wise to compare them with options from your bank or a credit union. Remember that even with a loan, you might still benefit from state and local incentives or utility solar rebates, which can significantly reduce your overall Solar Panel Cost in Texas.
Installation Day and Post-Installation Steps
After all the planning, permits, and financial arrangements are squared away, it’s finally time for your solar system to come to life! This phase includes the physical installation and the final steps to get your system fully operational.
The Actual Installation Process
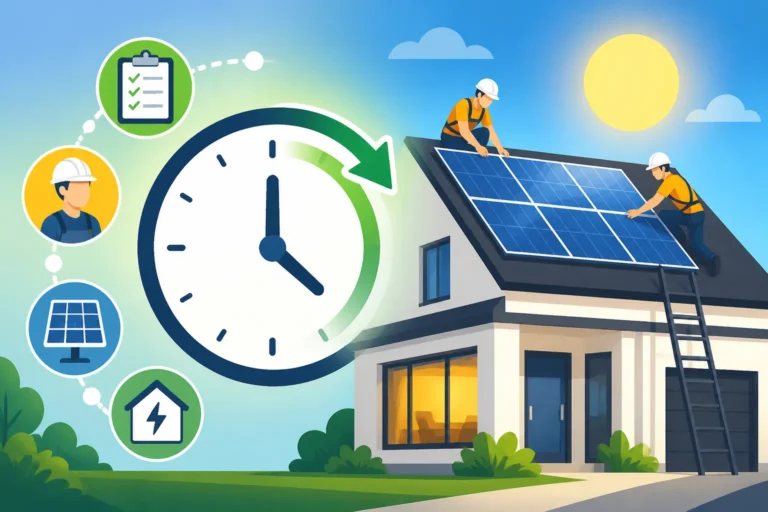
The installation itself is often the quickest part of the entire journey. For a typical residential system, the physical installation of panels and electrical components usually takes just one to three days. However, the exact Solar Installation Timeline What to Expect can vary depending on the system size, roof complexity, and weather conditions. The installation crew will arrive, often with a crane or lifts, and begin mounting the racking system onto your roof. These racks are carefully secured to your roof's rafters, ensuring structural integrity and preventing leaks. Then, the solar panels are meticulously placed and bolted onto the racking.
Simultaneously, electricians will be working on the electrical components. This includes installing the inverters (which convert the direct current (DC) electricity from the panels into alternating current (AC) usable by your home), connecting wiring, and making upgrades to your main electrical panel if necessary. All wiring is routed safely and discreetly, usually through the attic or along exterior conduits, to connect the panels to the inverters and then to your home's main electrical service. Throughout this process, safety is paramount, with installers adhering to strict industry standards and local building codes.
Post-Installation Inspections and Permission to Operate (PTO)
Once the physical installation is complete, it's not quite time to flip the switch. Your system needs to pass a few critical inspections. First, a local building inspector from your municipality will review the installation to ensure it complies with all local building and electrical codes. They'll check the structural mounting, wiring, grounding, and overall safety of the system. This inspection is a standard part of the process, much like any major home renovation.
After passing the municipal inspection, the utility company will perform its own final review. This is where they verify that the system is safely interconnected to their grid and that the new net meter is installed and functioning correctly. Once the utility gives its final approval, you'll receive what's called "Permission to Operate," or PTO. This is the official green light to energize your system and start generating your own clean electricity! It’s a huge milestone and means you can finally start seeing those savings on your utility bill. You can learn more about this crucial step in Solar Permitting & Interconnection PTO Explained.
Monitoring and Maintenance
Congratulations! Your solar system is up and running. But the journey doesn't end there. Most modern solar systems come with monitoring capabilities, often accessible through a smartphone app or a web portal. This allows you to track your system's real-time energy production, historical data, and even identify any potential issues. It's incredibly satisfying to see how much power your home is generating, especially on a bright, sunny day in Texas.
Solar panels are generally low-maintenance, designed to withstand harsh weather conditions. However, occasional cleaning might be necessary, especially in dusty areas or if pollen buildup becomes excessive. While rain often does a decent job, a gentle rinse with a hose a couple of times a year can help maintain optimal efficiency. Most systems come with robust warranties, covering the panels, inverters, and the installation itself. Understanding your solar panel warranties explained will ensure you know what's covered and for how long, providing peace of mind for decades to come.
Texas-Specific Considerations for Solar Installation
The Lone Star State has its own unique landscape for solar, influenced by its diverse climate, large utilities, and policy environment. Understanding these specific factors can help you make the most of your solar investment.
Climate and Optimal Panel Performance
Texas boasts an abundance of sunshine, making it an excellent state for solar energy production. Cities like San Antonio, Houston, and Dallas receive ample sunlight hours throughout the year, contributing to high solar output. However, the intense summer heat can also play a role. While solar panels need sunlight to produce electricity, extreme heat can actually slightly reduce their efficiency. Modern panels are designed to perform well in high temperatures, but it's something to keep in mind.
Considerations like panel orientation and tilt become even more critical in a state like Texas. While a south-facing roof is generally ideal for maximum year-round production, installers will analyze your specific roof angles and local sun path to optimize your system. The goal is to capture as much direct sunlight as possible, particularly during peak usage times when electricity rates might be higher. This detailed planning ensures that your system generates the maximum possible power for your home, translating into greater long-term savings.
Understanding Texas Utility Policies and Grid Deregulation
Texas is unique in its largely deregulated electricity market, meaning many residents can choose their retail electricity provider. This deregulated environment, however, exists alongside regulated transmission and distribution utilities (like Oncor or CenterPoint Energy) that own the power lines and are responsible for grid infrastructure. When it comes to solar, these separate entities mean that while you might choose your electricity retailer, your solar interconnection and sometimes even the buyback rates are dictated by the utility that serves your area. This is why you'll hear about specific policies for Texas Solar Incentives in 2026 and why Does Texas Have Net Metering in 2026? is a common question, with varying answers depending on the utility.
Some utilities offer robust solar buyback programs, while others might provide less favorable "avoided-cost" rates, where they pay you less for your excess power than what they charge you for electricity you consume. This difference is why many Texas homeowners consider adding a solar battery to their system. A battery allows you to store excess solar energy generated during the day and use it during the evening when grid electricity rates might be higher or during a power outage. This strategy can significantly enhance your solar savings and provide energy independence.
The Role of Local Incentives and Programs
While Texas doesn't have a statewide solar tax credit like some other states, many local utilities and municipalities do offer their own incentives. For example, Austin Energy has offered rebates and incentives for solar installations within its service territory, and CPS Energy in San Antonio has historically provided similar programs. These local incentives can sometimes be substantial, helping to offset a portion of your initial investment.
Your solar installer should be well-versed in these hyper-local programs and help you identify and apply for any rebates or incentives available in your specific area. They can also advise on property tax exemptions for solar, which are common in Texas, preventing your property taxes from increasing due to the added value of your solar system. Always check with your local taxing authority, but generally, the value added by a solar energy system is exempt from property taxation. This means that while solar panels increase your home's value, they typically won't increase your property tax bill, which is a fantastic benefit.
Disclaimer
The information provided in this article is for general informational purposes only and does not constitute professional advice. While we strive to provide accurate and up-to-date content, solar policies, incentives, and regulations can change frequently. Always consult with a qualified solar professional, tax advisor, and your local utility provider for advice tailored to your specific situation.