How to Install Solar Panels on a Asphalt Shingle Roof
The idea of harnessing the sun's power for your home is incredibly appealing, but let's be honest, the thought of actually installing those panels on your roof can feel like a monumental task. Many homeowners worry about potential roof damage, leaks, or whether their perfectly good asphalt shingle roof is even compatible with solar. This guide is here to demystify the process, walking you through everything you need to know about successfully installing solar panels on your asphalt shingle roof.
Understanding Your Asphalt Shingle Roof and Solar Compatibility
Before you even start dreaming about lower electricity bills, it's crucial to understand how your existing roof interacts with a potential solar array. Asphalt shingle roofs are, by far, the most common type of roofing material in North America, and thankfully, they are generally very well-suited for solar panel installations. However, "compatible" doesn't mean "any roof will do." There are vital factors to consider to ensure a smooth, safe, and long-lasting solar setup.
Assessing Shingle Condition and Age
One of the first and most critical steps is to evaluate the health of your asphalt shingles. Solar panels are a long-term investment, often lasting 25 to 30 years or more. If your roof is already showing significant signs of wear and tear—like curled or missing shingles, excessive granule loss, or noticeable sagging—it probably isn't a good candidate for immediate solar installation. Imagine putting a brand-new, expensive appliance on a wobbly, decaying shelf. It just doesn't make sense.
Most solar installers will insist on a roof that has at least 10-15 years of life left. If your roof is nearing the end of its lifespan, say 15-20 years old, it's almost always a better financial decision to replace or repair it before installing solar panels. Taking down and reinstalling solar panels for a new roof can be costly and inconvenient, adding thousands of dollars to your project down the line. A reputable solar company, perhaps found through platforms like Modernize, will typically include a thorough roof inspection as part of their initial assessment, and they'll be upfront with you if a new roof is needed first. For more details on this, you might find our guide on Do I Need a New Roof Before Solar? particularly helpful.
Understanding Roof Structure and Orientation
Beyond the shingles themselves, the underlying structure of your roof plays a huge role. Can your roof actually bear the weight of solar panels? While modern solar panels are surprisingly lightweight, a full array can still add significant stress to your home's framing. A structural engineer's assessment is often a standard part of the solar design process, especially for older homes or those with complex rooflines. They'll ensure your trusses and rafters are robust enough to support the additional load.
Then there's the orientation. For optimal energy production in the Northern Hemisphere, a south-facing roof is generally ideal because it receives the most direct sunlight throughout the day. However, east- and west-facing roofs can also be excellent candidates, especially if your electricity consumption peaks in the mornings and evenings. North-facing roofs, on the other hand, are rarely suitable due to insufficient sun exposure. The pitch or angle of your roof also matters; typically, a pitch between 30 and 45 degrees is considered optimal. Significant shading from trees or neighboring buildings can also dramatically impact efficiency, making a thorough site survey an absolute necessity. Understanding how many panels you need also depends on these factors, which we cover in How Many Solar Panels Do I Need for My Home?
The Step-by-Step Process for Installing Solar on Shingles
Once you've determined your asphalt shingle roof is a good candidate, the actual installation process can begin. It's a series of careful, deliberate steps designed to integrate the solar array safely and securely into your home's electrical system, all while protecting your roof.
Preparing Your Roof and Marking Layouts
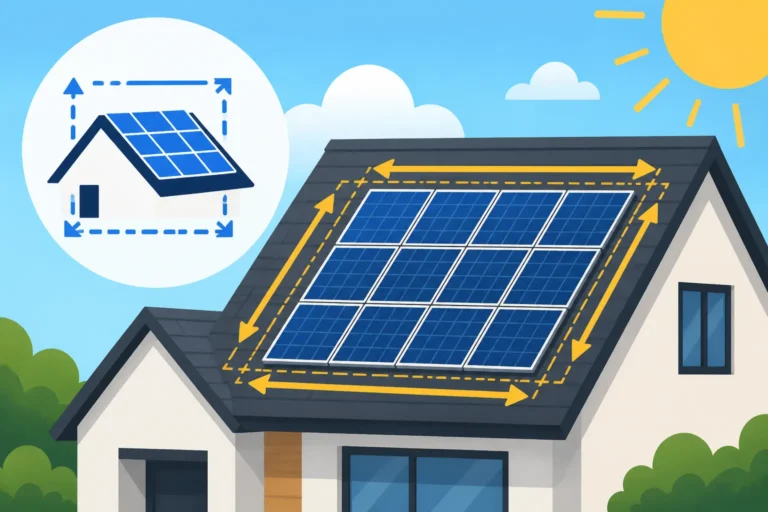
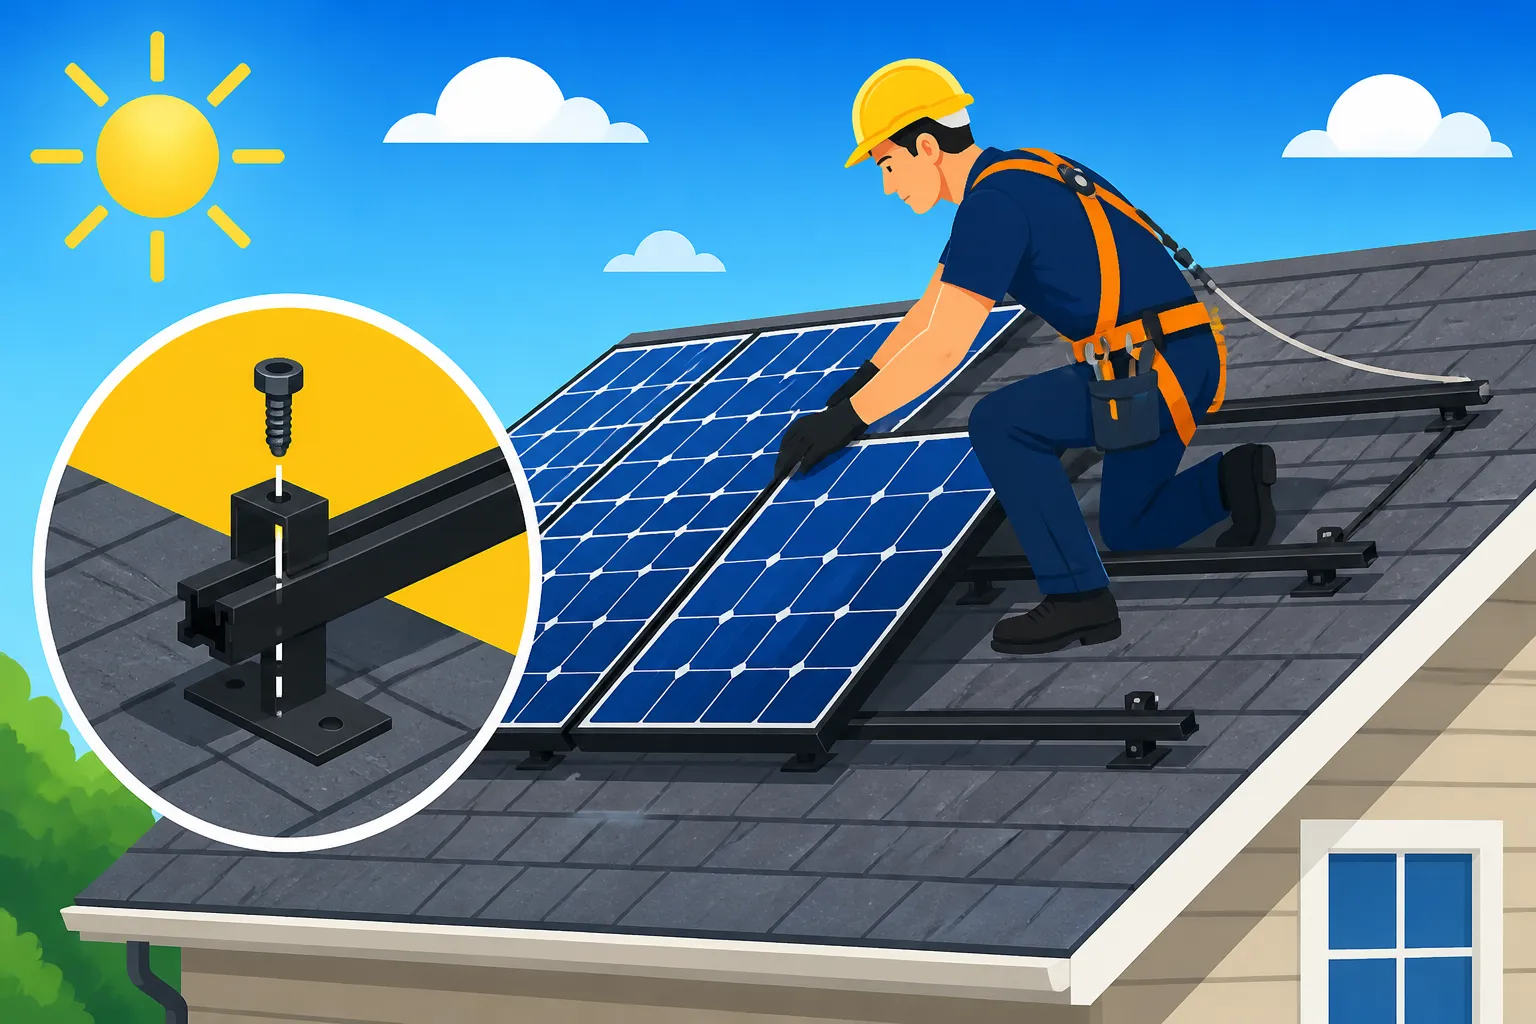
Before any drilling or heavy lifting begins, safety is paramount. Installers will set up scaffolding, ladders, and safety harnesses to ensure a secure working environment. The first practical step on the roof itself involves a detailed layout. Based on the engineering designs, technicians will carefully measure and mark where each solar panel will sit and, crucially, where the mounting hardware will penetrate the roof. This isn't just about aesthetics; it's about optimizing sun exposure and ensuring proper spacing between panels.
Any existing debris or loose granules will be cleared from the installation areas. Sometimes, minor shingle adjustments or trimming might be necessary to ensure a flat, stable surface for the mounting system. This preparatory phase is where precision prevents problems down the line, ensuring every component aligns perfectly with the architectural plans and local building codes.
Installing the Mounting System and Racking
This is where the magic happens and where your asphalt shingle roof gets prepared for its new energy-generating role. Unlike some other roof types, asphalt shingles require a specific type of flashing and sealant to prevent leaks. The process typically involves:
- Locating Rafters: Using stud finders or other methods, installers locate the roof rafters beneath the shingles. This is critical because the mounting hardware must be securely fastened into these structural members, not just into the sheathing.
- Removing Shingles (Temporarily): In the spots where mounts will be installed, a section of shingles might be carefully lifted or peeled back. This isn't about destroying your roof but creating a clear pathway to the rafter.
- Drilling Pilot Holes: Small pilot holes are drilled into the rafters at the marked locations.
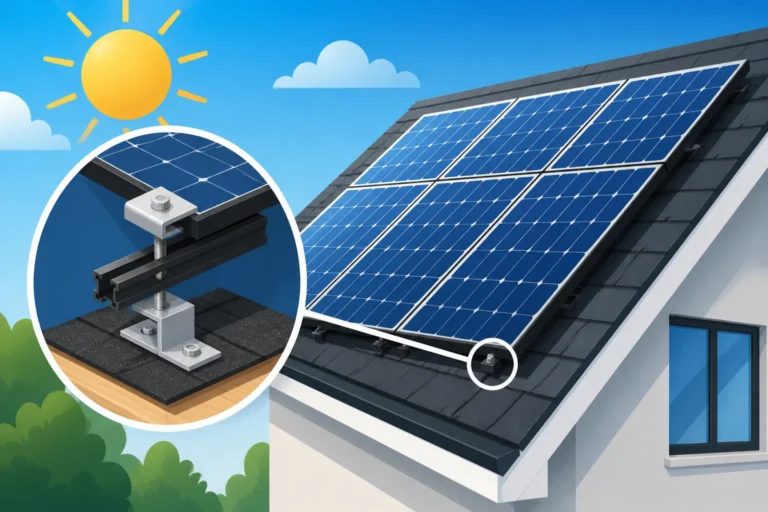
- Installing Flashing: A key component for shingle roofs is the flashing. This is a thin, weather-resistant metal plate (often aluminum) that slips under the row of shingles above the penetration point and over the row of shingles below it. It creates a watertight barrier, diverting any water away from the hole. High-quality flashing is essential.
- Attaching Standoffs or L-Feet: A standoff or L-foot bracket is then bolted through the flashing and pilot hole directly into the rafter. These brackets are usually made of aluminum or stainless steel for durability and corrosion resistance. A sealant, often a UV-resistant, non-hardening mastic, is applied around the bolt to further seal the penetration.
- Securing the Racking Rails: Once all the L-feet or standoffs are installed across the roof, aluminum rails are attached to them. These rails form the framework upon which the solar panels will rest. They provide a stable, level surface, even if your roof isn't perfectly flat.
This meticulous approach ensures that each penetration point is sealed effectively against water intrusion, which is a common concern for homeowners. For a deeper dive into how this hardware works, check out our article on How Are Solar Panels Attached to a Roof?
Placing Panels and Electrical Connections
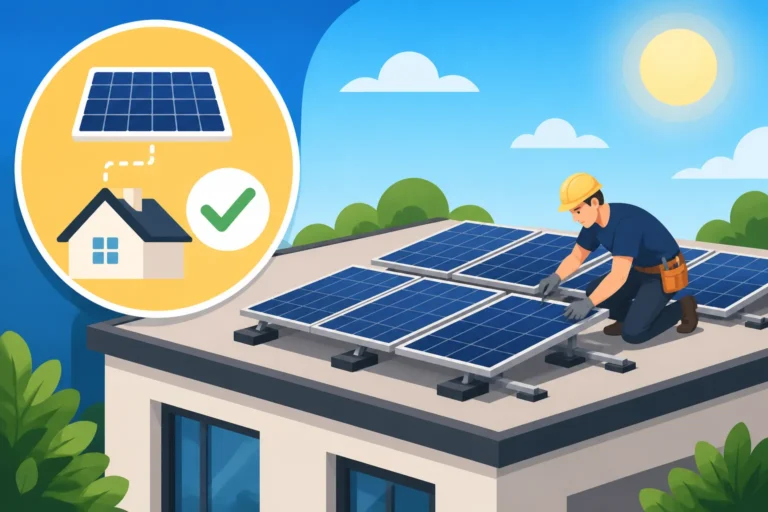
With the racking system firmly in place, the next step is to carefully lift and secure the solar panels onto the rails. This is a delicate process, often involving two or more technicians, as panels can be heavy and bulky. Each panel is clamped securely to the rails, ensuring it can withstand wind, snow, and other environmental factors.
Once the physical panels are mounted, the electrical work begins. This involves:
- Wiring: Connecting individual solar panels in series or parallel, depending on the system design and inverter type. This wiring runs neatly along the underside of the panels and into a central junction box.
- Inverters/Optimizers/Microinverters: Depending on your system, these crucial components convert the direct current (DC) electricity produced by the panels into alternating current (AC) electricity that your home and the grid use. Microinverters are attached directly to each panel, while string inverters are typically mounted on a side of the house or in a utility area. Power optimizers are also panel-level devices that work in conjunction with a central string inverter. For more information on these technologies, read our guide on Solar Inverters: String vs Microinverter vs Optimizer.
- Conduit and Wiring Runs: The AC power then travels from the inverter (or microinverters) through conduit down to your home's main electrical panel. This conduit protects the wiring from the elements and ensures a safe, clean installation.
- Net Meter Installation: Finally, your utility meter will be upgraded to a "net meter" (or a similar billing mechanism like net billing, depending on your state's regulations). This special meter can track both the electricity you draw from the grid and the excess electricity your solar panels send back to it, allowing for proper billing and credits. This whole process typically takes a few days to a week, depending on the system size and complexity. Our post on the Solar Installation Timeline: What to Expect offers a great overview.
Key Considerations and Potential Challenges
While installing solar on an asphalt shingle roof is straightforward for experienced professionals, there are always important considerations and potential challenges that homeowners should be aware of. Being informed helps you ask the right questions and ensure a quality installation.
Permitting and Local Regulations
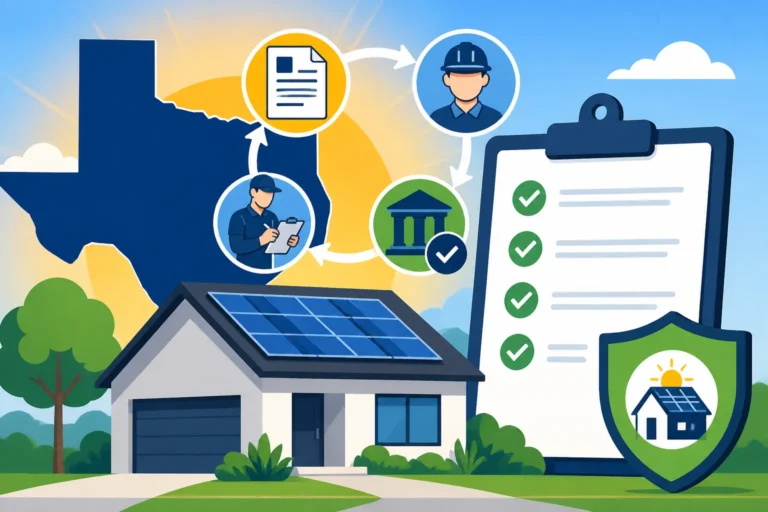
Navigating the bureaucracy of permits and inspections can sometimes feel like a bigger challenge than the physical installation itself! Every city, county, and even homeowners' association (HOA) has its own set of rules and requirements for solar installations. These can include:
- Building Permits: To ensure the structural integrity of your roof and home.
- Electrical Permits: To guarantee that the wiring and connections meet safety standards.
- Zoning Permits: To ensure the solar array complies with local aesthetic and setback requirements.
- HOA Approvals: Many HOAs have specific guidelines regarding external modifications, including solar panels, although in some states, laws protect homeowners' rights to install solar.
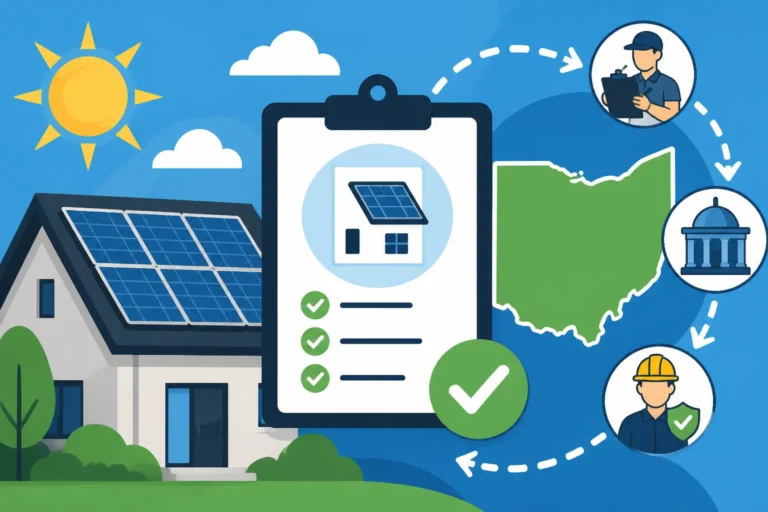
The solar installer you choose should be well-versed in your local regulations. They will typically handle the entire permitting process, from submitting applications to scheduling inspections. This process, including obtaining "Permission to Operate (PTO)," can take weeks or even months, so patience is key. Delays in this stage are common and rarely the fault of the installer, but a good company will keep you informed every step of the way. Understanding Solar Permitting & Interconnection (PTO) Explained can save you headaches.
Preventing Leaks and Ensuring Roof Integrity
The biggest concern for many homeowners is the potential for roof leaks. It’s a completely valid fear! However, with proper installation techniques and high-quality materials, the risk of leaks on an asphalt shingle roof is incredibly low. As discussed, the critical elements are:
- Proper Flashing: High-quality metal flashing that integrates seamlessly under and over existing shingles.
- Sealants: UV-resistant sealants applied to every penetration point.
- Experienced Installers: Technicians who understand the nuances of working with asphalt shingles and adhere to best practices.
It's also essential that your roof's underlying structure is sound. Any existing water damage, rot, or weak spots need to be addressed before installation. If a leak does occur after installation, it's almost always due to improper flashing or sealing. This is why a robust workmanship warranty from your installer is as important as the equipment warranties. Make sure to ask about it upfront.
Choosing the Right Installer
This is arguably the most critical decision you'll make in your solar journey. An inexperienced or disreputable installer can turn your dream into a nightmare, regardless of how good your roof or panels are. Here's what to look for when selecting a solar company:
- Experience with Asphalt Shingles: They should have a proven track record of installations on this specific roof type. Don't be afraid to ask for references or to see examples of their work.
- Licensing and Insurance: Ensure they are fully licensed contractors and carry comprehensive insurance (liability and worker's compensation). This protects you in case of accidents or damage.
- Warranties: Look for strong warranties on both equipment (panels, inverters) and, crucially, their workmanship. A good workmanship warranty should cover potential roof leaks for at least 10 years, if not longer.
- Transparent Quotes: A detailed quote should break down all costs, including equipment, labor, permitting, and any potential "dealer fees" if you're financing. Comparison services like Modernize can help you gather multiple, transparent quotes to compare.
- Local Reputation: Check online reviews (Google, Yelp, Better Business Bureau) and ask neighbors for recommendations. A company with a strong local presence and positive feedback is usually a good sign. Our guide on How to Choose a Solar Installer provides an exhaustive list of questions to ask.
Ensuring Long-Term Performance and Protection
Installing solar panels on your asphalt shingle roof is an investment for decades to come. To maximize your return and ensure peace of mind, it's important to understand what goes into maintaining your system and what protections are in place.
Maintenance for Shingle-Mounted Solar
The good news is that solar panels are remarkably low-maintenance. They are designed to withstand harsh weather conditions, from heavy rain and snow to strong winds. For systems on asphalt shingle roofs, the maintenance routine isn't significantly different from other roof types:
- Occasional Cleaning: In most areas, rainfall is sufficient to keep your panels relatively clean. However, if you live in a particularly dusty area, near agricultural fields, or experience a lot of pollen, an occasional rinse with a garden hose (from the ground, for safety!) can help. Avoid harsh chemicals or abrasive brushes, which can scratch the panel surface. Solar Panel Maintenance & Cleaning offers more cleaning tips.
- Annual Inspections: It's a good idea to have a professional inspect your system every few years. They can check for any loose wiring, ensure the mounting hardware remains secure, and verify that your inverter and other electrical components are functioning optimally. They'll also check the condition of your roof around the panels for any signs of wear.
- Monitoring System Performance: Most modern solar systems come with monitoring apps that allow you to track your energy production in real-time. If you notice a sudden drop in production that isn't due to weather, it's a good indicator that something might need checking.
One unique aspect for shingle roofs is simply keeping an eye on the roof's overall health around the solar array. While the panels protect the shingles directly beneath them, the surrounding areas are still exposed.
Warranties and What They Cover
Understanding your solar warranties is crucial for protecting your investment over its long lifespan. You'll typically encounter a few different types:
- Product Warranty (on the panels): This covers defects in manufacturing and material quality. Most top-tier panels, like those from Qcells or REC, come with a 12-25 year product warranty. This means if a panel fails prematurely due to a manufacturing flaw, the manufacturer will replace it.
- Performance Warranty (on the panels): This guarantees that your panels will produce a certain percentage of their rated power output for a specified period, typically 25 years. For example, a common performance warranty might state that panels will still produce 80-85% of their original output after 25 years. This accounts for Solar Panel Efficiency & Degradation Explained over time.
- Inverter Warranty: Your inverter (or microinverters) will also have a warranty, typically ranging from 10-25 years. Given that inverters are the hardest working electrical components, a good warranty here is essential. Companies like Enphase and SolarEdge are known for their reliable inverters and strong warranty coverage.
- Workmanship/Installation Warranty: This is provided by your solar installer and covers the quality of their installation, including any potential roof leaks caused by their work. This is particularly important for asphalt shingle roofs where penetrations are involved. A good workmanship warranty should last at least 10 years, providing peace of mind against installation errors.
Always read the fine print on all your warranties. Understand what's covered, what's excluded, and the process for making a claim. A comprehensive set of warranties from reputable manufacturers and an experienced installer provides the best long-term protection for your solar investment on an asphalt shingle roof.
Disclaimer
The information provided in this guide is intended for general informational purposes only and does not constitute professional advice. Solar installation and electrical work should always be performed by qualified and licensed professionals. Homeowners should consult with certified solar installers, structural engineers, and local authorities to ensure compliance with all applicable codes and regulations before undertaking any solar project.